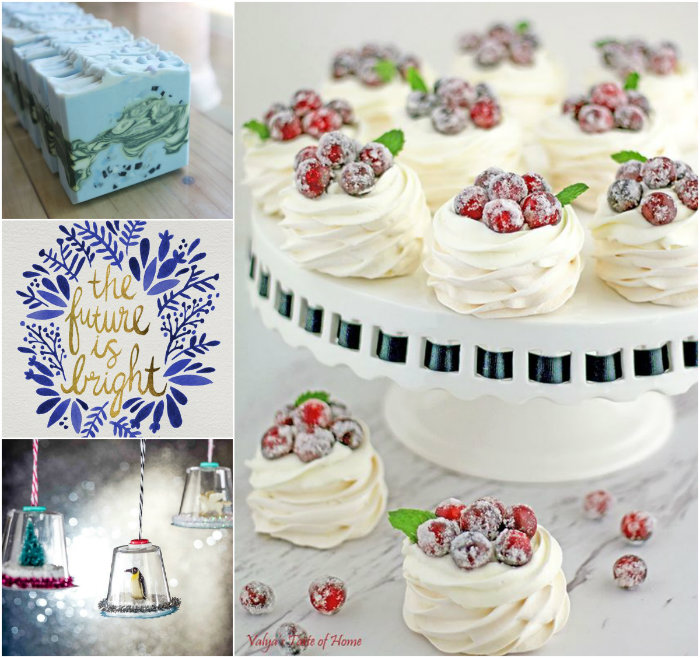
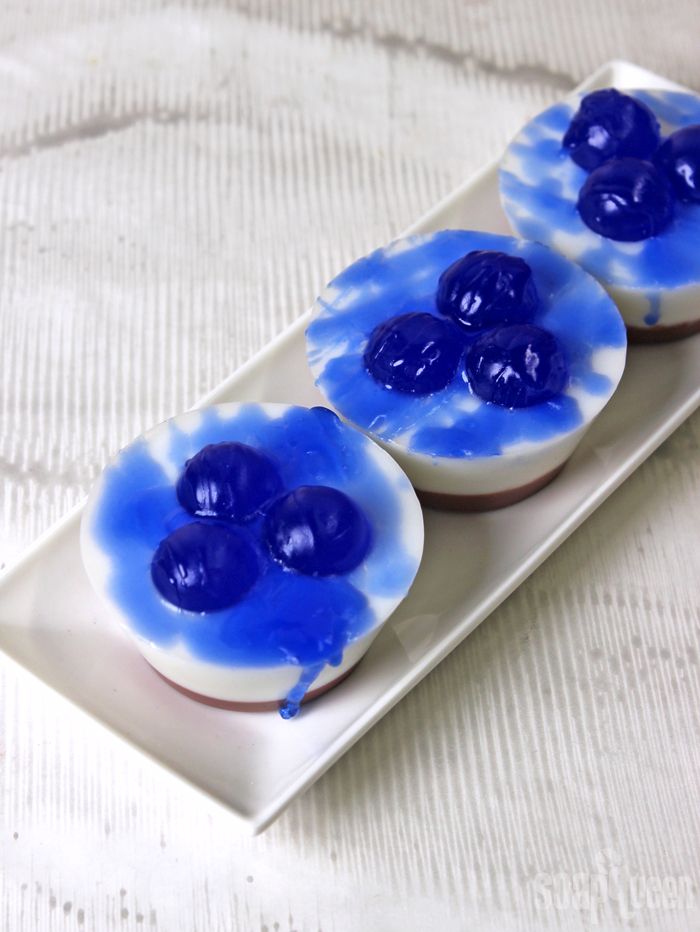
Merry Christmas Eve everyone! This week featured fun melt and pour tutorials, including the Blueberry Tart Soaps. The fruit embeds are top are created with the Ultramarine Blue Color Block and the Small 9 Ball Silicone Mold. The bars also feature a soapy crust and cheesecake center. The Blueberry Jam Fragrance Oil makes them smell just like the real thing.
 I received this beautiful bar from Tabitha in the
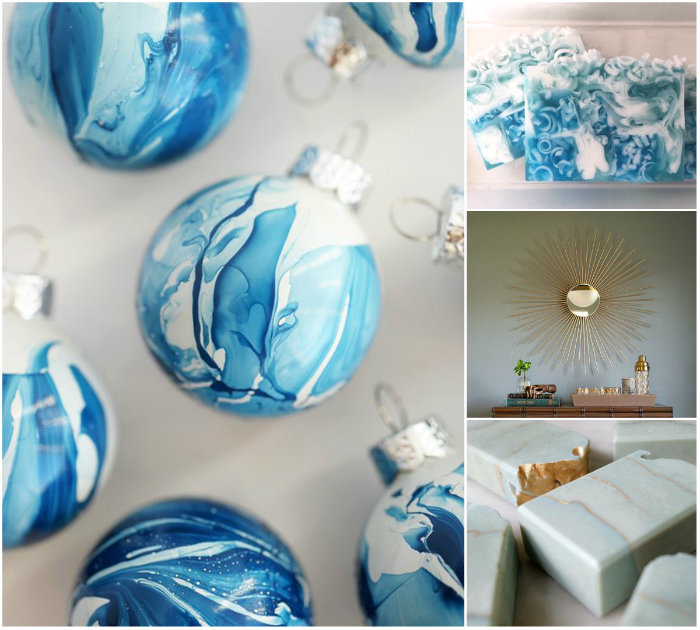

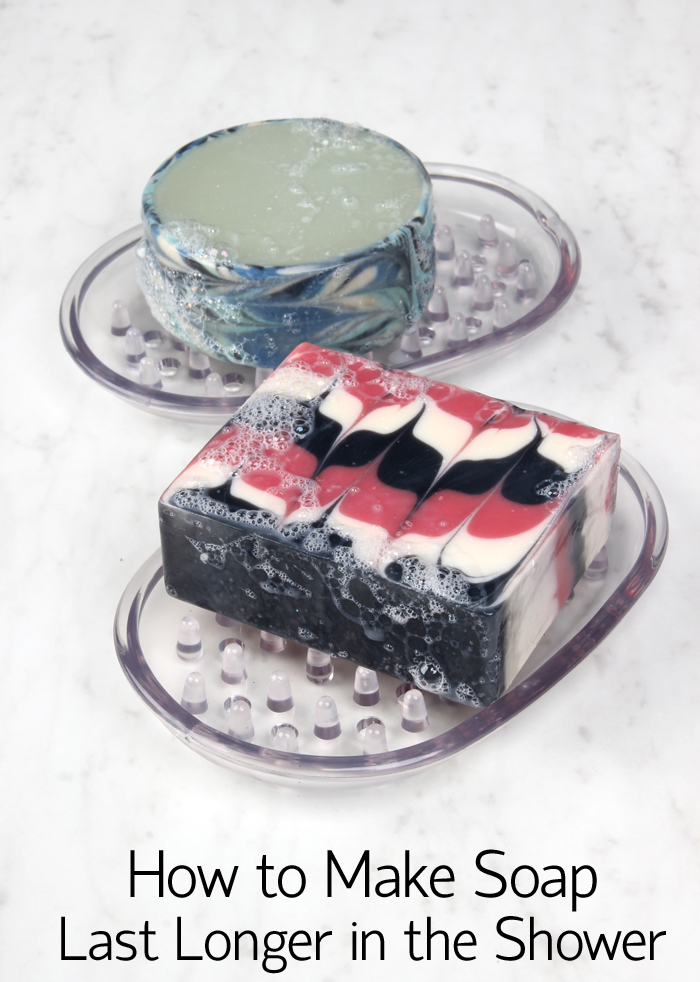
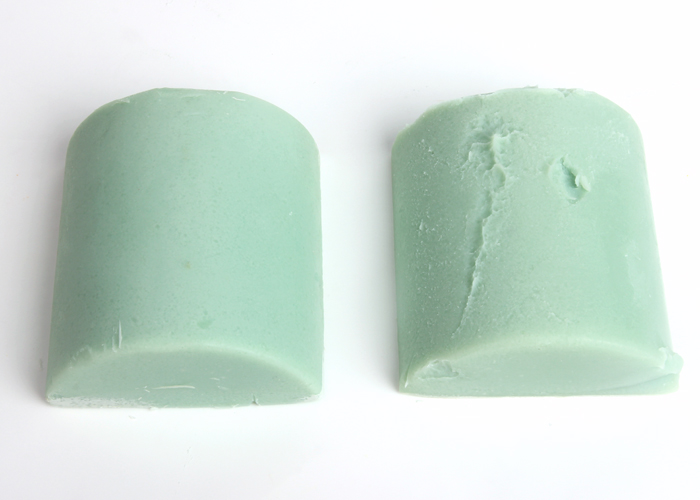
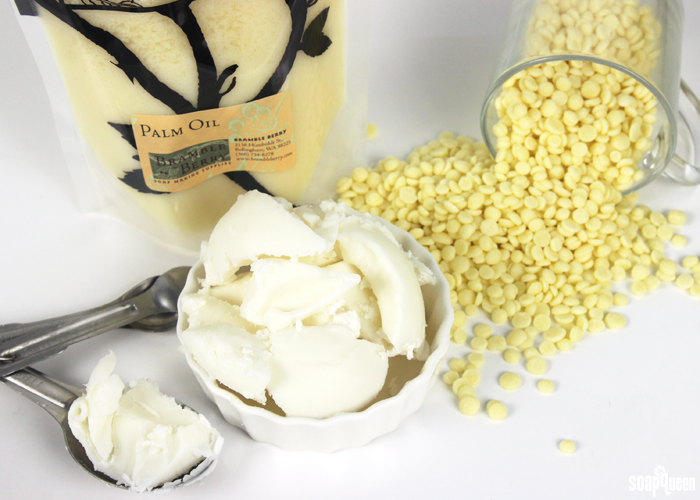 Using more firm oils and butters in your recipe will result in a firmer bar of soap.
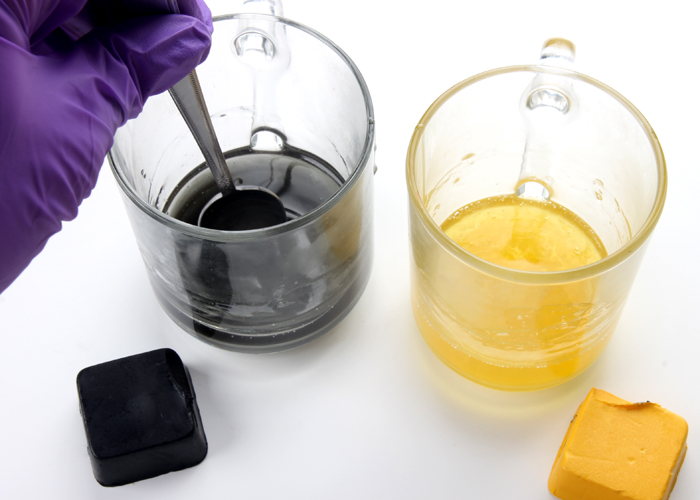
 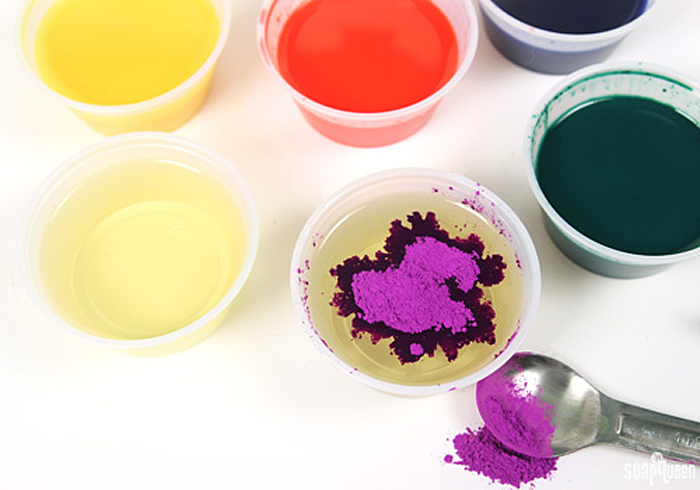 Adding too much extra oil (like with dispersed colorants) can lead to a soft bar of soap.
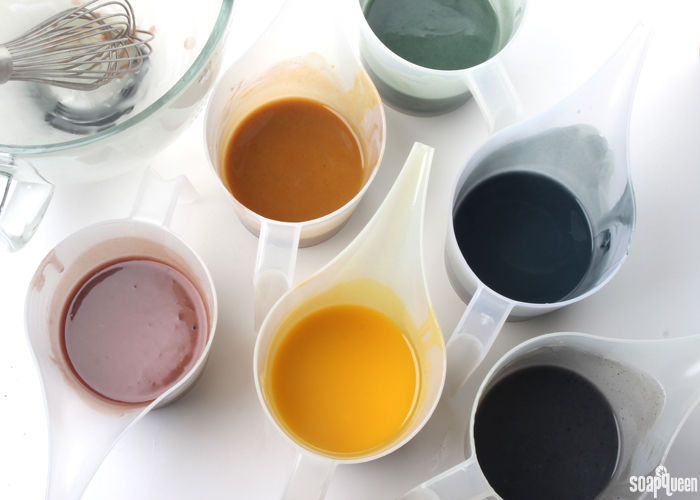
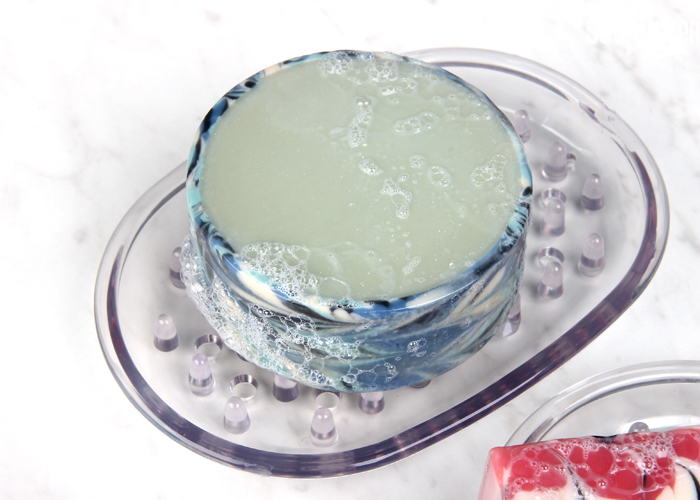
 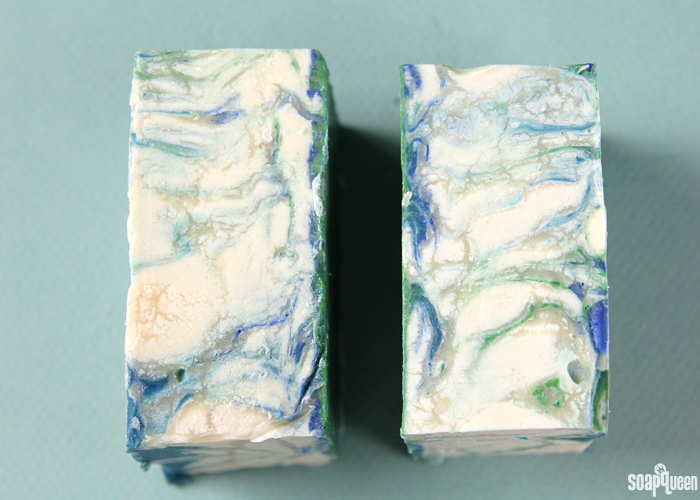 Water discounting soap reduces the chances of glycerin rivers, shown above. It also produces a bar that hardens faster.
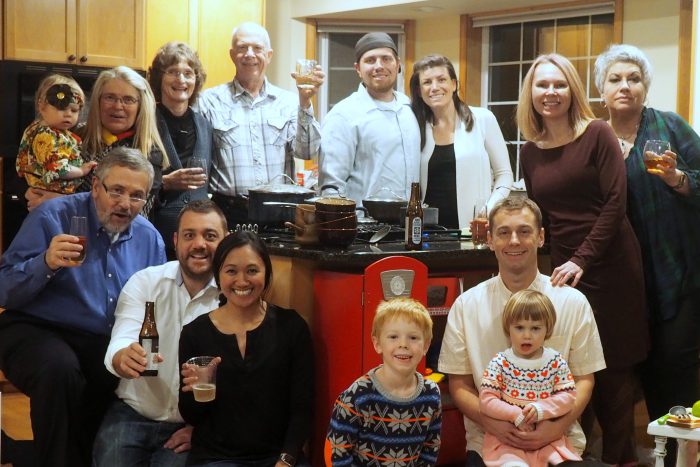
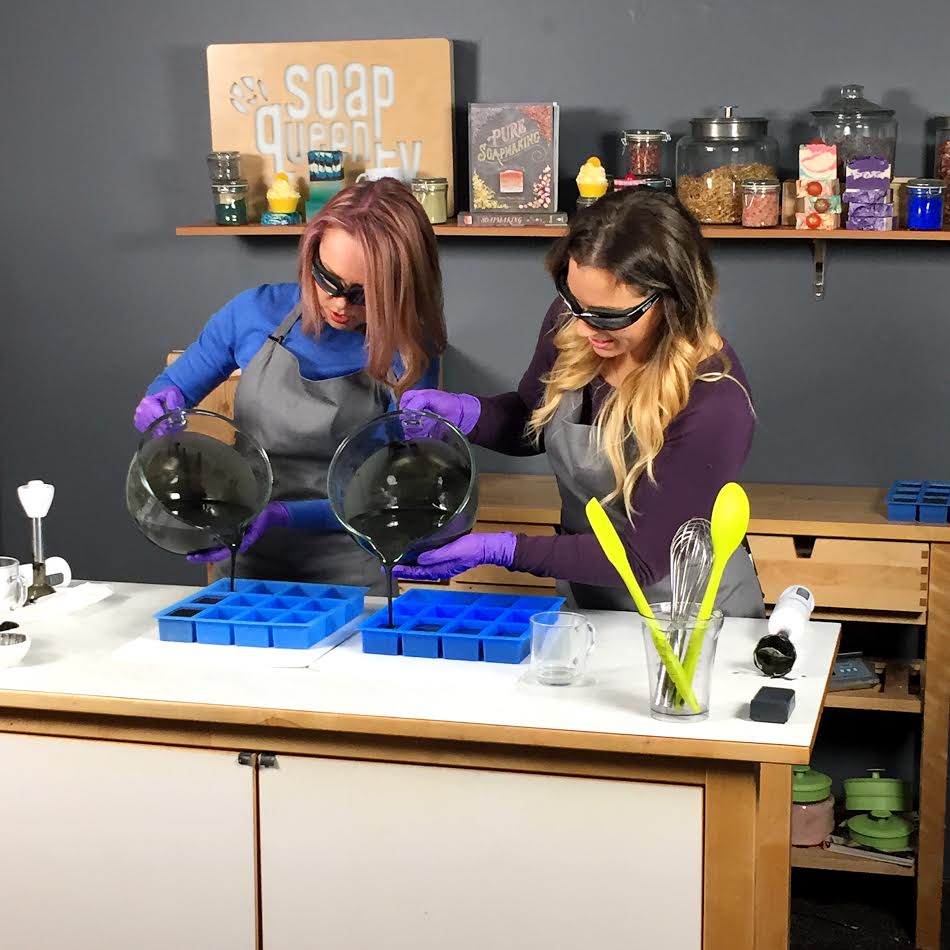
 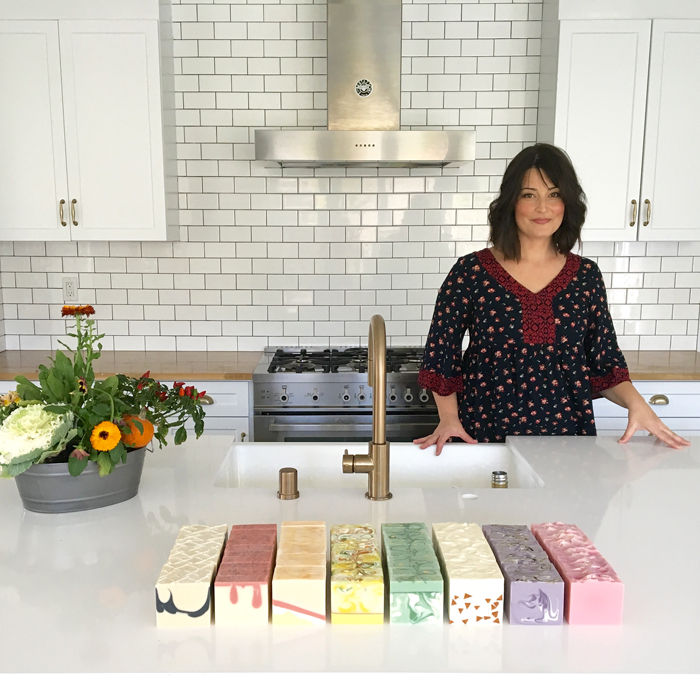 Tania in her gorgeous kitchen, along with a collection of her cold process soaps.
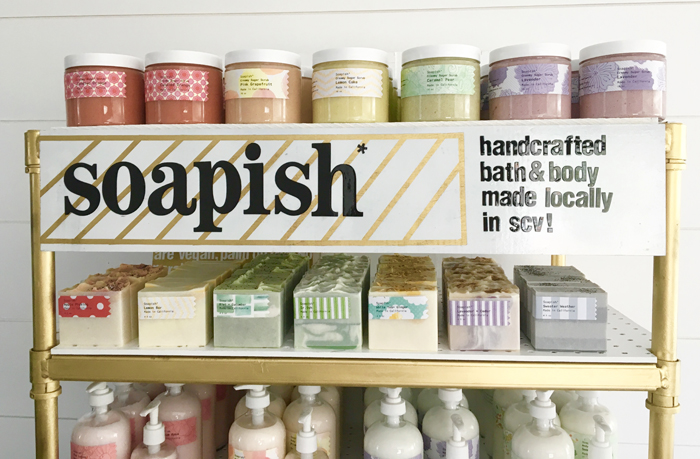 A beautiful Soapish display, full of soap, lotions and scrubs.
 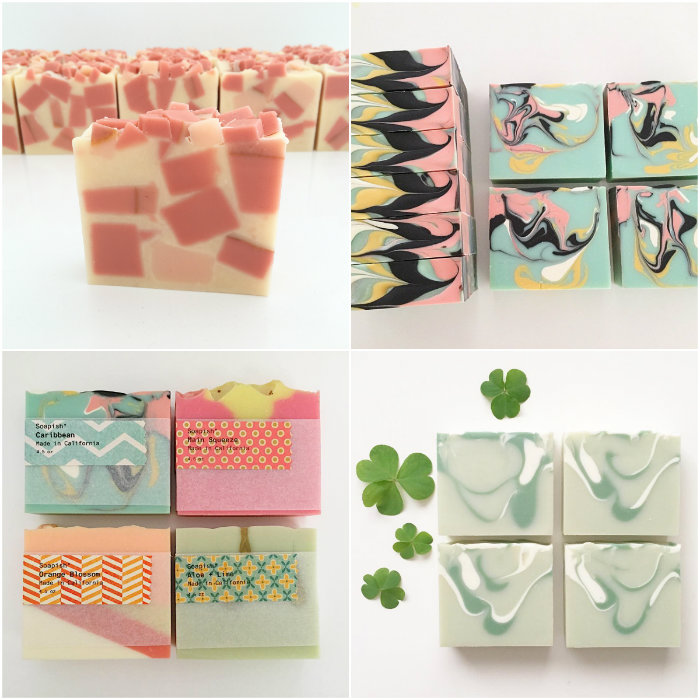 Top left, clockwise:
 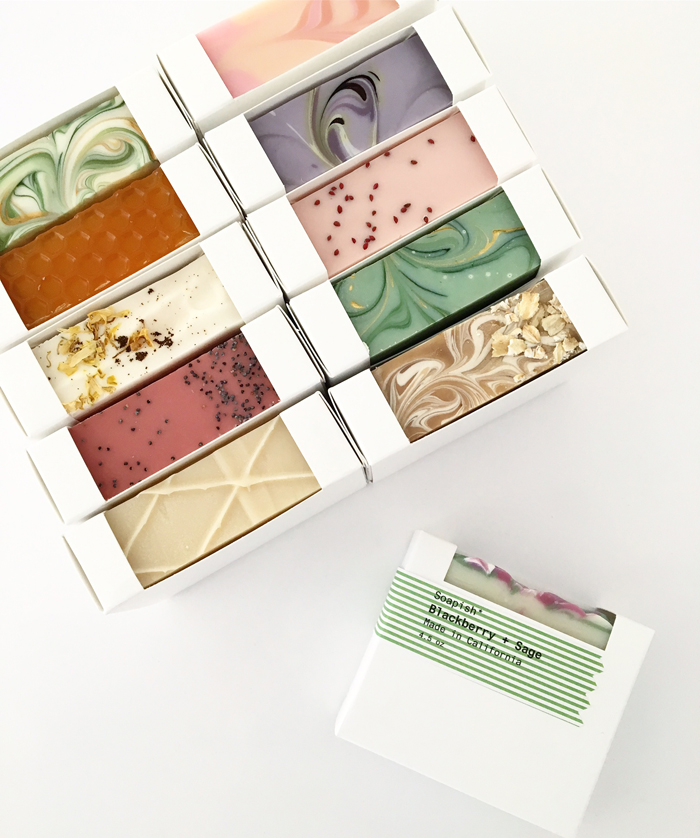 I love how clean and eye catching Tania’s packaging is. It really complements the soap!
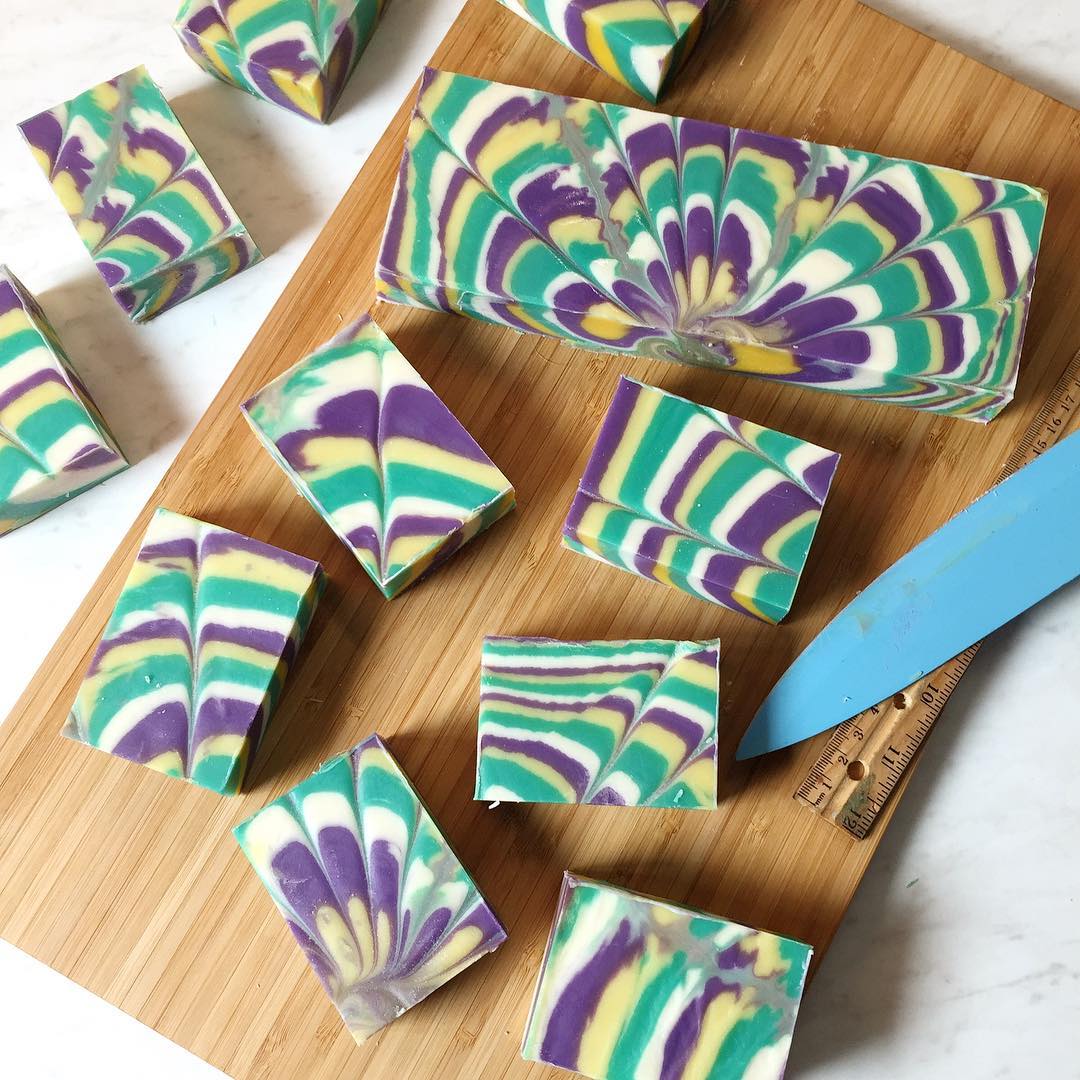
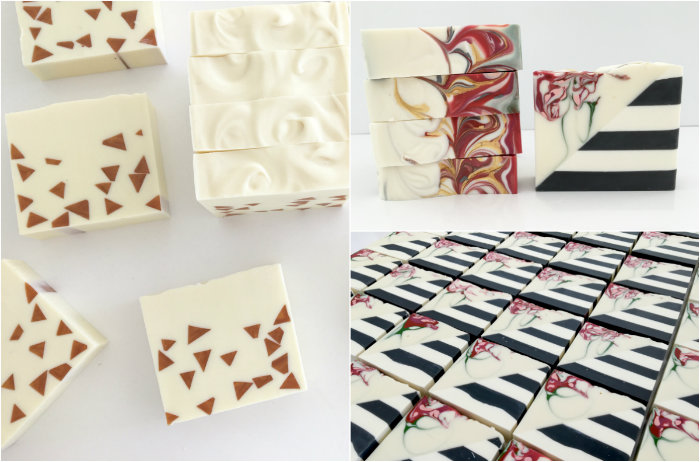 Left, clockwise: Tiny Triangle Embed Soap,
 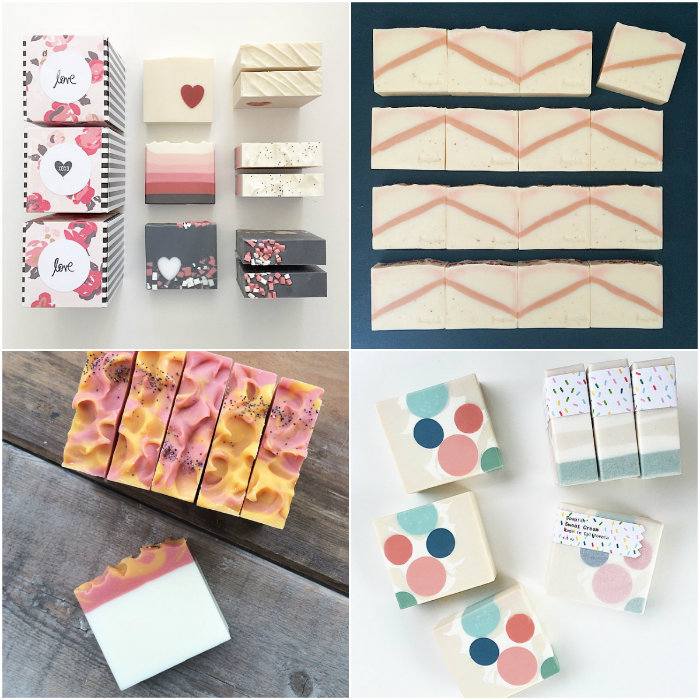 Top left, clockwise: A collection of Valentine’s Day Soap,
 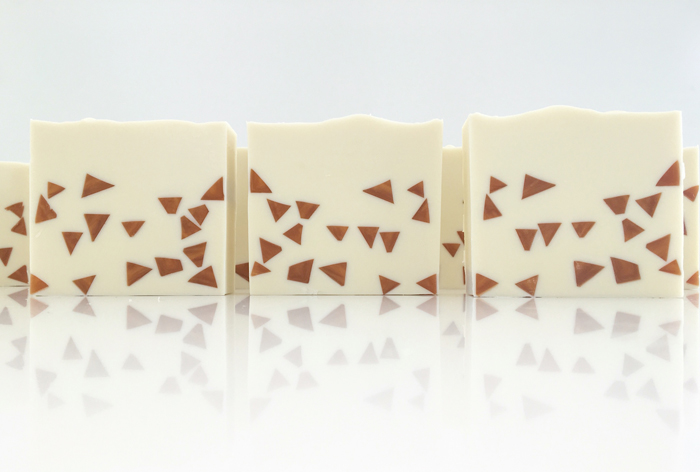 Tiny Triangle Embed Soap, scented with
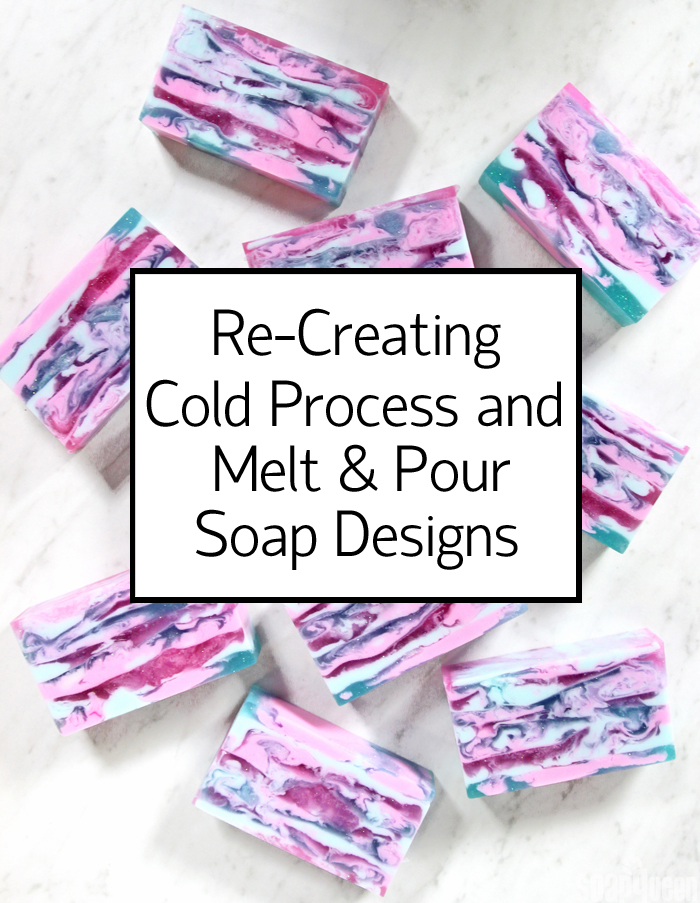
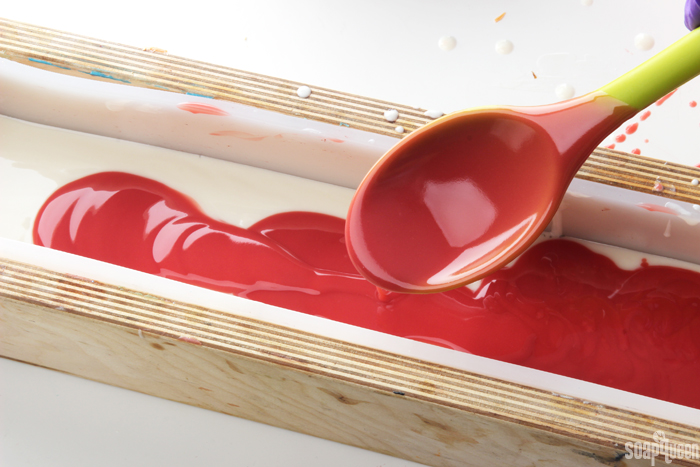
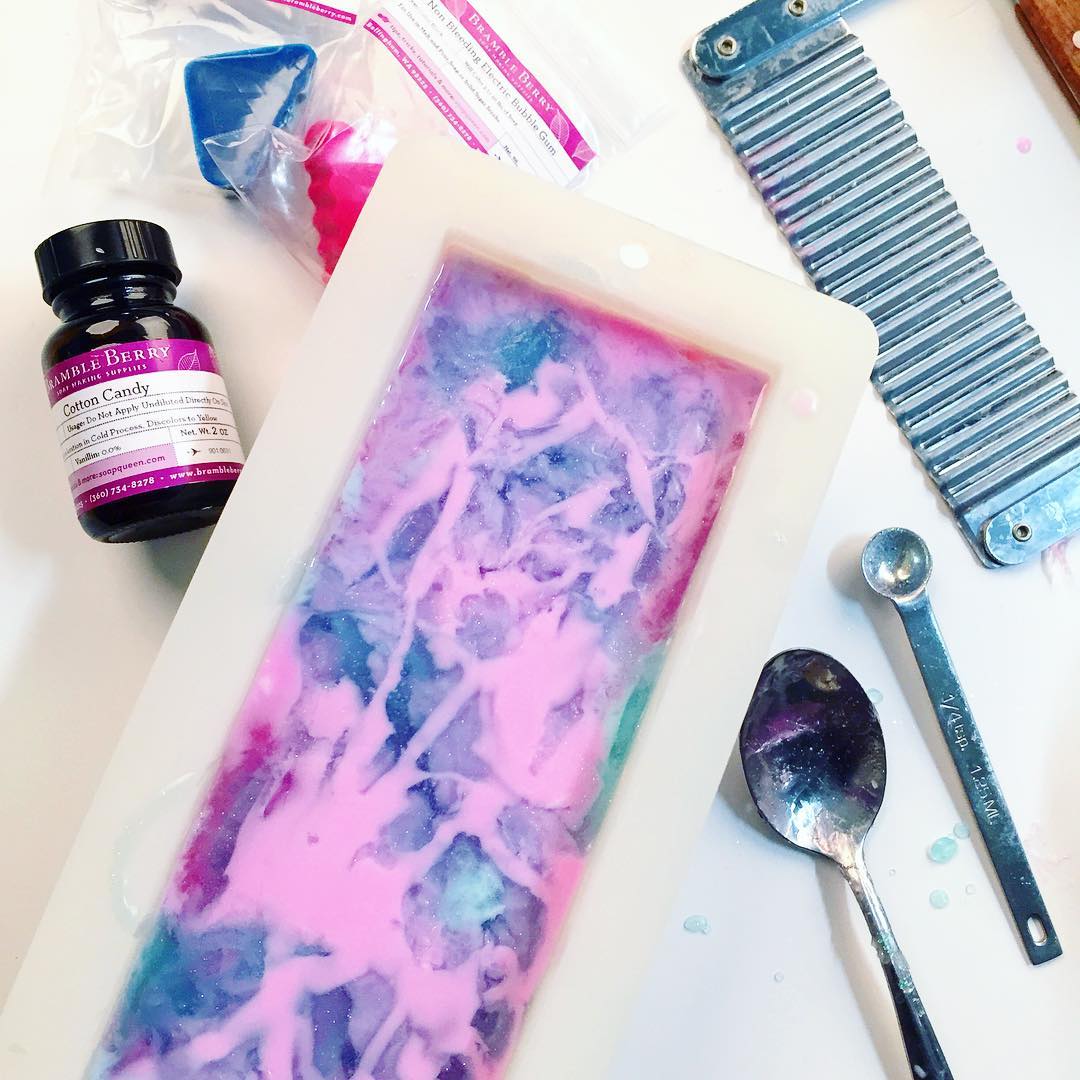
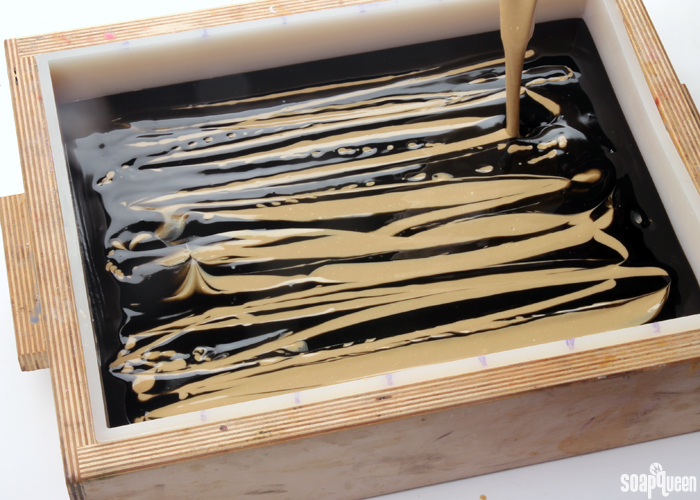 The texture of cold process soap allows you to pour distinct lines that hold their shape, as shown above. Melt and pour soap does not behave the same way.
  Swirls are not impossible with melt and pour soap, but they just won’t look like cold process swirls.
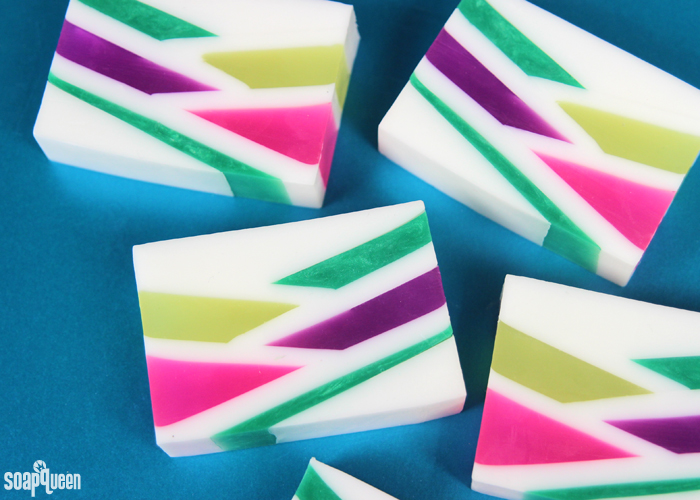
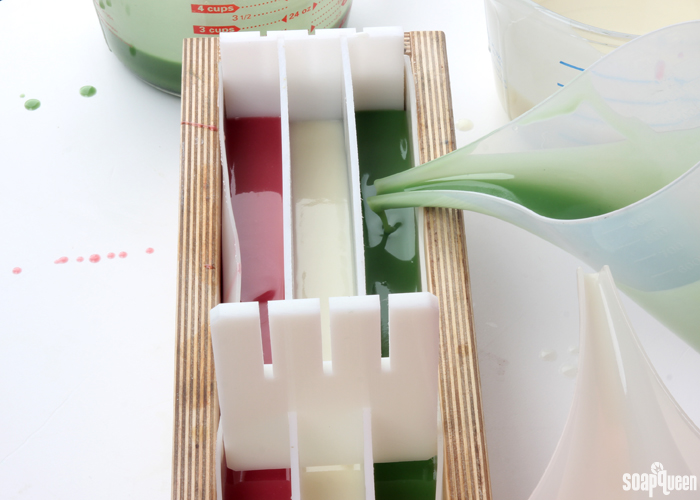
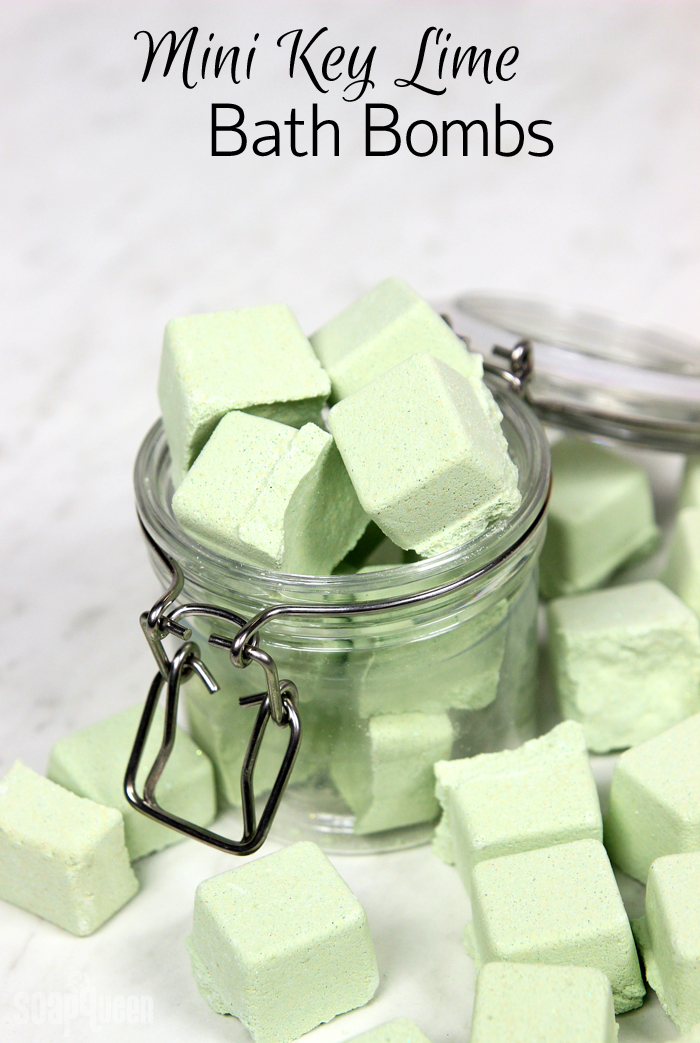
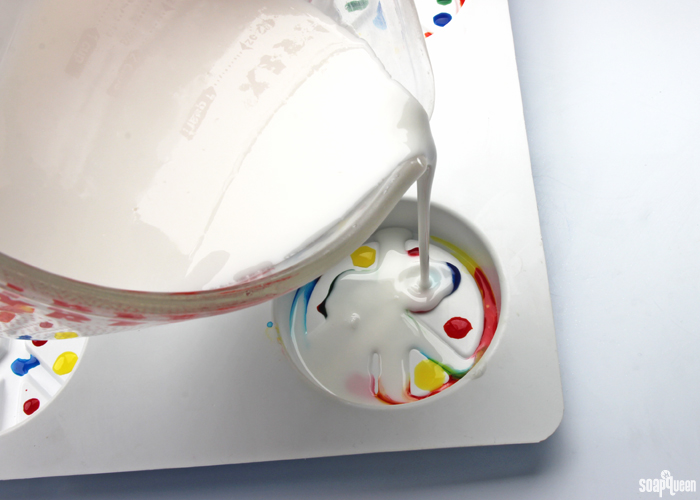 Plastic molds work better for melt and pour soap than cold process soap.