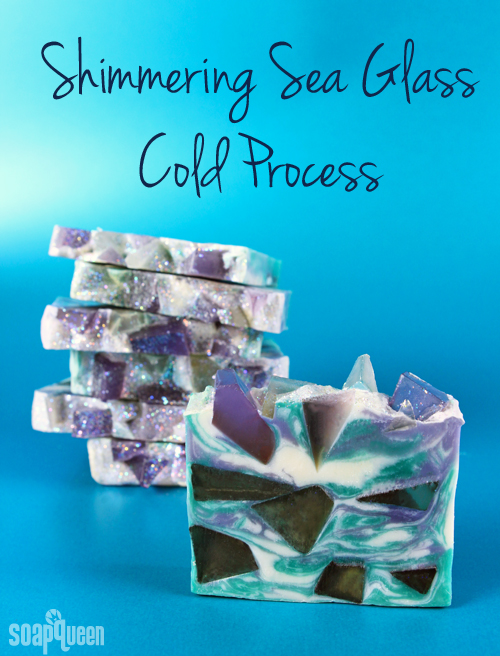
There are so many sources of inspiration when it comes to soaping. Whether it’s food, nature or a certain color palette, inspiration is everywhere! This week, the textures of the sea were the inspiration for the Shimmering Sea Glass Cold Process Soap. Clear melt and pour pieces look like the glass found on the shores. With teal and purple swirls, plenty of Iridescent Glitter and an earthy scent from Lavender Forest Fragrance Oil, this soap fun and unique.
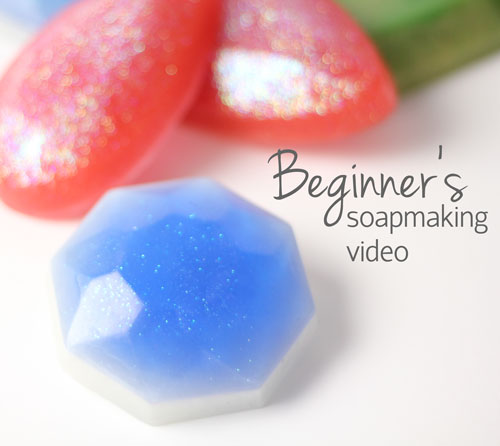
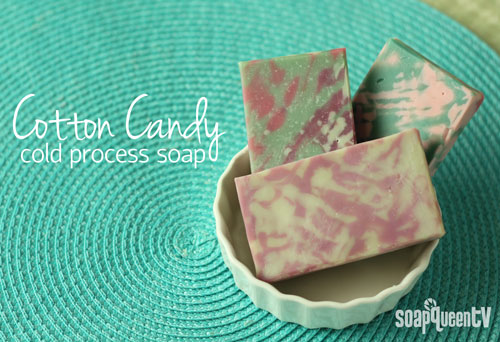
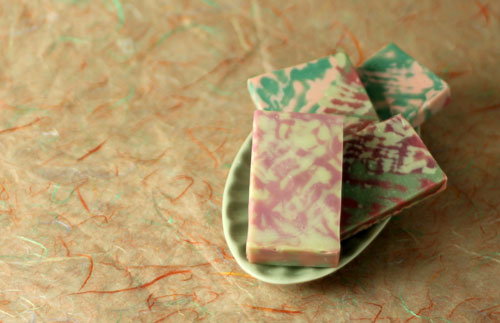
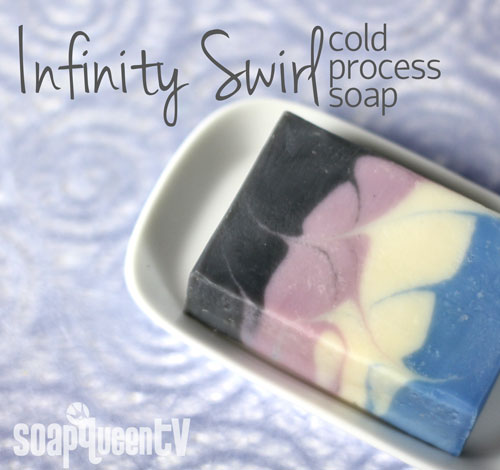
An in-the-pot swirl is used to create the interesting pattern in the soap. A fun swirl can also be created using a chopstick or dowel, as seen in the Infinity Swirl Soap on Soap Queen TV. A figure eight pattern swirls together gorgeous blue, white, pink and black hues to create a stunning look. Scented with Lime Fragrance Oil and Crisp Anjou Pear Fragrance Oil, the soap smells fresh and fruity.
[Read more…]

 One of the amazing things about