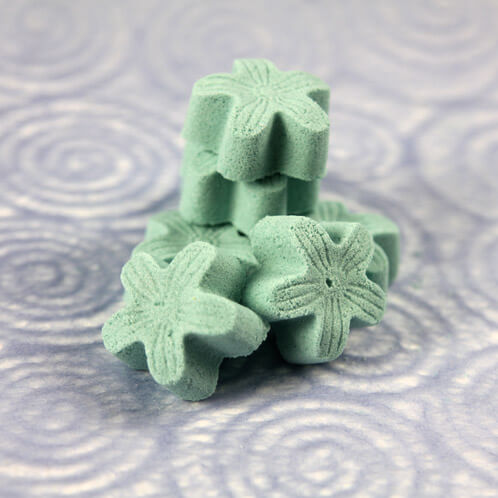
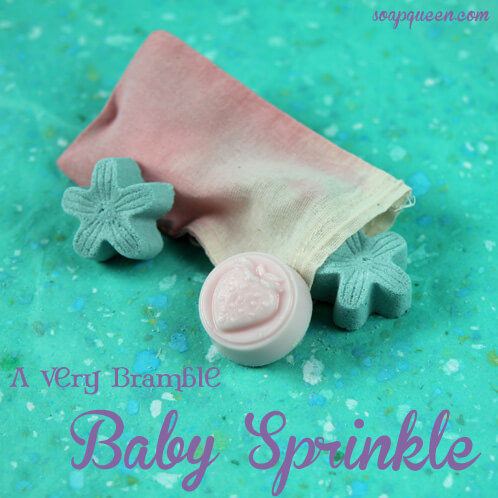
Another addition to the series of Bramble Girl Sprinkle tutorials – Mini Flower Bath Bombs! The sweet little flowers pair fabulously with the Strawberry Tart Melt and Pour Soaps and the Ombre Gift bags for a gift package that your guests are sure to appreciate. Try out your own color scheme with Bramble Berry’s LaBomb colorant line, and be sure to download the free PDF’s to complete the look of these favors and add a bit of flair to your sprinkle decor.
Mini Flower Bath Bombs
What you’ll need:
1.5 cups Baking Soda
1 cup Citric Acid
3 ml Teal La Bomb color
12 ml Celestial Waters Fragrance Oil

Click here to add everything you need for this project to your Bramble Berry shopping cart!
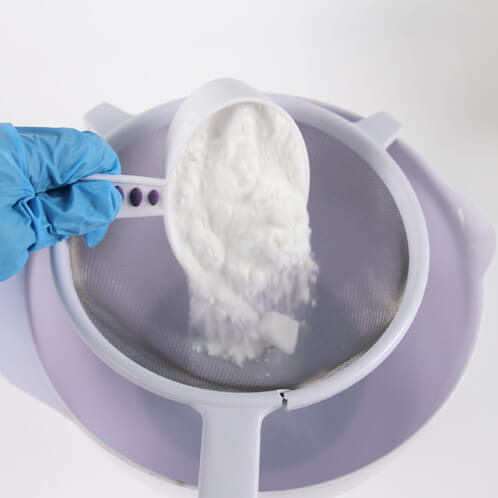
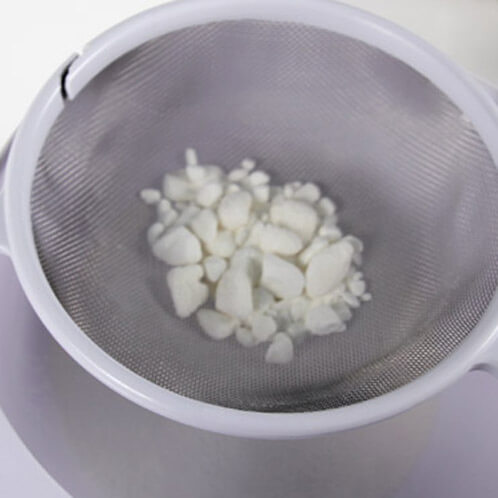
ONE: Start by pouring the baking soda through a strainer into your bowl. This will ensure that there are no lumps in your mixture.
TWO: Now add in the citric acid. Again, pour it through the strainer to eliminate clumps.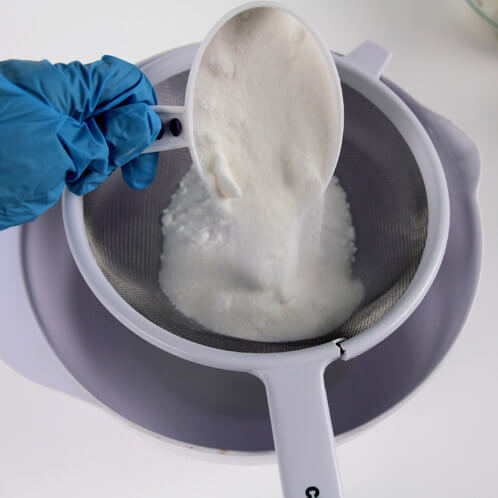
THREE: You may end up with little lumps when your powders strain through. Push them through the strainer with a spatula or spoon.
FOUR: Mix the powders together. Once the powders are mixed, add the Celestial Waters Fragrance Oil. Don’t be afraid to get in there with your hands!

FIVE: Now it’s time to add color. I used 3 mL of the Teal LaBomb colorant. What you see is what you get (WYSIWYG) with the LaBomb colorants so if you’d like your color a bit more saturated, add a bit more colorant! Just remember that the more colorant you add, the higher the chance that it will color the bath water.

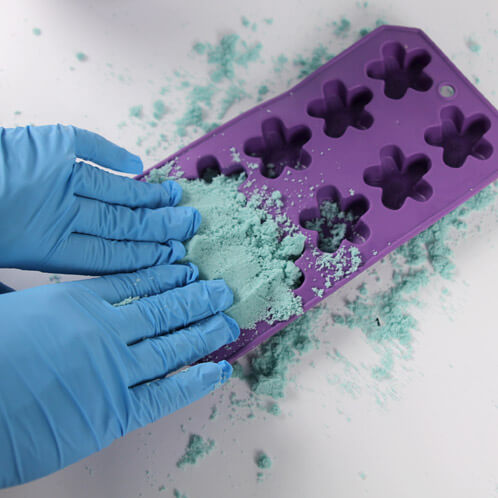
SIX: After your color has been fully mixed, spray with Witch Hazel until the mixture is moist enough to stick together on its own. Then begin to pack the mixture into the mold. You’ll want to pack the mix in really well to pick up all the details in the mold.
SEVEN: Once the cavities are filled, clean up the edges of the individual flowers to ensure a nice finish. Allow the mix to sit in the mold for 12-24 hours.
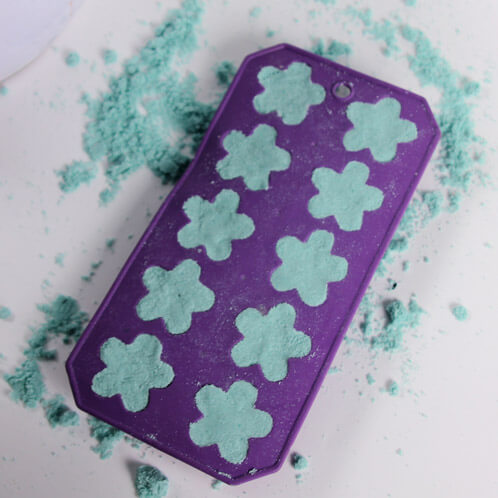
EIGHT: Carefully unmold the bath bombs by placing your hand over the front of the mold, flipping the mold over and gently pressing on each cavity from behind. Allow the bath bombs to sit unmolded for an additional 24-48 hours before wrapping. Enjoy!