A big thank you to Jennifer Perkins, host of Craft Lab on the DIY Network & HGTV, for using and reviewing the SoapyLove Line of products from Bramble Berry.
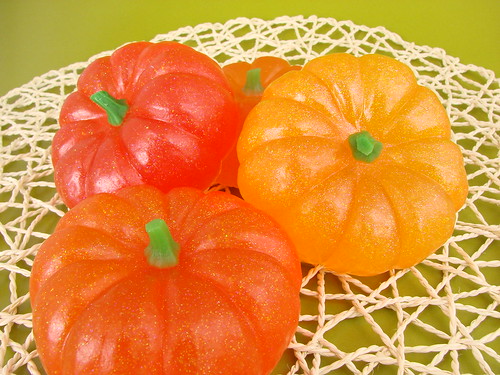
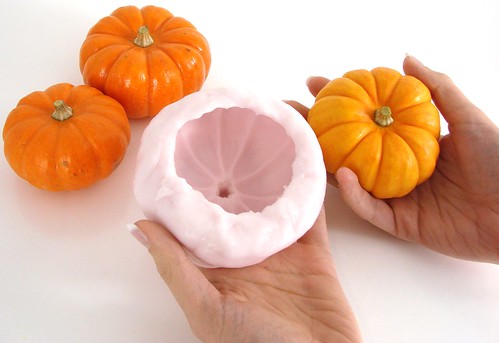
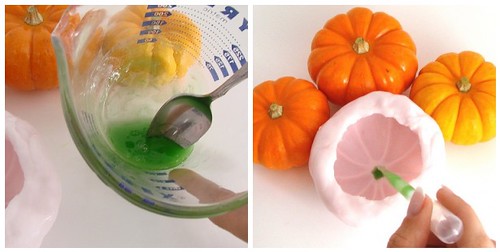
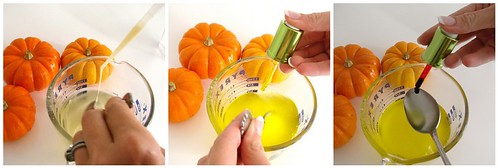
She said:“Who wants clear or white soap when you could have Ruby Red, Fiery Fuchsia, Turquoise Blue or Sunshine Yellow – the options in the Soapy Love Jewelry Box Colorant Set. You know I loved that name and the cute little medicine dropper packaging. Then there was that amazing smell, I wanted to sit and huff the box that everything came in. You can choose between Delectable Desserts or Candy Jar Fragrance Sets.”
Read the entire post here.


 Big yahoo for frequent blog commenter,