There are still two spots left for this awesome weekend series. We’re flying in some of the best minds in the soaping industry, just for you! Here is the tentative schedule for the weekend extravaganza:
Friday – Business Development time with Ron Huntington
12:00 – 4:00 – Ron Huntington
Developing a Vision
Defining your Mission
Making a ‘BHAG’

Saturday
9:00 a.m. Orientation by Anne-Marie
9:45 a.m. Anne-Marie – Hands ON!
Cold Process I
12:00 Lunch – Farmer’s Market
1:00 Lori Nova on Cold Process swirling & layering
4:00 Lotion I with Jill (Hands ON!)
6:00 End
Sunday
9:00 a.m. Beginning Melt and Pour Anne-Marie
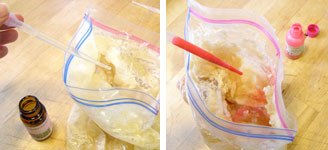
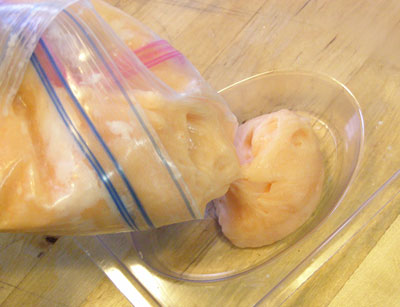
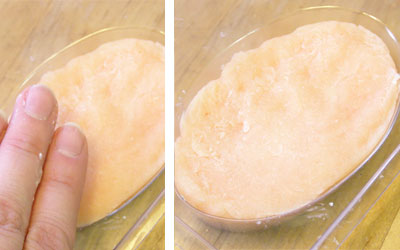
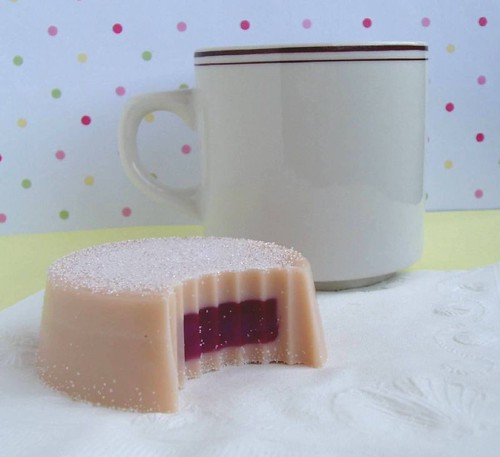
10:00 a.m. Advanced MP – Jelly Donut – Debbie (SoapyLove) (Hands ON!)
12:00 noon Lunch on your own
1:00 Plaid Soap with Debbie (SoapyLove) (Hands ON!)
3:00 Lori Nova on colorants
4:00 Cut CP soap/Cupcakes/Graduation
All this for just $350 ( includes materials fees and handouts).
Sign uphere.