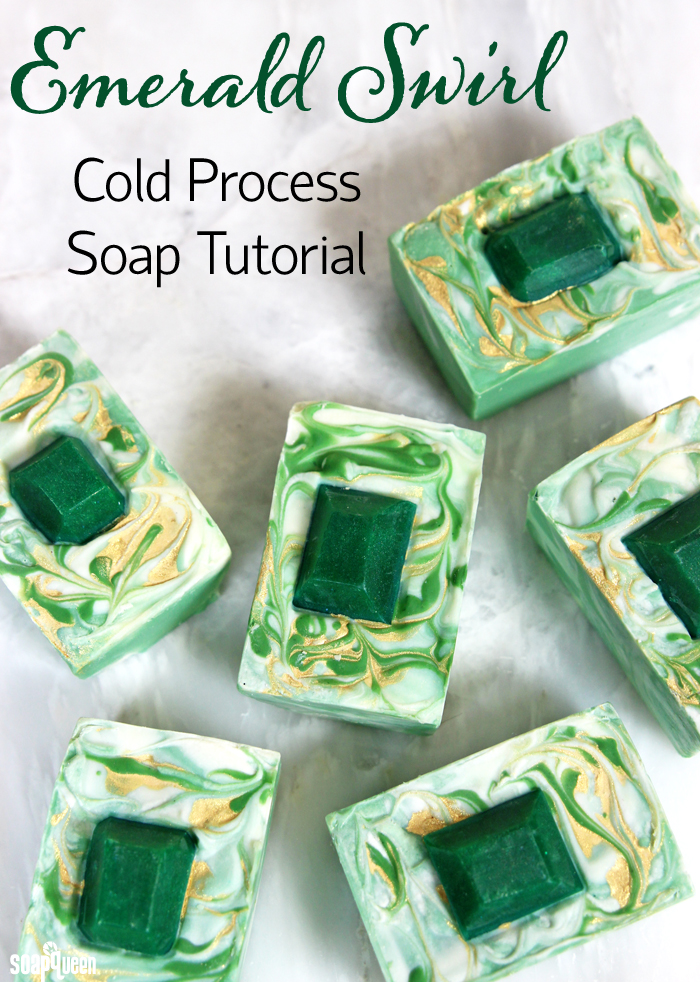
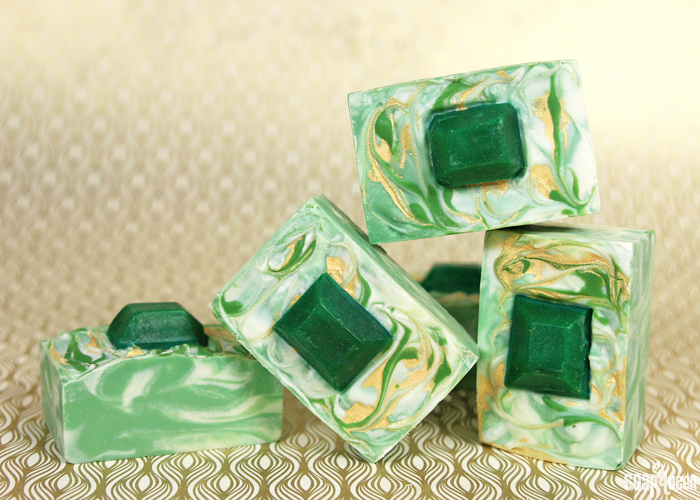
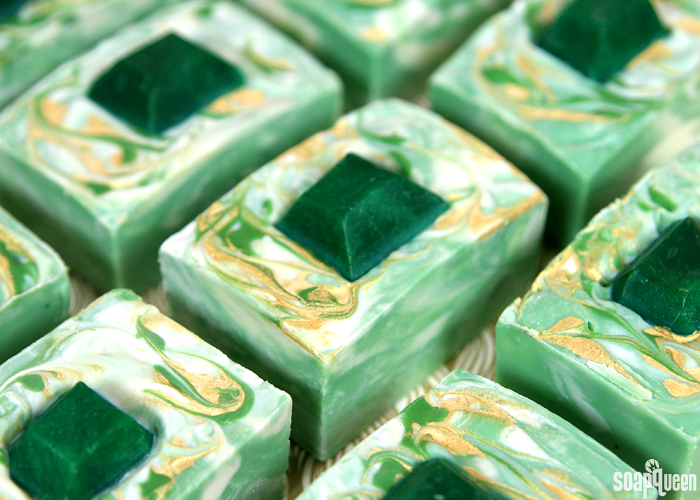
I love the rich green color and sophistication emeralds exude. My birthstone is an emerald, so it is no surprise it’s one of my favorite gemstones. For this Emerald Swirl Cold Process Soap, melt and pour embeds and mica painting create an eye-catching, emerald inspired top. The “emeralds” in the center of each bar are created with LCP Clear Melt and Pour Base and Shamrock Green Mica. Once hardened, the soap is cut into a gem-like shape and placed in the center of each bar. Gold Sparkle Mica painting adds sparkle and shine; click here to learn more about mica painting.
This project is scented with the fresh and crisp Green Fig Fragrance Oil. This non-discoloring fragrance is easy to work with and gives you plenty of time to create the in-the-pot swirl. This recipe contains plenty of soft liquid oils to aid in swirling, and to create a gentle feel on the skin. To help the soap harden in the mold a little bit faster, I used a water discount of 10%. This is completely optional, it just helps cut down on the cure and drying time =)
What You’ll Need:
12 Cavity Rectangle Mold
2.1 oz. Avocado Butter
4.2 oz. Canola Oil
.8 oz. Castor Oil
10.5 oz. Coconut Oil
2.1 oz. Green Tea Seed Oil
12.6 oz. Olive Oil
9.7 oz. Palm Oil
12.5 oz. Distilled Water (10% water discount. For full water amount, use 13.9 oz. of water)
5.9 oz. Sodium Hydroxide Lye
2.5 oz. Green Fig Fragrance Oil
Hydrated Chrome Green Pigment
Green Chrome Oxide Pigment
Titanium Dioxide
King’s Gold Mica
Emerald Embeds:
9 Cube Soap Silicone Mold
10 oz. LCP Clear Melt and Pour Base
Shamrock Green Mica
Fine Iridescent Glitter
Optional: 99% Isopropyl Alcohol
 Click here to add everything you need for this project to your Bramble Berry shopping cart!
Make the Embeds: Chop and melt 10 oz. of LCP Clear Melt and Pour Base in the microwave using 20 second bursts. — The reason we are using Like Cold Process Melt and Pour (or, Low-Sweat Melt and Pour) is because it is the most hard of the melt and pour bases AND it is the one least prone to glycerin dew. If you do get glycerin dew after making this soap, run a fan over the entire project for 12 hours until all the moisture is wicked off. — Once melted, add 1 tsp. Shamrock Green Mica and about 1/8 of a tsp. of Fine Iridescent Glitter. Use a spoon to fully incorporate in the colorants, mixing until there are no clumps. Pour the soap into two cavities of the 9 Cube Soap Silicone Mold, and spritz with alcohol to disperse any bubbles. Allow to fully cool and harden.
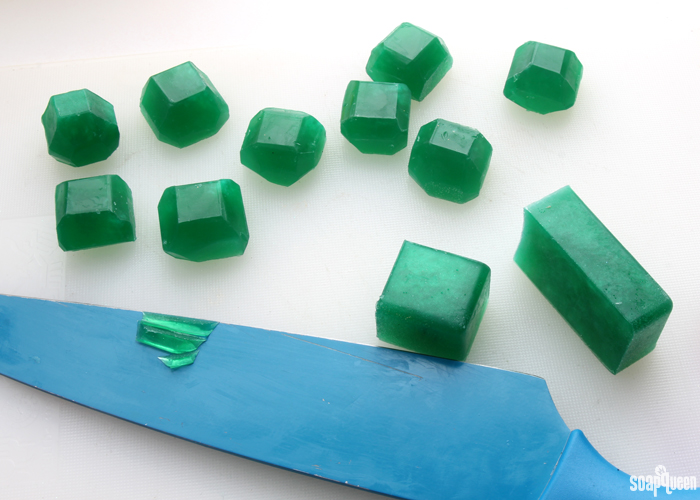
Once hard, remove from the mold and cut into emerald shapes. Each cube of soap will make six small emeralds. First cut the cube into three long pieces. Then cut the long piece in half. Carefully slice the cubes into a gem shape. Set aside until you are ready to soap.
If you’ve never made Cold Process soap before, stop here! I highly recommend checking out our FREE four part SoapQueen.tv series on Cold Process Soapmaking, especially the episode on lye safety. And if you’d rather do some reading, Bramble Berry carries a wide range of books on the topic, including my newest book, Soap Crafting. You can also checkout the digital downloads for that instant gratification factor.
SAFETY FIRST: Suit up for safe handling practices! That means goggles, gloves and long sleeves. Make sure kids, pets, and other distractions and tripping hazards are out of the house or don’t have access to your soaping space. Always soap in a well-ventilated area.
COLOR PREP: To ensure that the Titanium Dioxide blends smoothly into the soap batter, we recommend micronizing it before dispersing it in oil. Please note this is an optional tip but it does help with the titanium dioxide clumping in the soap =) To micronize colorant, simply use a coffee grinder to blend the colorant to break up any clumps of color and prevent streaks of white from showing in the final soap. We like to use a coffee grinder that has a removable, stainless steel mixing area for easy cleaning. Then, disperse 1 teaspoons of the colorant into 1 tablespoon of sunflower or sweet almond oil (or any other liquid oil). Then in separate containers, disperse 1 teaspoon of the Green Chrome Oxide, Hydrated Chrome Green Oxide and King’s Gold Mica in 1 tablespoon lightweight liquid oil. Use a mini mixer to disperse any clumps.
ONE: Slowly and carefully add the lye to the water and gently stir until the lye has fully dissolved and the liquid is clear. Set aside to cool.
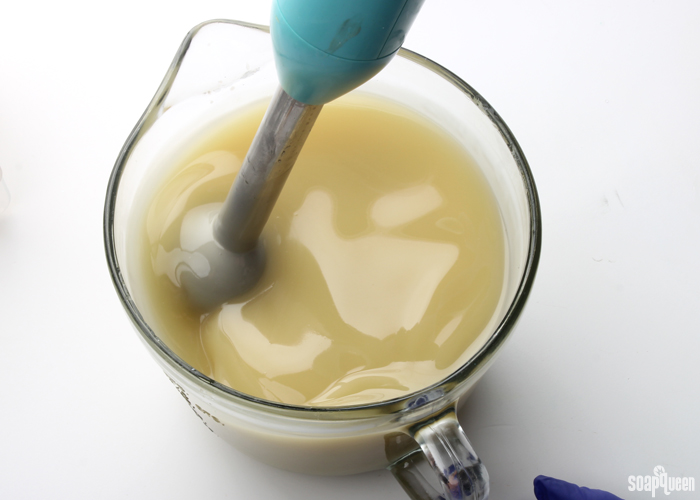
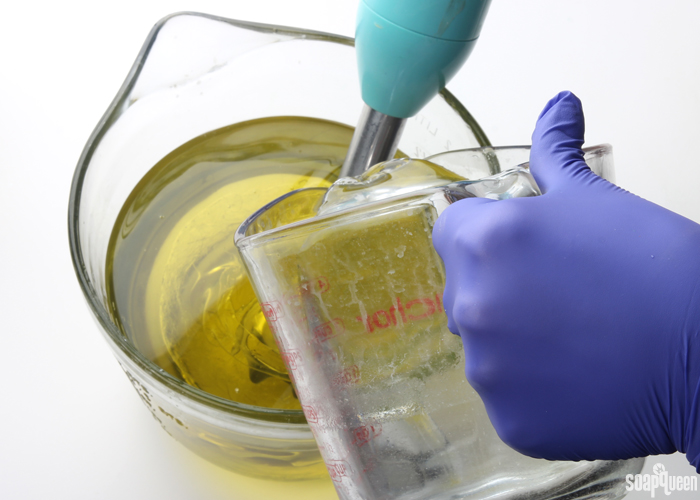 TWO: Melt and combine the coconut oil, olive oil, canola oil, castor oil, green tea seed oil, avocado butter and palm oils (remember to fully melt then mix your entire container of palm oil before portioning). Once the lye water and the oils have cooled to 130 degrees or below (and are ideally within 10 degrees of each other), add the lye water to the oils and stick blend until thin trace. If you’d like a harder bar of soap that releases faster from the mold, you can add sodium lactate to the cooled lye water. Use 1 teaspoon of sodium lactate per pound of oils in the recipe. For this recipe, you’d add about 2.5 sodium lactate.
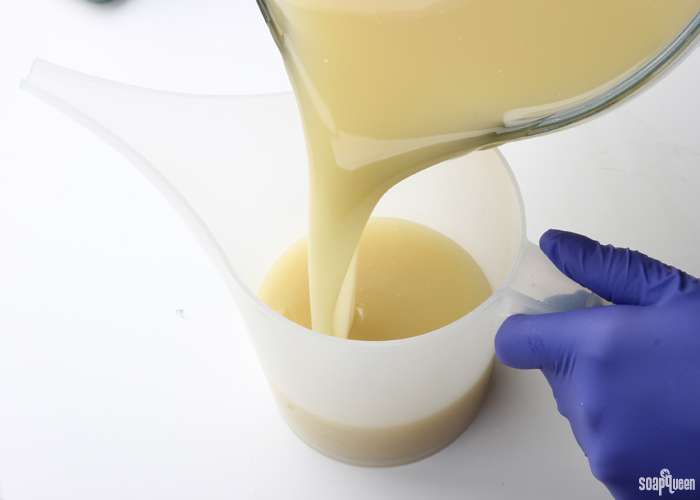
THREE: Once the batter has reached a light trace, pour off about 100 mL into a small container and set aside. This soap will be used later on the top. Then, split the remaining batter in half.
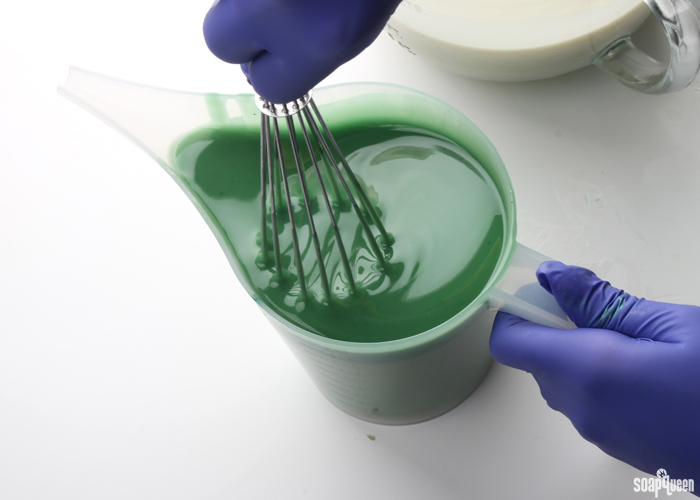
FOUR: To one container, add 2 Tbs. dispersed Titanium Dioxide and use a whisk to fully mix in the colorant.
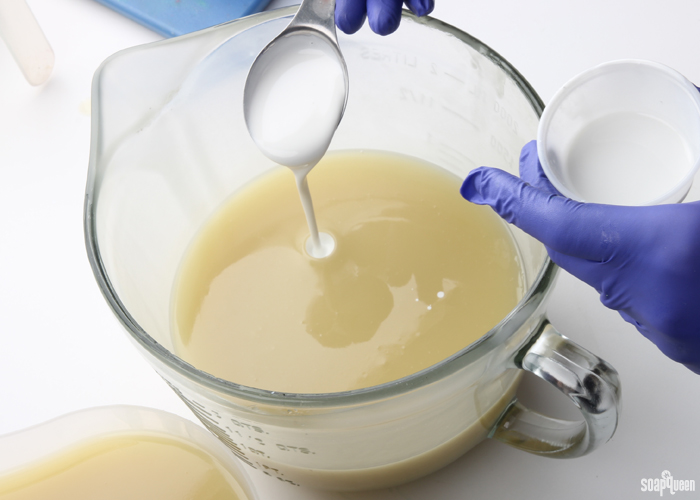
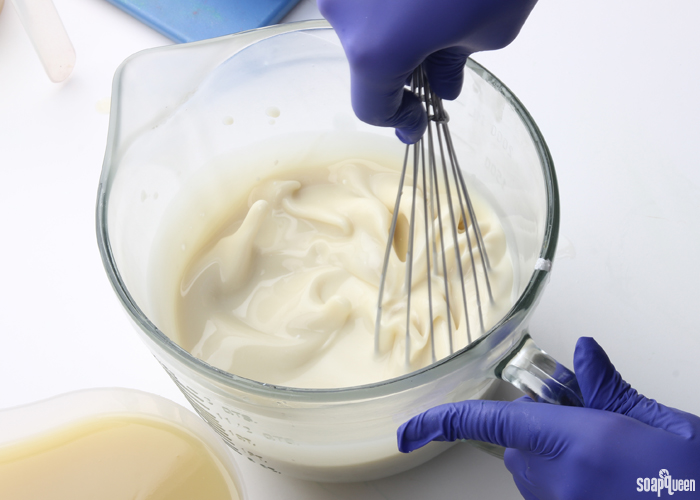 FIVE: To the other large container, add 1 tsp. dispersed Hydrated Chrome Green and 1 tsp. dispersed Chrome Green Oxide. Use a whisk to fully incorporate the colorants.
SIX: Split the Green Fig Fragrance Oil evenly between the the two containers. It’s okay to eyeball it! Use a whisk to fully mix in. At this point, the soap should be at about a medium trace. If it’s still very thin, stick blend the white and green soap for several seconds to thicken slightly.
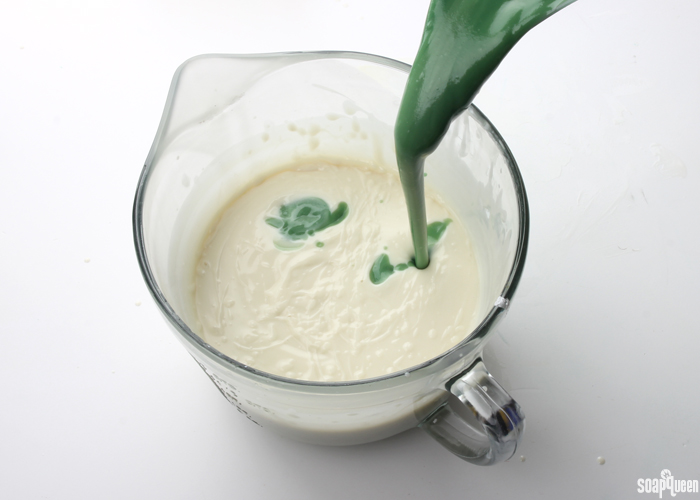
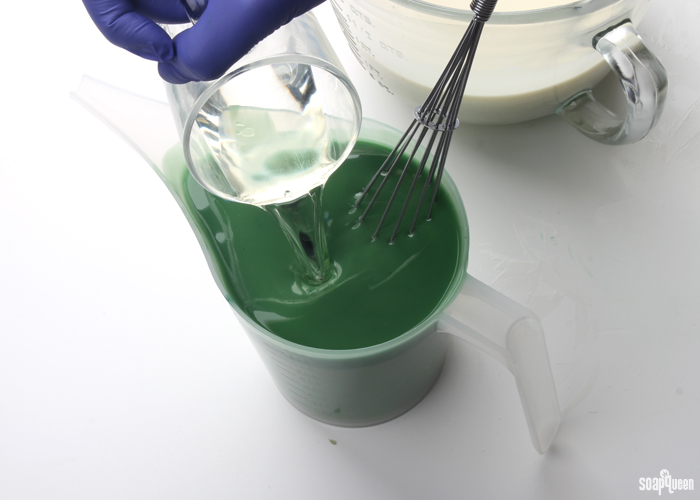 SEVEN: It’s time to make the in-the-pot swirl! Pour the green soap into the white soap in four places: 12 o’clock, 3 o’clock, 6 o’clock and 9 o’clock. Pour steadily from a high point to get the color all the way to the bottom of the container. Then, use a chopstick or dowel twice through the soap, hitting each entry point. In hindsight, my trace was just a wee bit thicker than is ideal for the project – but I did want my swirls to be ‘chunkier’ and more distinct so that’s why I went so thick with my trace for this project. Click here to watch an in-the-pot swirl in action!
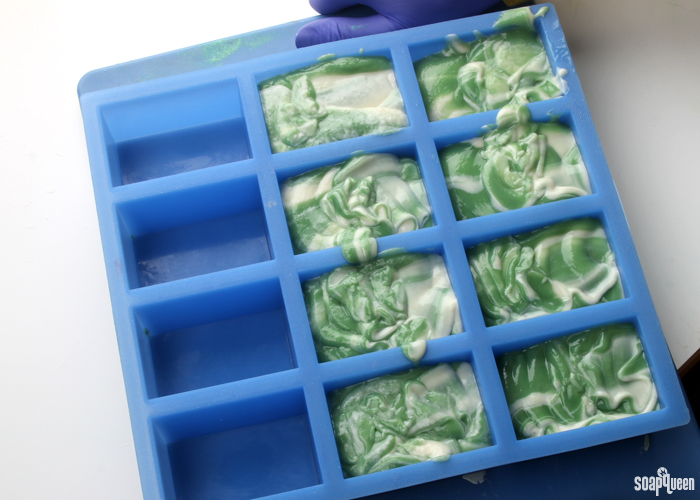
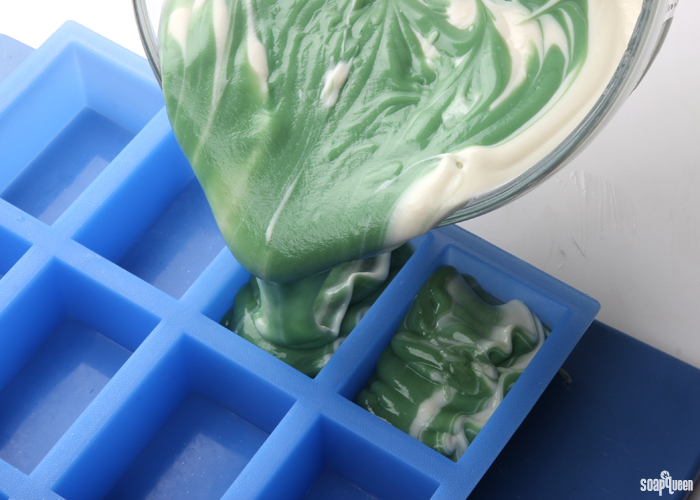
EIGHT: Place the silicone mold on a flat surface, like a cutting board. This will help you to transfer the mold after pouring the soap, and tap the mold on the counter to release bubbles. Pour the soap into each cavity. After pouring about half of the cavity, tap the mold on the counter to help disperse the soap evenly in the cavities. If you need to, use a back of a spoon to smooth the top of the soap.
 NINE: Add 1 tsp. of dispersed Chrome Green Oxide to the small container of soap portioned off earlier. Use a whisk to fully mix in the color.
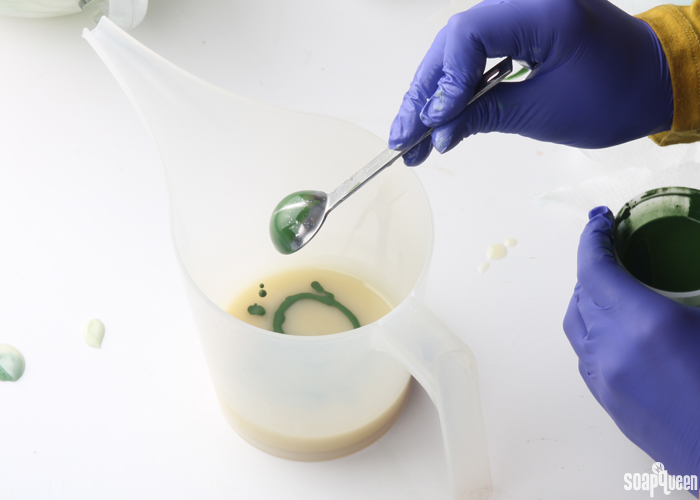
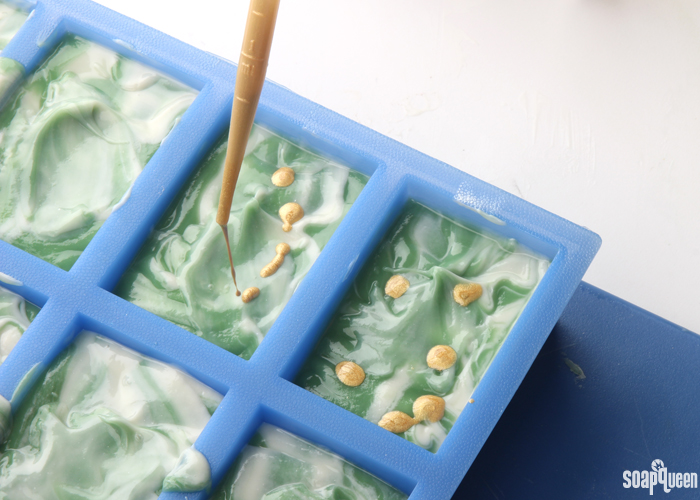
TEN: Once the top of each cavity is smooth, use a dropper to place drops of the Gold Sparkle Mica oil mixture onto the top of the soap. I placed about 6-8 drops of gold per cavity, but how much you use is up to you! Don’t worry too much about where the drops go, just try to disperse them evenly on the bar. Then, use the dropper to add drops of the highly pigmented green soap on the bars as well.
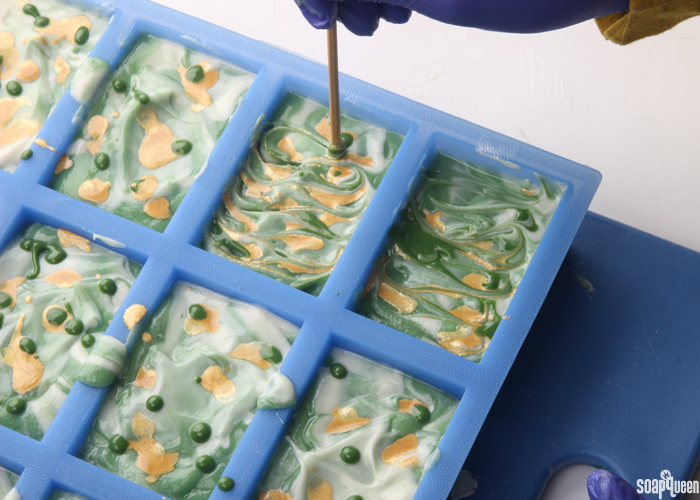
ELEVEN: Use a chopstick or dowel to swirl the dots of gold mica and dark green soap. I used an S-shape down the length of the mold, but feel free to swirl however you’d like!
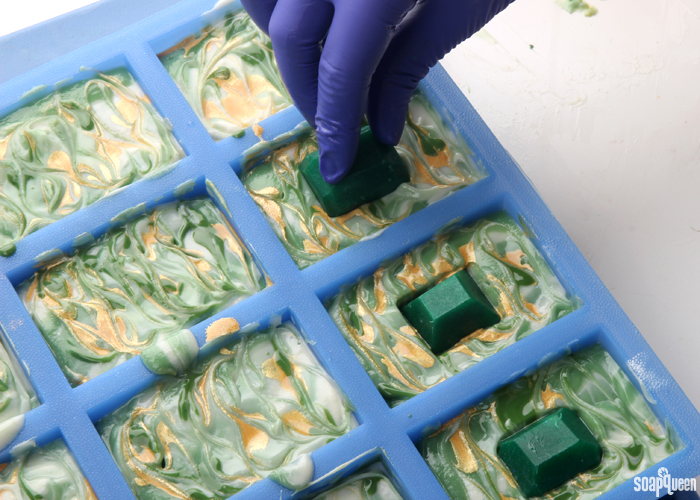
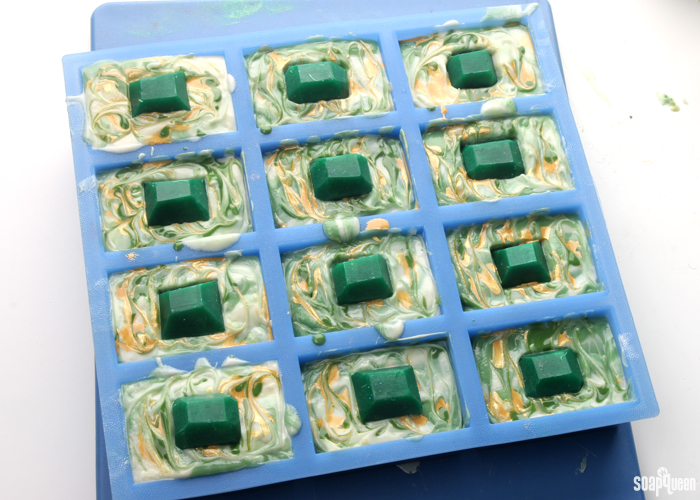
TWELVE: Press an emerald melt and pour embed into the center of each cavity. Lightly spritz the top of the soap with 99% isopropyl alcohol to prevent soda ash. Don’t spray too much, as this can cause the mica painting to disperse. Because the melt and pour pieces may melt if the soap gets too hot, do not insulate the soap. Allow to harden in the mold for 3-5 days. I found this soap took a little bit longer to harden. Once hard, remove from the mold and allow to cure for 4-6 weeks. The LCP melt and pour soap does prevent glycerin dew, but may still develop a small amount while the cold process soap cures. We found it easy to wipe away the dew if it did form. =)
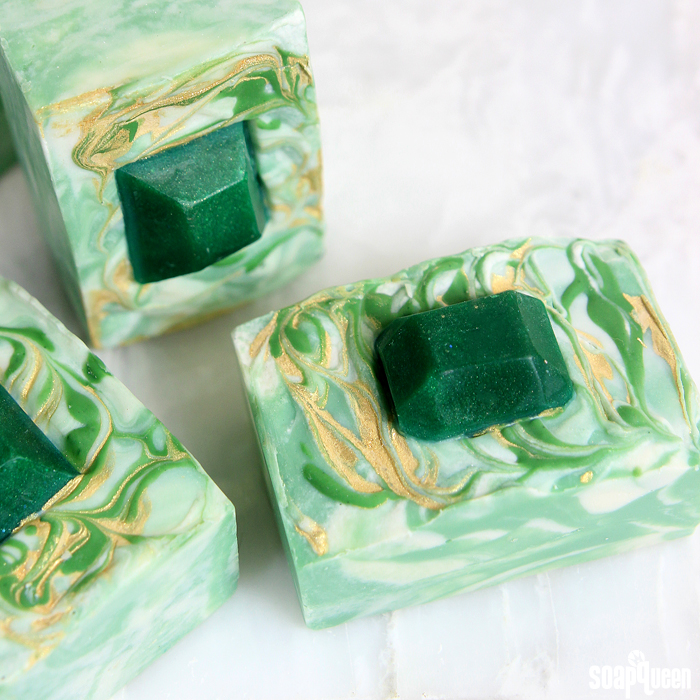
Gorgeous soap gems all lined up in a row, looking just like emeralds!
What is your favorite way to incorporate micas into cold process soap?
- 12 Cavity Rectangle Mold
- 2.1 oz. Avocado Butter
- 4.2 oz. Canola Oil
- .8 oz. Castor Oil
- 10.5 oz. Coconut Oil
- 2.1 oz. Green Tea Seed Oil
- 12.6 oz. Olive Oil
- 9.7 oz. Palm Oil
- 12.4 oz. Distilled Water (10% water discount)
- 5.9 oz. Sodium Hydroxide Lye
- 2.5 oz. Green Fig Fragrance Oil
- Hydrated Chrome Green Pigment
- Green Chrome Oxide Pigment
- Titanium Dioxide
- Gold Sparkle Mica
- 9 Cube Soap Silicone Mold
- 10 oz. LCP Clear Melt and Pour Base
- Shamrock Green Mica
- Fine Iridescent Glitter
- Optional: 99% Isopropyl Alcohol
- Slowly and carefully add the lye to the water and gently stir until the lye has fully dissolved and the liquid is clear. Set aside to cool.
- Melt and combine the coconut oil, olive oil, canola oil, castor oil, pumpkin seed oil, shea butter and palm oils (remember to fully melt then mix your entire container of palm oil before portioning). Once the lye water and the oils have cooled to 130 degrees or below (and are ideally within 10 degrees of each other), add the lye water to the oils and stick blend until thin trace. If you’d like a harder bar of soap that releases faster from the mold, you can add sodium lactate to the cooled lye water. Use 1 teaspoon of sodium lactate per pound of oils in the recipe. For this recipe, you’d add about 2.5 sodium lactate.
- Once the batter has reached a light trace, pour off about 100 mL into a small container and set aside. This soap will be used later on the top. Then, split the remaining batter in half.
- To one container, add 2 Tbs. dispersed Titanium Dioxide and use a whisk to fully mix in the colorant.
- To the other large container, add 1 tsp. dispersed Hydrated Chrome Green and 1 tsp. dispersed Chrome Green Oxide. Use a whisk to fully incorporate the colorants.
- Split the Green Fig Fragrance Oil evenly between the the two containers. It’s okay to eyeball it! Use a whisk to fully mix in. At this point, the soap should be at about a medium trace. If it’s still very thin, stick blend the white and green soap for several seconds to thicken slightly.
- It’s time to make the in-the-pot swirl! Pour the green soap into the white soap in four places: 12 o’clock, 3 o’clock, 6 o’clock and 9 o’clock. Pour steadily from a high point to get the color all the way to the bottom of the container. Then, use a chopstick or dowel twice through the soap, hitting each entry point. Click here to watch an in-the-pot swirl in action!
- Place the silicone mold on a flat surface, like a cutting board. This will help you to transfer the mold after pouring the soap, and tap the mold on the counter to release bubbles. Pour the soap into each cavity. After pouring about half of the cavity, tap the mold on the counter to help disperse the soap evenly in the cavities. If you need to, use a the back of the spoon to smooth the top of the soap.
- Add 1 tsp. of dispersed Chrome Green Oxide to the small container of soap portioned off earlier. Use a whisk to fully mix in the color.
- Once the top of each cavity is smooth, use a dropper to place drops of the Gold Sparkle Mica oil mixture onto the top of the soap. I placed about 6-8 drops of gold per cavity, but how much you use is up to you! Don’t worry too much about where the drops go, just try to disperse them evenly on the bar. Then, use the dropper to add drops of the highly pigmented green soap on the bars as well.
- Use a chopstick or dowel to swirl the dots of gold mica and dark green soap. I used an S-shape down the length of the mold, but feel free to swirl however you’d like!
- Press an emerald melt and pour embed into the center of each cavity. Lightly spritz the top of the soap with 99% isopropyl alcohol to prevent soda ash. Don’t spray too much, as this can cause the mica painting to disperse. Because the melt and pour pieces may melt if the soap gets too hot, do not insulate the soap. Allow to harden in the mold for 3-5 days. I found this soap took a little bit longer to harden. Once hard, remove from the mold and allow to cute for 4-6 weeks. The LCP melt and pour soap does prevent glycerin dew, but may still develop a small amount while the cold process soap cures. We found it easy to wipe away the dew. =)




what does this mean exactly? less amount of distilled water…??? …”I used a water discount of 10%. This is completely optional, it just helps cut down on the cure and drying time =)”
thank you
We used a water discount to help this soap unmold and cure faster. That involves reducing the suggested water amount by 10% so there’s less water to evaporate. This post has more on water discounts and how to calculate them for your recipe: http://www.soapqueen.com/bath-and-body-tutorials/tips-and-tricks/water-discounting-cold-process-soap-how-why/
-Kelsey with Bramble Berry
Hello! I have a similar project in mind but need a suggestion. I have the guest lotus mold and want to do M&P in the petals and CP for the rest. I was wondering how to make sure the M&P sticks to the CP when unmolding. Thank you!
I’m not entirely sure if the melt and pour pieces will stick to the cold process soap. When working with melt and pour embeds, we have to press them into the soap to get them to stick. My worry with the melt and pour already in the mold is that it may not stick. When you spray alcohol on the soap to pop bubbles, it creates a film that may cause separation.
I would recommend making a small batch to do some testing. After you pour the melt and pour, don’t spritz with alcohol. That way it won’t form a film. Then, you’ll want to soap pretty hot – around 130F. I’m hoping warmer soap will sort of melt the details a bit and make them stick. Then, if that works, you can make a larger batch. 🙂
-Kelsey with Bramble Berry
How do you know when a water discount is appropriate? I like using avocado butter in my soaps and like the idea of lessening the cure time and hardening the overall bar.
Hi Alicia!
There are several reasons to use water discounts! For example, if you’re adding a fruit or vegetable puree we recommend water discounting to account for the extra water in the puree. It’s also helpful if your recipe is on the softer side. If it contains a lot of soft oil or milk which adds extra fat to the batch, water discounting helps it unmold more quickly. 🙂
You can water discount any recipe you like! To helps shorten the cure time. Keep in mind it can speed up trace, so if you’re working with a really intricate design you may want to use the full liquid amount. Read more about water discounting soap here: http://www.soapqueen.com/bath-and-body-tutorials/tips-and-tricks/water-discounting-cold-process-soap-how-why/
-Kelsey with Bramble Berry
Yup, that’ll do it. You have my appoeciatirn.
You’re welcome! 🙂
-Kelsey with Bramble Berry
I love your soaps! I don’t want to use palm oil, what would be the best substitute for in place of this?
Hi Lena!
Thank you, so glad you love the soap! 🙂
Palm oil adds some great firmness to your soap, and there is no direct replacement for it. You can add other ingredients to help firm up your recipe though, including tallow and cocoa butter. Read more about those oils and how much to add to your recipes here: http://www.soapqueen.com/bath-and-body-tutorials/tips-and-tricks/free-beginners-guide-to-soapmaking-common-soapmaking-oils/
This blog post on substituting oils in cold process soap is helpful as well: http://www.soapqueen.com/bath-and-body-tutorials/tips-and-tricks/how-to-substitute-oil-in-cold-process-recipes/
Sodium lactate helps firm the soap up as well. You can add 1 tsp. of sodium lactate per pound of oils to your cooled lye water. Read more in the Sunday Night Spotlight: Sodium Lactate: http://www.soapqueen.com/bramble-berry-news/sunday-night-spotlight-sodium-lactate/
We have a lot of great palm free recipes you may like as well. I’ll include links below. 🙂
Palm Free Vertical Twist: http://www.soapqueen.com/bath-and-body-tutorials/cold-process-soap/palm-free-vertical-twist-tutorial/
Palm Free In The Pot Swirl: http://www.soapqueen.com/bath-and-body-tutorials/cold-process-soap/a-palm-free-in-the-pot-swirl/
Formulating Cold Process Recipes: http://www.soapqueen.com/bath-and-body-tutorials/tips-and-tricks/formulating-cold-process-recipes/
-Kelsey with Bramble Berry
Super cute!! Maybe it’s just my love for emerald green here, but this is the best project yet! I love it!
Thank you so much Margaret! That means a lot coming from you. 🙂
-Kelsey with Bramble Berry