Search Results for: www.brambleberry.com
He’s a Grad! Yay Mr. Wonderful!
Tattoo Your Soap on Soap Queen TV
Check out this, quite possibly my coolest, edition of Soap Queen TV ever! I show how to make Tattoo soap.
Wait, is cool still cool? Maybe this is my sickest Soap Queen video? Whatever the case maybe I had a great time making these soaps and I think you will, too! Wouldn’t this be a great project to make with your teenager or soon-to-be teenager?
In this episode of Soap Queen TV, I show how applying temporary tattoos to your soap is a fun and easy way to liven up your plain bars of soap. I also show how to embed a tattoo design to make it last even longer.
How to Make Tattoo Soap on Soap Queen TV from Soap Queen on Vimeo.
To make the Rock Star Soap you will need:
White Melt & Pour Soap base
Liquid Black Pigment
Wasabi fragrance oil
Organic Flexible mold
Rock Star Tattoos
To Make the Groovy Flower Power soap you will need:
Clear Melt & Pour Soap base
White Melt & Pour Soap base (or you can just add some liquid white color to the clear)
Yuzu Fragrance
Flexible Dome mold
Flower Power Tattoos
Or make it easy and get one of our kits. Here for the Rock Star and here for the Flower Power.
Oh The Things You Can Do! Soap Frosting 3 More Ways.
When I decided to try my hand at a simple soap frosting recipe, I had no idea what it would become! Frosting was just the tip of the iceberg. Here are several things you can do with the same basic formula which is 4 oz of melted soap base + 2 Tablespoons of liquid soap, whipped with a hand mixer (click here for a great Soap Queen video). Add colorant and fragrance as desired.
Soap Meringues (shown above): Whip frosting recipe until shiny peaks form. I used red colorant and Strawberry Fragrance Oil. Quickly put mixture into a piping bag (I used my bag and star tip). Squeeze out 1″ meringues onto tin foil, waxed paper, or parchment. Allow to dry. Peel paper away from backs of meringues and toss lightly in cornstarch.
Soap Marshmallows: Follow instructions for Soap Meringues, but this time pour into a brownie pan lined with plastic wrap. Allow to dry and harden, then remove plastic wrap and cut into blocks with a sharp knife. Toss lightly in cornstarch. This style is great with jojoba beads.
Fluffy Fillings: The original way to use this recipe was to spoon it on. Depending on how long you whip it you can get a creamy icing or a firmer marshmallow fluff, like for these S’Mores featured in the Summer ’10 issue of Let’s Get Soapy, or the Hot Chocolate Loaf Soaps in the Winter ’09 issue.
Over at the Soapylove Fan Page, Tammy of Milk and Cookeez generously shared photos of her projects plus we had a great discussion about how to use this sometimes-tricky recipe. Here are a few more pictures from her album!
So I encourage you to try this recipe and play around. It can take some practice to control it well, but I guarantee you’ll have fun!
-Debbie Chialtas, Soapylove
What Did You Do This Weekend?
A Voice in Washington, DC … Just for Us!

Though Congress is in recess right now, there is still a lot of work going on behind the scenes around the Safe Cosmetics Act – both with its advocates and its detractors. It is Bramble Berry’s official position that the act is too overreaching, too broad and is not enforceable as currently written. Click here to read our initial take on it and here to read about our trip to Washington DC to meet with staffers working on the proposed legislation.
Liquid Soap in a Soaper’ific Jiffy!
Soap Weekend Insanity!
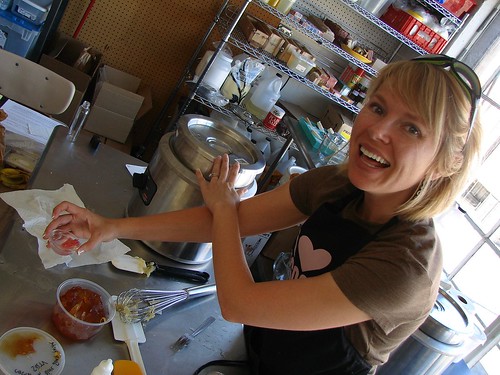
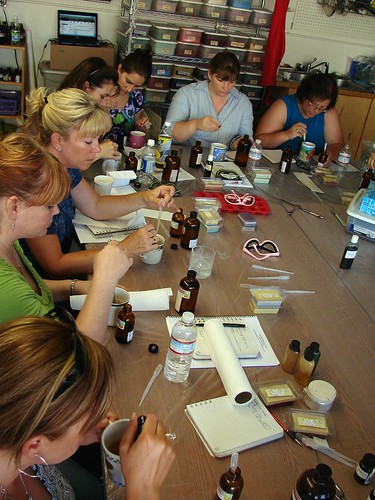
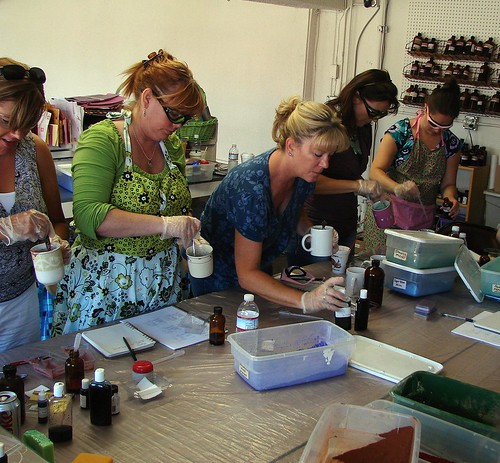
Hi From Soap Weekend Intensive! We have students from all over the world here – which is fitting since we have a teacher from Australia here too! The farthest anyone traveled is the Phillipines. Others are from Canada, Arizona, California and more. We are happy that so many soapers are here to soak in the deliberately-small-sized-practically-private class.
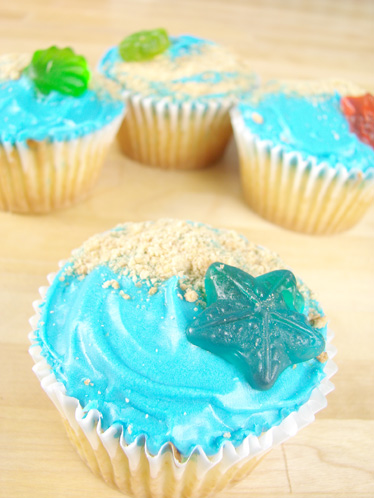
Jude Birch, from Aussie Soap Supplies, started off a beautiful Saturday morning with the introduction to cold process soapmaking. The intro class is definitely more entertaining with an Australian accent. I love listening to Jude speak. After the CP intro, the class took a little break and I was super tempted to walk across the street to Rocket Doughnuts for a pick-me-up. But I came to my senses and decided to save my calories for cupcakes. It will be worth it!
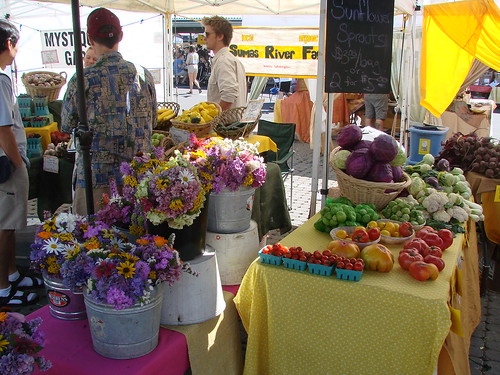
After Jude’s cold process layering lesson, we walked down to the Bellingham Farmer’s Market for sandwiches, ice cream and fresh veggies. I can’t get over the weather right now, it is absolutely a perfect day today!
We’re just about to wrap up the day with Liquid Soapmaking so I better get going to prep for my class. I’ll get some pictures up in the morning.Tomorrow is melt and pour with Erin Pikor, from Naiad Soap Arts. It’s so great to finally meet her, she’s a hoot!
Sandwich Social and SWI
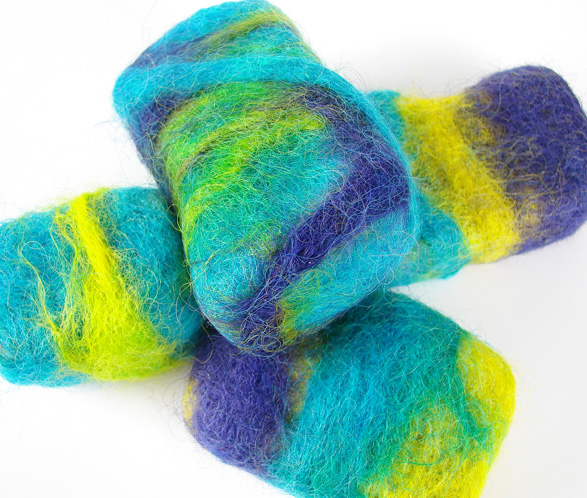
All’s Wool That Ends Wool
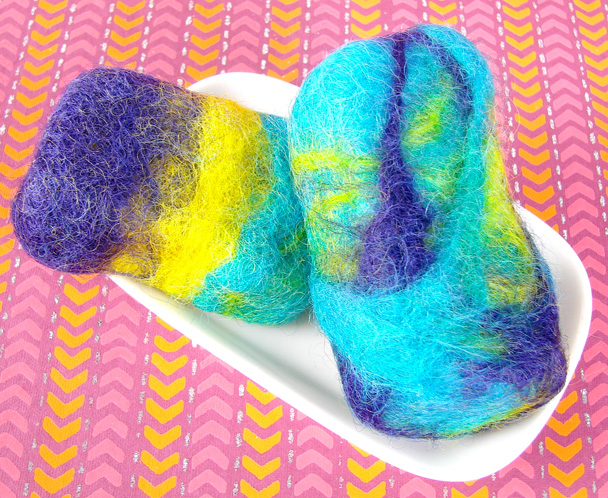
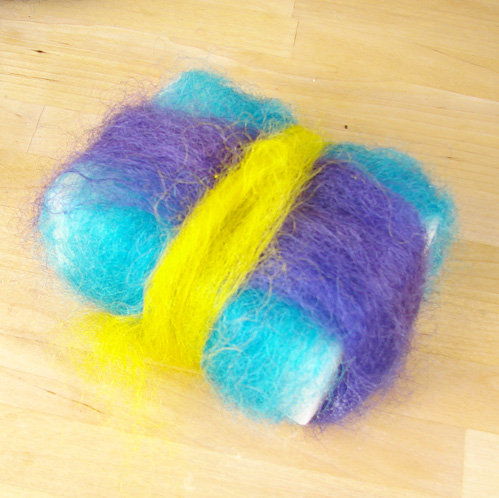
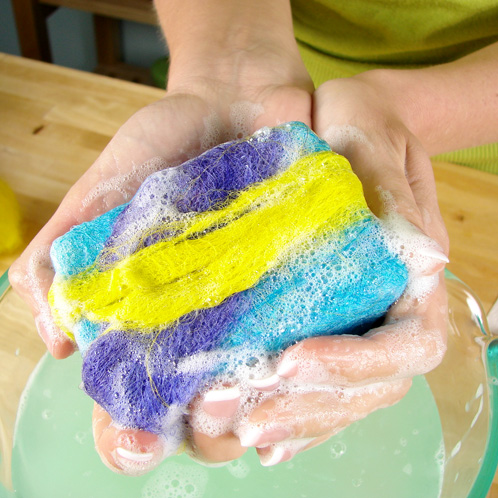
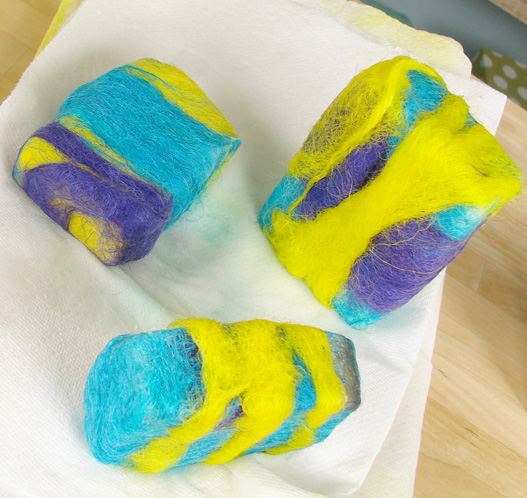
ONE: Start off by taking a couple strands of your wool and wrap it around your soap. Do all one color, stripes or a creative pattern. Just make sure to cover the entire soap in wool so there are no “bald spots”. The corners of my soap (pictured above) still needs some more wool.
TWO: Wet the soap with warm water and start “using the soap”, scrubbing the wool with your hands, rubbing every inch of the soap. The felting process is basically matting the wool hair so it will stick together. Scrub for about 10-20 minutes until you can’t pinch off any of the wool fibers. I know what you’re thinking: 20 minutes is a long time. But think positive. When you’re done, your hands are going to be soft and smooth as a baby’s derrière.
Have a question about this blog post? Come join us at Bramble Berry’s Facebook page and we can help you out with any of your soapy questions!
Epic Epicurean Eats
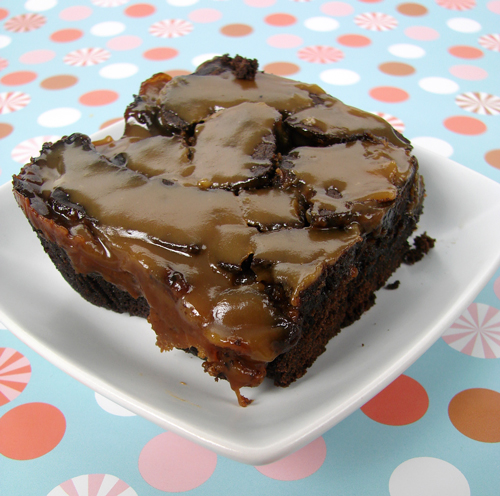
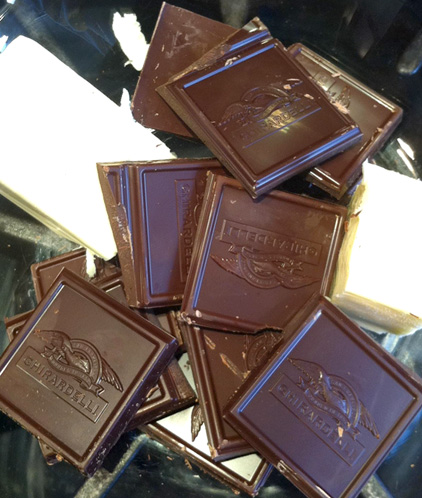
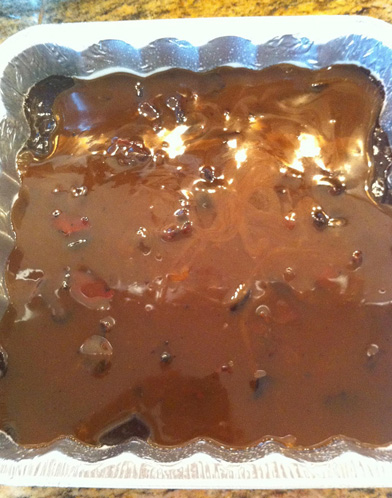
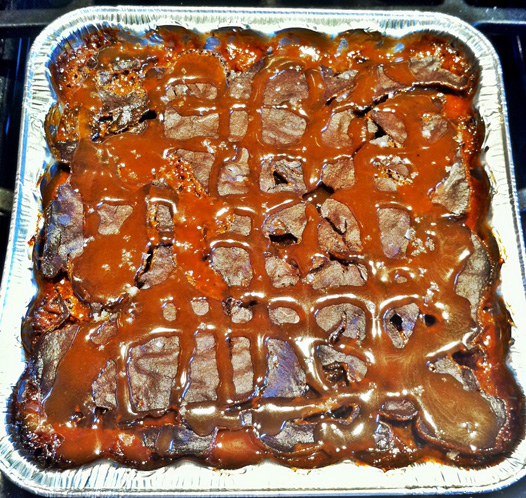
It’s another Bramble’versary. Amber, our resident marketing genius, designs our rotating home page photos, our newsletter, lays out our e-books and takes the best photographs of anyone on the team. She started out as my part time assistant five years ago but didn’t stay there long; it was apparent she had skills that exceeded what I needed in an assistant. I’ve never replaced that assistant position and Amber’s never looked back. We’re lucky to have her. And, for her five year Bramble’versary, I wanted to make something that was befitting of how complicated and multi-faceted her job is. Behold, the Salted Caramel Bacon Brownie.
Did You Already Eat That? (Guest Post)
Did You Win? Contest for a Cause Winner
Thanks to everyone who entered the Contest for a Cause. I’m so proud of our tight-knit soapmaking community for actively taking a stand to oppose the Safe Cosmetic Act. All of your tweets, posts and letters to your Representatives do make a difference! So thank you, thank you and THANK YOU!
Now what you’ve all been waiting for…it’s time to announce the winner. All of the entries were printed, cut and put into a pot…
Pasta with Fresh Fava Bean Sauce
If you follow me on Twitter, you may have seen my photo of my CSA share haul. But if you don’t, you can see it here. In Washington state (and other states around the nation), small organic farms group together and offer ‘fresh from the farm’ produce groupings as a subscription program. We pick up a full box of veggies every week and have more vegetables than we can eat weekly.
Since eating fruits and vegetables is a proven anti-cancer strategy AND (darn), vegetables have less calories than cheese (double darn), while there are fresh veggies, I am taking advantage of them.
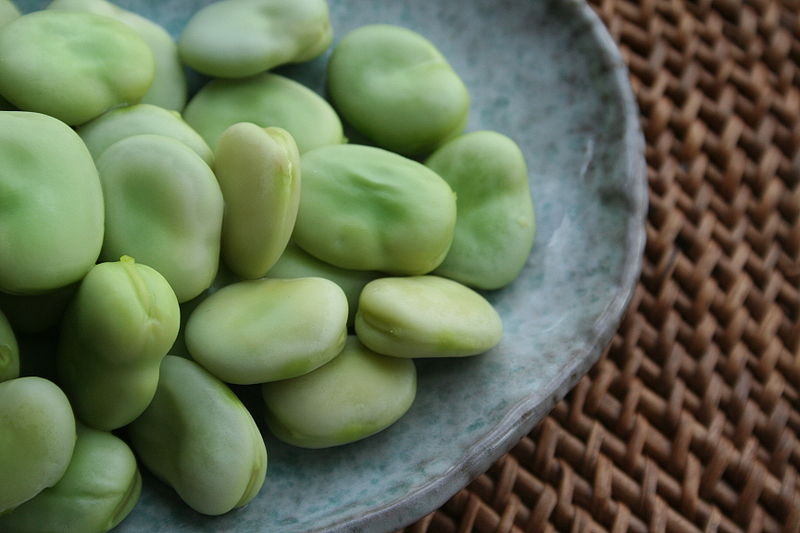 I have never eaten a Fava Bean before. I’ve seen them (in that movie ‘Silence of the Lambs’ but that counts, right?). And, you’ll have to forgive me, I started taking photos with my iPhone after I tasted how delicious the dish was (whoops).
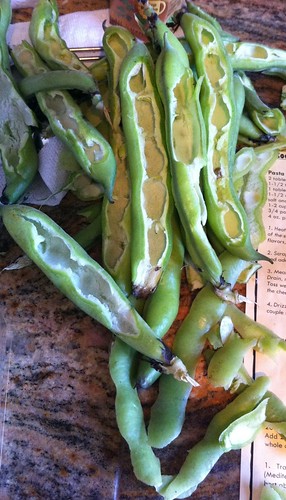
So Fava Beans – they’re these large large large bean-like things. You have to get the beans peeled before you make this. I found the easiest way to do this was to slice the tip off the beans (horizontally) and then peel the beans out.
Recipe:
2 tablespoons Olive Oil
1 – 2 teaspoons minced garlic
1 tablespoon finely chopped fresh oregano
1 1/2 cups chicken stock (canned is fine)
salt & pepper
2 cups peeled fava beans
3/4 pound dried fettuccine
2 oz. piece of pecorino cheese or Parmesan cheese
1. Heat the olive oil in a medium saucepan until hot. Add the garlic and saute briefly until just before the garlic turns brown. Stir in oregano and then add 1 cup of stock. Bring to boil, season with salt and pepper and add 1 1/2 cup of fava beans. Simmer to blend the flavors for 5 minutes.
2. Dump this into a heat safe blender container and puree with an additional (remaining) 1/2 cup chicken stock until smooth. Return to the sauce pan and add the remaining 1/2 cup favas. Simmer gently and add salt and pepper to taste.
3. At some point in this process, bring another pot of water to boil and add salt and a teaspoon of olive oil to the water. Add the pasta and cook until al dente. Drain and mix with the sauce. Toss well. Serve immediately and grate cheese over the top.
Quick! It’s Fava Beans are in season now. Get thee to your Farmer’s Market and find some fresh Fava Beans.


