Happy Tuesday! It’s time again for another installment of our ever popular Talk it Out Tuesday series (check out our previous posts on lip balm, preservatives, bath bombs, melt and pour, lotion and colorants). I am super excited about this week’s topic because it is all about my latest crafty obsession…nail polish! Read on to find out more about how to customize your own nail polish and all the fun nail polish-themed products that Bramble Berry carries.

How do I customize my own nail polish?
All you need is a suspending nail polish base, a nail polish bottle, nail polish mixing balls and your favorite colorants. Here’s a quick breakdown in three easy steps:
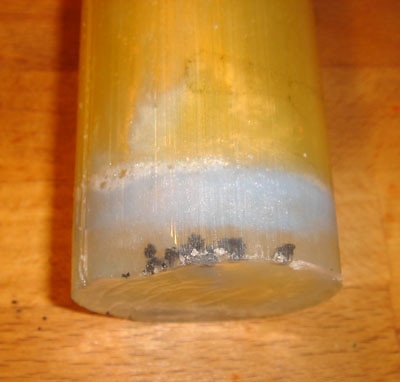
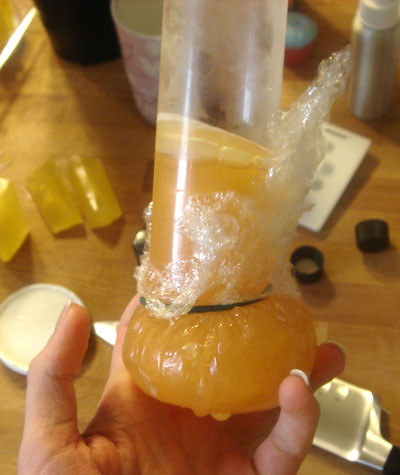
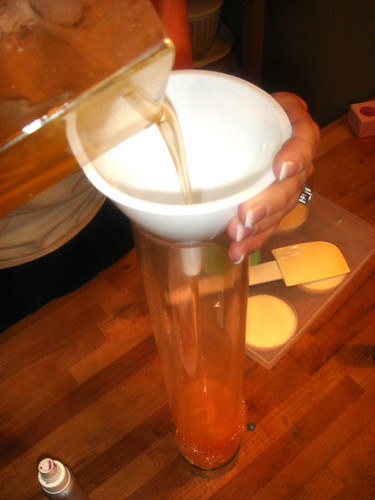
1. Make sure you are working in a well ventilated area and away from any open flames. Nail polish is extremely flammable (extremely!). Carefully pour the nail polish base into the bottles. Fill it to the shoulder of the bottle (where it bends), or just below the shoulder if adding fragrance. Then, use Bramble Berry’s tiny funnels to add your choice of micas or glitters. NOTE: the funnels do not work to fill the actual polish; it’s too thick. This is a WYSIWYG process – what you see is what you get. Remember, you can always paint a little bit on a piece of paper to make sure you’re happy with the color – or add more later.
2. Once your mica or glitter has been added, place a couple of the nail polish mixing beads into the bottle, then slip in the brush and firmly twist the cap on. You should hear the brush click right into place.
3. Shake well and apply! It really is that easy and there are so many color mixing options. [Read more…]