Have you ever made milk soap? Did you add the lye directly to the milk? Ewww! What’s that smell?
Joanna Schmidt, author of the Soap Bar Blog, hated the smell that occurred when she froze milk then added lye to the frozen milk. So she never did it again. Instead, she began using a method of incorporating milk into her soaps without adding the lye directly to the milk. She was kind enough to share her method with us. Joanna said you can use any good soap recipe for this, and I think Bramble Berry’s Lots of Lather Quick Mix would be the perfect choice!
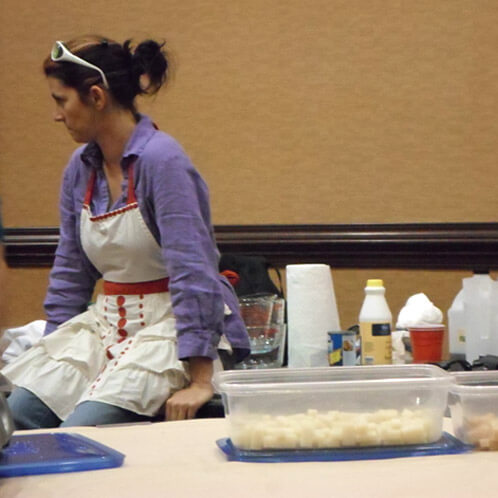
Here’s what Joanna showed us: instead of using the full amount of water called for in your recipe, use half water and half milk, and keep them separated. Oops. Too late? Well, no use crying over spilled milk. Drink down that watery milk and let’s try again. Get yourself two containers. Weigh the milk (half the amount of water the recipe needs) in one. Weigh the water (the other half of the required water) into the other (make sure it’s a lye safe container). There. All better? It’s a good idea to put the milk back in the fridge to keep it cool.
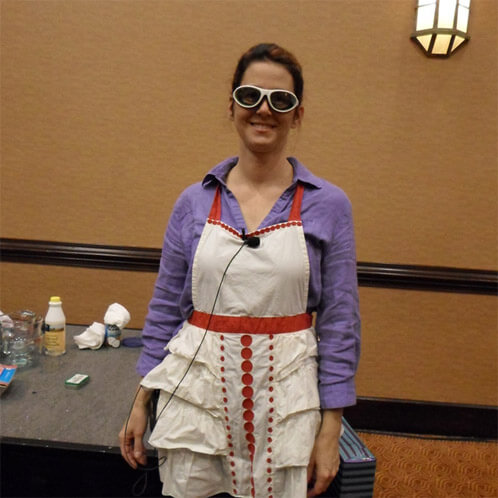
Next, suit up and be safe. (Isn’t that a cute apron that Joanna is wearing? Her daughter gave it to her!) Be sure to follow safety procedures for handling lye and working with cold process soap. Measure the full amount of lye into one container. Now add the lye to the water. Stir gently. Even though you won’t get the pungent ammonia smell you’d get if you added the lye to milk, you’ll still want to be in a well-ventilated area. Breathing in fumes as the lye and water react is not a healthy or pleasant thing. Once the lye is fully incorporated into the water, mark it as lye. Add skull and crossbones. Set it aside in a safe place where you can keep an eye on it. Next, prepare your oils. Melt any hard oils, and then add your liquid oils to them. Temperatures of the oils and the lye mixture don’t need to be exact, but they should be between 90 and 100 degrees Fahrenheit. Keeping the temperatures cool lessens the likelihood of the milk getting scorched.
Slowly add the lye mixture to your oils. Stir it just a bit. You can even stick blend it ever so briefly. Next, add the milk. Stick blend in brief bursts until a light trace forms. Once trace forms, you can add any fragrance or essential oil you’d like to use. And you can add any other additives. Then pour the soap batter into the mold. Joanna didn’t use any additives in the presentation. That way, we got to smell just the soap, and see the color of the soap base without any added colorant.
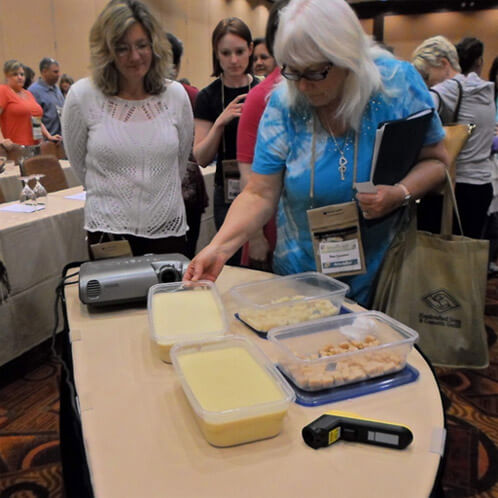
I was so engrossed in Joanna’s presentation, that I forgot to take photos of her mixing and pouring the soap. The picture above shows the beautiful soaps after they were poured. The top one is the coconut milk soap — it stayed light. The bottom one is the buttermilk soap — it darkened a bit.
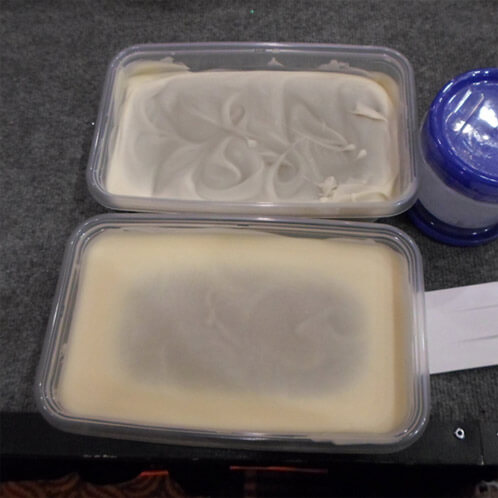
Joanna had cubes of coconut milk soap and buttermilk soap that she had made a few days before the session. The coconut milk soap is on the top, and the buttermilk soap is on the bottom. You can see an even more pronounced color difference between the two soaps in the cubes that have cured for a few days.
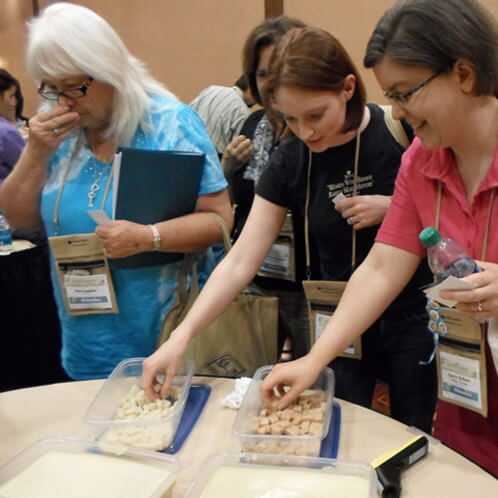
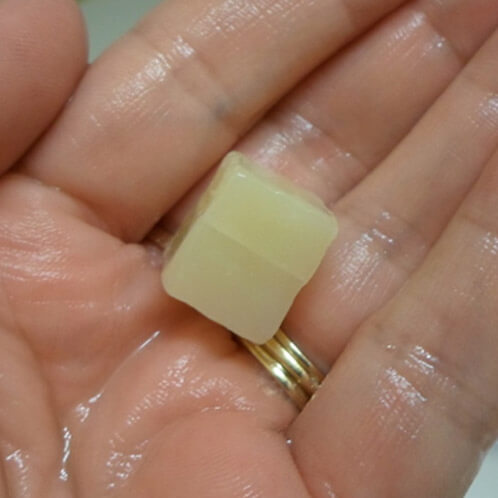
At the end of the presentation, Joanna invited us to take one soap cube of each kind. Yay! They were wonderful! Joanna told us that the buttermilk would produce a lovely lather. She also said the coconut milk one would have lots of bubbles. As soon as I got back to my room with the cubes, I tried them out.
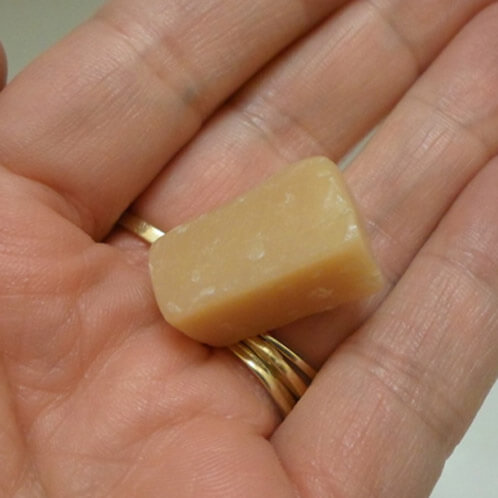
I tried the buttermilk soap first. Look at all the creamy lather!
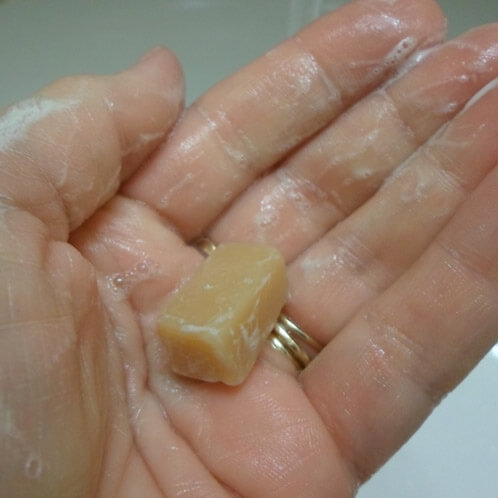
Then I tried the coconut milk soap. Look at all the bubbles!
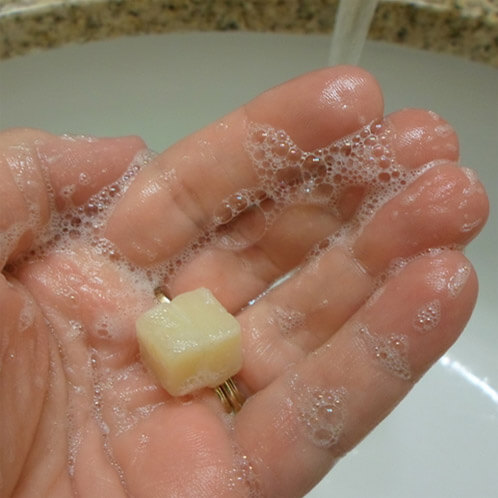
My favorite between the two was the coconut milk soap. It had bigger bubbles. I like big bubbles (and I cannot lie). Sorry. A song just popped into my head and ran out my fingers and into the keyboard 🙂 Thank you, Joanna, for a wonderful and informative session!
Interesting in learning more about milk soap? Check out Making Milk Soap from Scratch, a full color 42-page guide that will teach you 4 different techniques (inlcuding this one) for adding milk to your soap. Want even more? Try your hand at the Buttermilk Bastille Baby Bar tutorial!