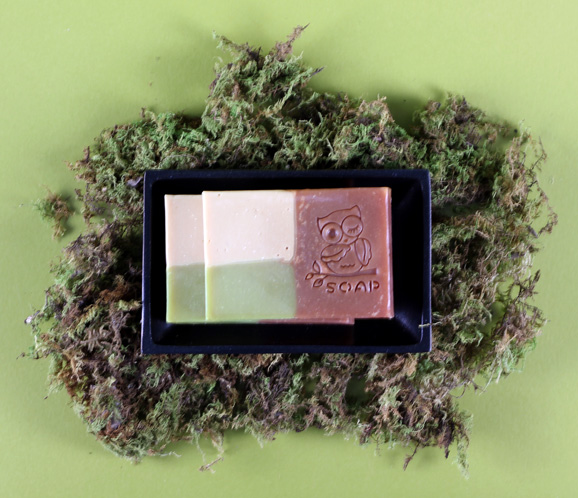
Are you ready to get creative with a new cold process technique? Then this is the project for you. I got a little crazy and experimented with a third divider in the vertical mold. And to get even more creative I added powdered goat milk to the recipe. Powdered Goat milk is easier to use and store than fresh goat milk and is very quick to mix-up when using our little mini-mixer tool. You’ll also notice in the instructions that I added the goat milk at trace, which is an easy way to add the goat milk without turning the soap brown. Oh…and if you’ve never used Apple Jack Peel, you’re in for a real treat! Enjoy!
Ingredients:
16.0 ounces Canola Oil
6.0 ounces Coconut Oil
8.5 ounces Olive Oil
9.6 ounces Palm Oil
2.4 ounces Palm Kernel Flakes
5.9 ounces Lye
11.23 ounces Distilled Water
3.0 ounces Applejack Peel Fragrance
1.75 ounces Powdered Goat Milk
2.8 ounce Distilled Water
1.5 teaspoons Merlot Mica
1.5 teaspoons Red LabColor
1 teaspoon Titanium Dioxide
2 teaspoons Green Apple LabColor
.5 ounces of Sweet Almond Oil
Pouring Buddy (optional)
Buy everything you need in the click of a button!![]()
Before You Begin
MOLD PREP: For this project, I did a modification to the Vertical Mold. I divided one of the cavities in half so that I wound up with 3 different colors. So easy! Here’s how:
TIP: Line your Vertical Mold with freezer paper.
ONE: Assemble the plastic pieces inside the vertical mold, you’ll need it to be able to measure the piece you’re creating. Find something sturdy and easy to cut. I used some cardboard left over from some packaging (yay for reusing!).
TWO: Cut to size, perpendicular to the center divider in the mold. I used an end piece as a stencil to get the height correct, then eyeballed the width (it’s better to be a little big than too small; you want a tight fit rather than a loose one).
THREE: Wrap your piece with freezer paper, shiny side out. Keep in mind that the freezer paper will add extra bulk, so if your cardboard is tight, trim it back just a bit before wrapping it.
FOUR: Fit your piece into the mold, and you’re ready to go!
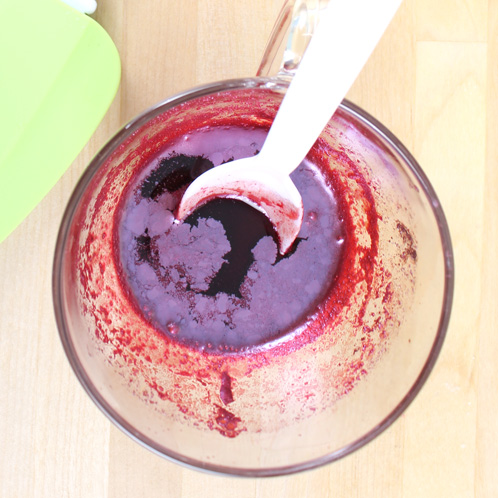
COLOR PREP: I mixed together the Merlot Mica and Red LabColor to create a gorgeous Red Apple color, so fitting for this project! I also made a slurry with .5 ounces of Sweet Almond oil and 1 teaspoon Titanium Dioxide.
MORE PREP: Mix the Powdered Goat Milk and 2.8 ounces of distilled water.
Instructions
SAFETY FIRST: If you’ve never made CP soap before please watch the first 4 videos on how to make CP, paying special attention to the episode on Lye Safety.
ONE: In a well ventilated area, carefully prepare your lye water by adding the lye to the water (never add the water to the lye). Stir until the mixture turns water clear.
TWO: Melt and combine Canola, Coconut, Palm, and Olive Oil with the Palm Kernel Flakes.
THREE: Slowly and carefully add the lye mixture to the oils and stick blend for 5-10 seconds. Add your goat’s milk at very light trace and stick blend until just incorporated.
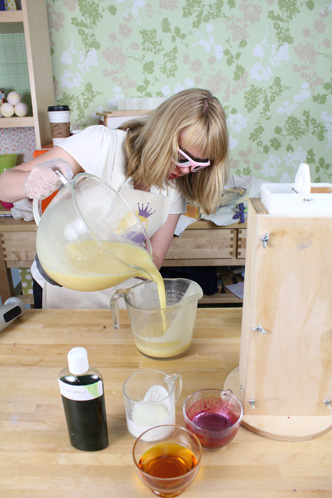
FOUR: Add the Applejack Peel and stick blend for another 5-10 seconds, being sure to fully incorporate the fragrance into the soap batter.
FIVE: Split your fragranced batch in half, then split one of the halves in half again. You can totally eyeball this step.
SIX: Time for some color!! The biggest of the three gets the Red Apple, and the two smaller batches get Green Apple and Titanium Dioxide. Mix well, minding trace and switching to a whisk if needed.
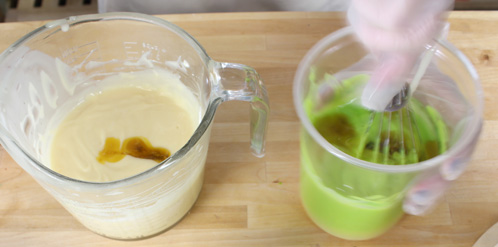
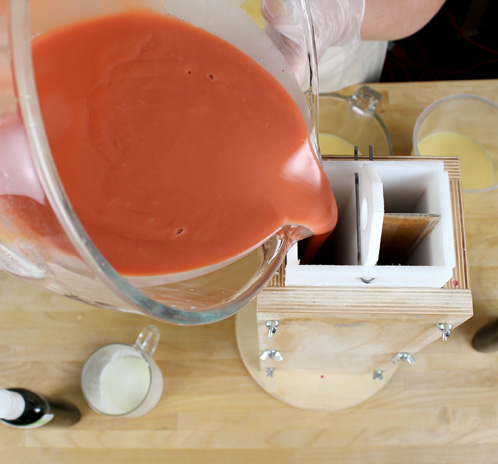
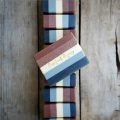
SEVEN: Here’s when you might want to call in that Pouring Buddy! Take your Green Apple and Titanium Dioxide colored batches and pour simultaneously on either side of the freezer paper-covered cardboard divider. Pour slowly and as evenly as possible so not to disturb the divider. Then pour your Red Apple colored batch into the bigger cavity. Once you’ve filled up your mold, immediately pull out both of the dividers and you’re done!
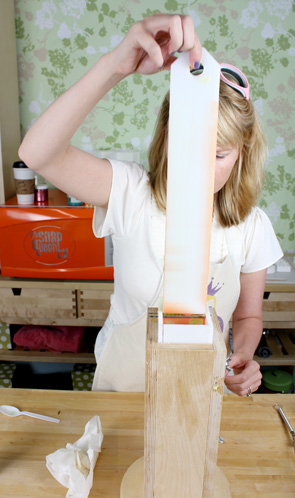
EIGHT: Wait 24-48 hours and unmold the soap. Cut your bars and let cure for 6-8 weeks!
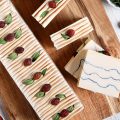
OPTIONAL: After another day or so, I used our cute new stamps to add some extra flair to the Red Apple section of the soap! I think these stamps are great for that little pop of interest and a nice, finished look.
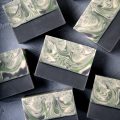
 Would you like a bar of this very soap to really take it apart and see it in person? Well, you’re in luck. I just put this Magma Soap up for sale in my brand new Soap Queen Lab shop on Etsy! Check them out here.

I tried it. Not a good idea. Guess I’ll redo the soap but the slowwwww way.
Ooooooh …. (I’m frowning and making major lines in my forehead right now). So, what happened?
Would this recipe be ok to do cp oven process with the goats milk?
You can do it but the soap will definitely get dark brown since overheated milk = scorched, brown milk =) It might smell a bit funky for a bit as well.
What a wonderful blog! Very informative, and well put together. I guess it’s time Togo shopping for some soap supplies!!! 🙂
Thanks for the kudos, Paris. I’m so glad you like the blog. Have fun shopping and let us know if you need any help along the way. We’re here for ya =)
Courtney from Bramble Berry
Ann Marie: If you pull out the divider just after pouring, don’t the sections run together and mix?
Thanks!
The trace is thick enough at this point that the layers won’t blend together. It’s the same concept of doing a layered cold process soap in a regular wooden mold. It’s the “magic” part of the recipe =)
Courtney from Bramble Berry
Hi Anne-Marie. Your blog is very interesting especially this post. I have recently become interesting in the soap making process after meeting this woman at a art festival who made her own goat’s milk soap. I told her story on my blog if you are interested in reading http://missionstrangers.com/?p=130. Best of luck to you with soap making and the blog!
Thanks Mission Stranger. I went to your site to check it out and I love the concept. I look forward to exploring it more =)