Who doesn’t love a luxurious, skin-loving body butter? Butters and lotions are great because there a whole range of skin-loving ingredients to use. Want a whipped shea body butter, avocado salve or rose water lotion? You got it! This post is a wrap up from a HSCG 2014 session by Marla Bosworth, of Back Porch Soap Co. and Bath & Body University. It’s all about formulating your own luxurious butters and lotions. Happy lotion making! — A.M.
Have you ever wanted to make a luxurious body butter or sugar scrub, but weren’t sure where to begin? Marla Bosworth, of Back Porch Soap Co. and Bath & Body University, presented us with some stellar advice for making scrumptious scrubs & butters. She had her lovely daughter demonstrate the process while she explained the recipes, too!
We learned some great tips for formulating salt and sugar scrubs. For example, Marla reminded us to consider the rinse-off factor of the oils we choose to include in our recipes. Light oils rinse off much easier than a heavy oil or solid butter, and leave skin feeling soft and hydrated, whereas heavier oils will probably leave a greasy layer behind. If you do use a heavier oil (such as coconut or olive oil), blending with some lighter oils is probably a good idea.
We learned that salt scrubs are particularly good for soothing skin prone to ingrown hairs, while sugar scrubs are more gentle on the skin. Marla provided us with a long list of different salts & sugars that are available on the market. It was very inspiring to see how many fun alternatives there are to just using plain table salt or white sugar! Here are some of her recommendations:
Salts:
Sonoma Spa Salt
Icelandic Geo-Thermal Brine Salt
Kosher Salt
Breton Organic Sea Salt
Dead Sea Salt
European Spa Salt
Hawaiian Red Sea Salt
Himalayan Pink Salt
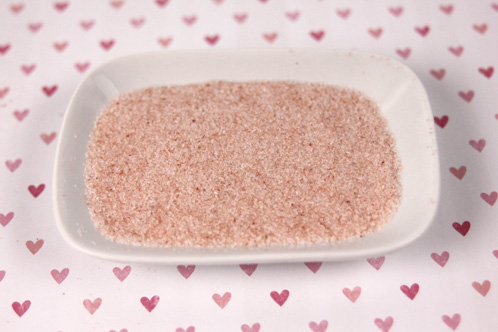
Pink Himalayan Sea Salt is one of my favorite salts to use in scrubs.
Sugars
Brown Sugar
Dark Muscovado Sugar
Light Muscovado Sugar
Natural Cane Sugar
Raw Cane Sugar
White Sugar
Dark sugars have a higher molasses content, and may ferment in sugar scrubs, so it’s a good idea to mix up a test batch, and wait 30 to 60 days to see if there’s any changes before making a large batch. When making facial scrubs, always use a super fine sugar to avoid tearing sensitive facial skin. Putting granulated sugar in a blender or food processor and giving it a few good pulses is a good way to go, or you can buy bakers sugar or “superfine” sugar in some markets.
Marla and her daughter demonstrated one of her recipes for a scrub using white sugar. She used silica gel to emulsify her oils – a great way to help reduce leakage in packaged scrubs! She recommends using about 8% silica gel, but said we could experiment with up to 10%. After mixing a recipe, she also advises to let it sit overnight, because the silica gel will continue to thicken for about 24 hours, and waiting will give you a better idea of the final viscosity.
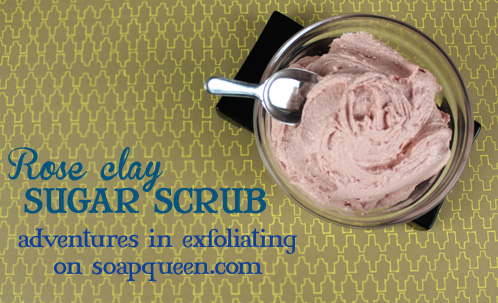
This sugar scrub is scented with Black Amber & Lavender. It’s one of my favorite scrub recipes!
She recommends using Vegecide at 1% for a preservative. Optiphen would work, as well, but she prefers using the Vegecide, as it’s slightly more natural. Whatever preservative you decide to use in your own recipes, Marla stressed the importance of making sure that you do use one! Even if you’re making products that don’t contain water, the first time a jar of scrub is opened in the shower, it will be exposed not only to moisture, but all sorts of possible bacteria and germs.
I think we all felt the need for some scrumptious butters after spending a bit of time in the drying Arizona heat – I know I did! So when Marla moved on to her body butter recipe, I was ready to learn.
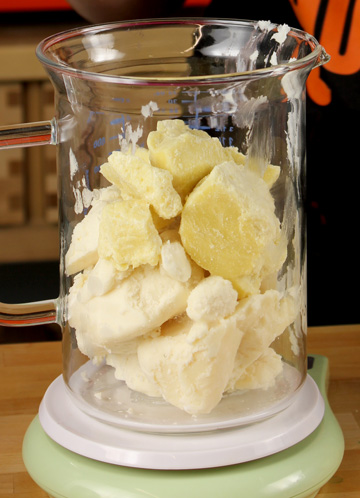
Oil absorption rate is very important – you want to use oils that will absorb quickly, and not feel heavy and greasy. She passed around bottles of Olive Squalane & Abyssinian oil, so we could try a dab, and see how they felt. I’ve never used either oil, so it was exciting to sample some new ingredients. They went on with a light silky feel, and soaked in to leave a soft, powdery finish. A good ratio for obtaining a nice ‘butter’ consistency is about 50% solid oils/butters and 50% oils.
This nourishing Avocado Body Butter is a great recipe for beginners. Watch the full ‘How to Make Whipped Body Butter‘ from Soap Queen on Vimeo.
Another factor when choosing oils is shelf life. The more stable an oil is, the longer it will last without going rancid. Vitamin E or Rosemary Oil Extract are both effective antioxidants that can prevent rancidity when added at about 1% of a recipe. In her recipe, Marla used Cetyl Esters NE for an emulsifier, also at 1%. Beeswax, stearic acid, and E-Wax can also be added at up to 5%, depending on the consistency/melt point you’re after.
Finally, we learned a couple things about scents/essential oils. When adding essential oils to leave-on skincare products, it’s crucial to think about the possibility of side effects, such as photosensitizing. Citrus oils are particularly likely culprits, but it turns out that most steam distilled oils aren’t photosensitizers, compared to cold pressed oils, and can be used more safely. Marla also advised us to add our scents in with our butters and oils, instead of adding at the end, so our beautiful whipped butters don’t deflate.
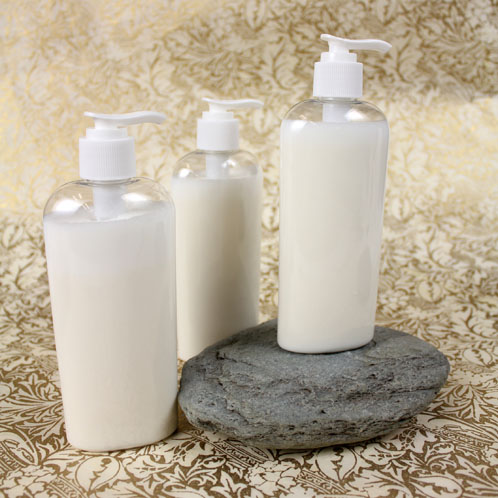
We used essential oils to fragrance the Kissably Soft Lotion Recipe. As a general rule of thumb, we do not recommend using citrus essential oils in leave-on products such as lotions or butters.
Walking away, I felt that body butters and scrubs could be a great way to compliment my soaps and other cosmetic products. Besides the high profit margin, they are diverse, fun to make, and can cater to a wide variety of customers. Marla gave us excellent advice and a masterful lecture, laying a great foundation to a new line of products!
