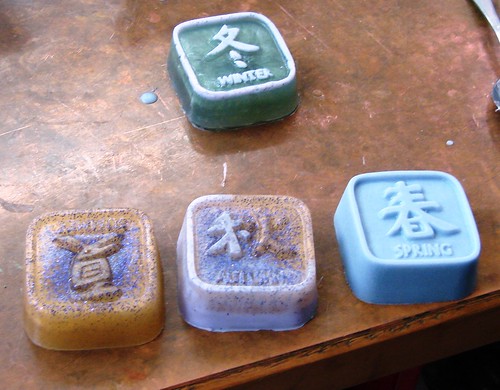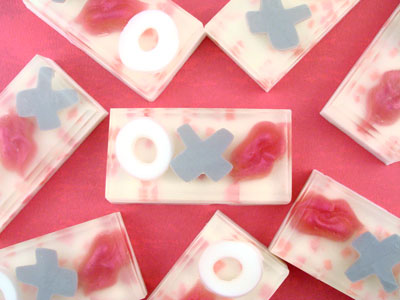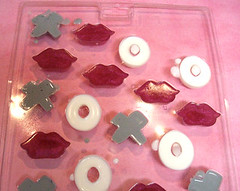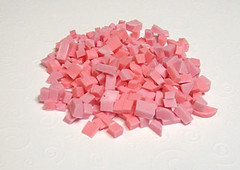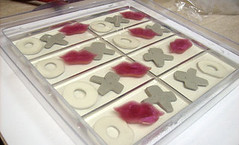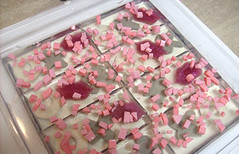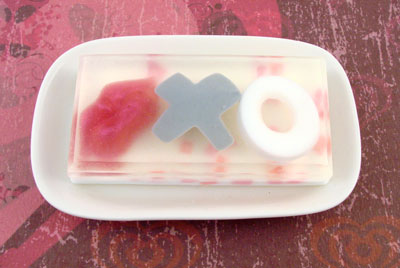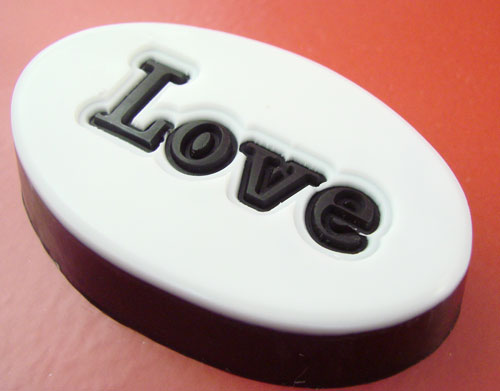
This project was designed exclusively for Martha Stewart Radio. It’s a way to make all of your basic soap molds versatile and season appropriate for pennies.
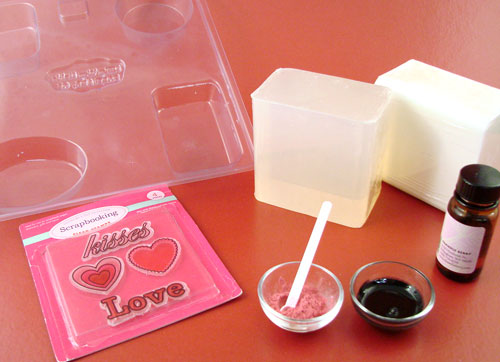
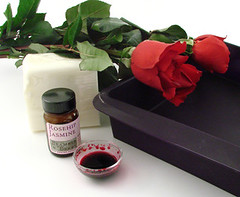
Basic Soap Mold (Note: this mold has been discontinued, it has been substituted with the 6 Cavity Oval Mold)
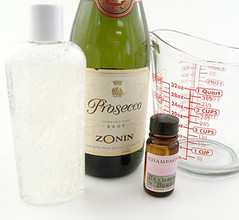
Fragrance or Essential Oil
Melt and Pour Soap (white and clear)
Unmounted Rubber Stamps (examples here – I get mine at the Dollar Store)
Optional: Black Oxide, Fuchsia Labcolor & Rose Pearl Mica
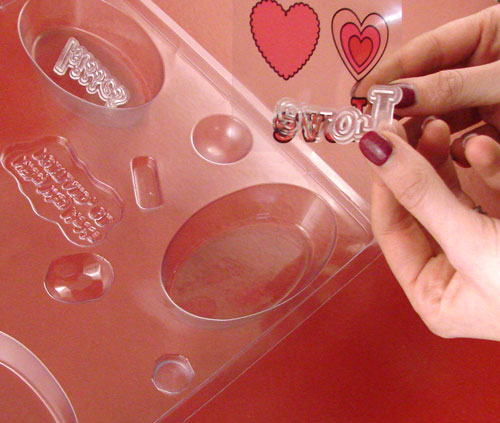
1. Carefully place the unmounted rubber stamp, flat side down. The textured design side should be facing up, towards you.
Note: The Basic Soap Mold pictured above has been discontinued, it has been substituted with the 6 Cavity Oval Mold
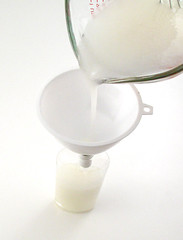
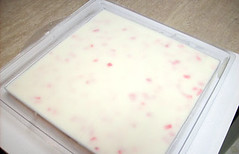
2. Cut approximately 4 ounces of white melt and pour into 1″ squares. Melt in the microwave on short bursts for 30 seconds until fully melted (full tutorial on basic, beginning melt and pour soapmaking concept here).
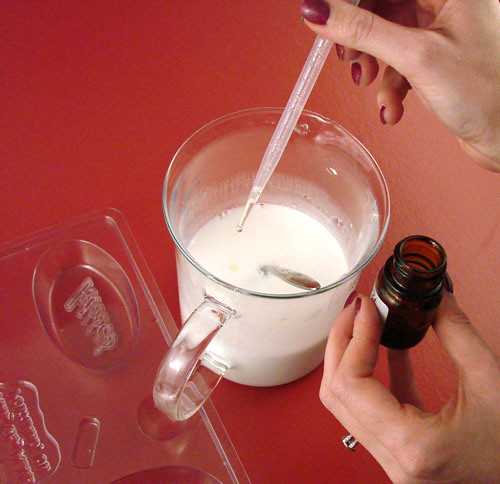
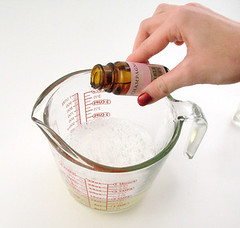
3. Fragrance your soap. For 4 ounces, approximately 3 ml of fragrance or .10 oz of fragrance or essential oil is ideal.
4. You can color this soap or leave it white. We found that white or pale colors provided the best contrast.
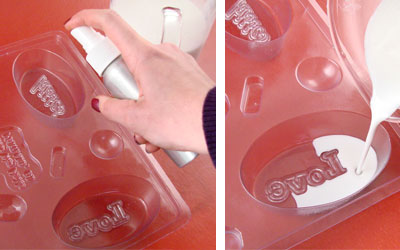
5. Spritz the rubber stamp with rubbing alcohol. Then, start to pour the first layer. Pour this soap carefully. I found that a dropper was ideal for getting the soap into the mold without overflowing onto the rubber stamp. The key to this project is a thin, thin layer that does not submerge the stamp.
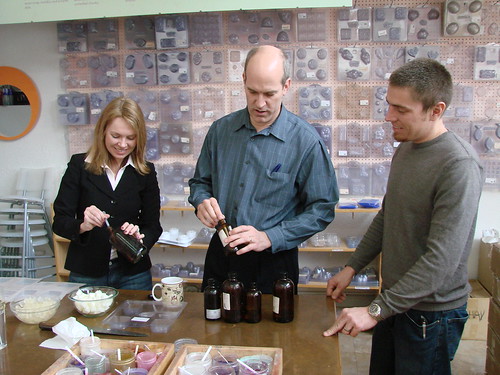
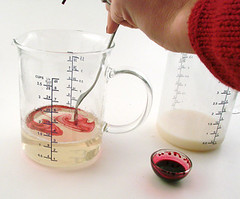
6. Allow this layer to harden for approximately three to five minutes. While it is hardening, prepare your second color of soap. Melt, color and fragrance the soap. We used clear soap with black oxide (tips on using black oxide in melt and pour soap are here), fuchsia labcolors and pink rose pearl mica.
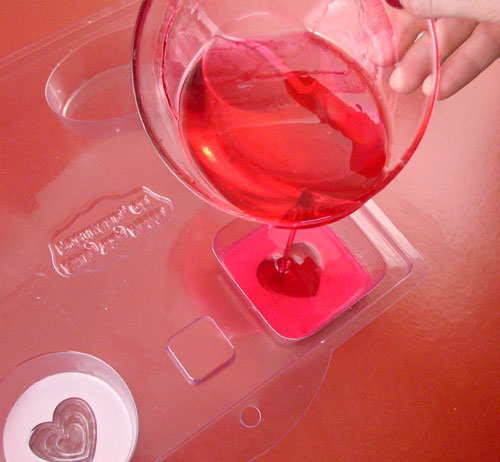
7. Spritz the thin layer of hardened soap with rubbing alcohol. Slowly and carefully pour the second colored layer. Make sure your soap isn’t too hot or else you’ll melt your first layer, try to stick around 120F.
Bonus: Carefully dropper in a third color into any stamp detailing for an incredibly exciting finished soap!
8. Allow the soap to harden for at least 4 hours. Gently pop the soap out of the mold.
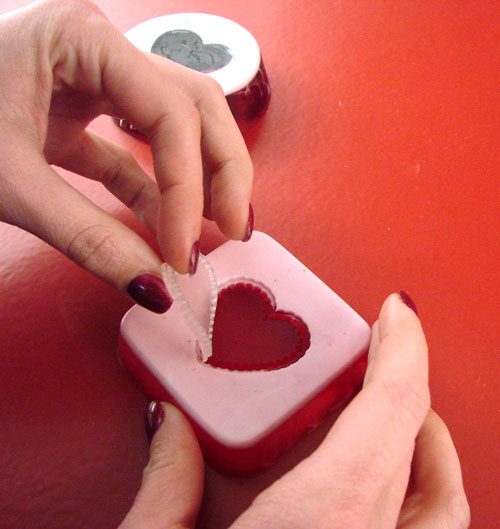
9. Carefully peel back the rubber stamp.
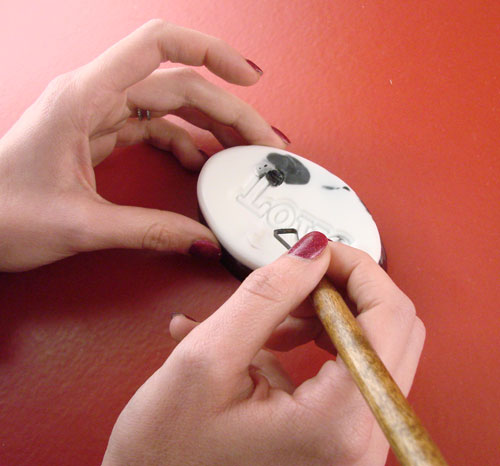
10. Clean up any little soap overhangs with a dental pick (available in the Bramble Berry Melt and Pour Kit), a small paring knife or anything that has a fine pick and scraping tool.
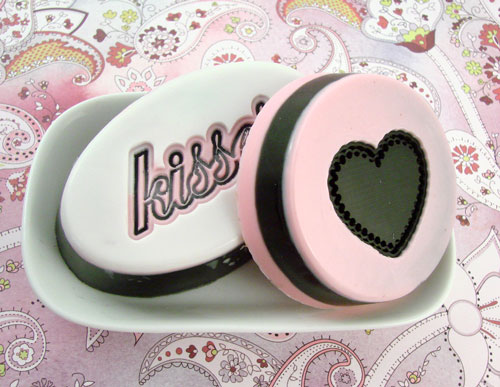
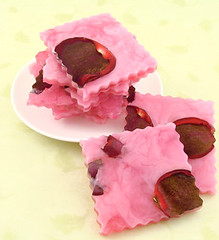
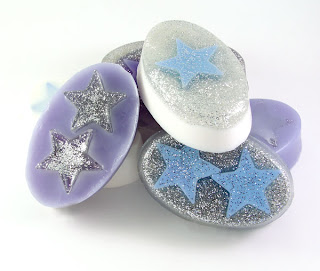
Voila! You’re done! You can do this with any stamp for any holiday – you’re not just limited to the Day o’Love. Think Easter, St. Patrick’s Day and Father’s Day – there are so many cute unmounted stamps out there. Check your local Dollar Store. That’s where we got our stamps and they had a great selection.
I can’t wait to read what you do with this tutorial and the nifty, creative things you find to do with it.
