Ask soapers what their favorite part of soaping is, and the answers will be diverse. Ask soapers what their least favorite part is, and the large majority will answer, “The cleanup!” It’s true, cleaning up after a soapy session is not particularly enjoyable. Luckily, with a little hot water, grease-cutting soap, a sponge and gloves, it’s easy!
There are two different ways to clean up after soaping. The first involves placing all the tools into the sink, and scrubbing the ol’ fashioned way. The other, involves a garbage bag and cuts down on oils going down the sink.
When cleaning up, it’s important to wear gloves to protect your hands. While most of the saponification has already happened, the soap batter can still irritate the skin. Some soapers like to wear goggles while cleaning up as well. An apron is also a good idea =)
Sink and Soap Method
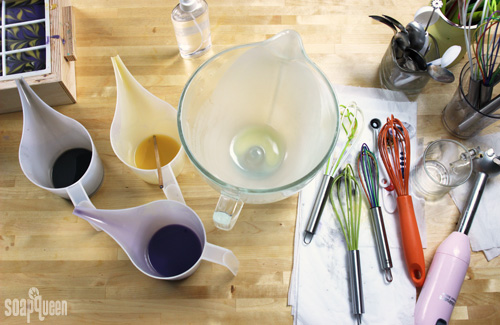
Use a spatula to scrape as much soap batter into the mold as possible. Wipe leftover raw soap from bowls and utensils with paper towels and throw away in the garbage. Eliminating soap batter before washing in the sink cuts down on oils and lye going down your pipes. Wiping up extra soap batter before washing in the sink is a great precaution if your pipes are old, or have a septic tank. While soap batter oils accumulating on pipes is uncommon, it is possible.
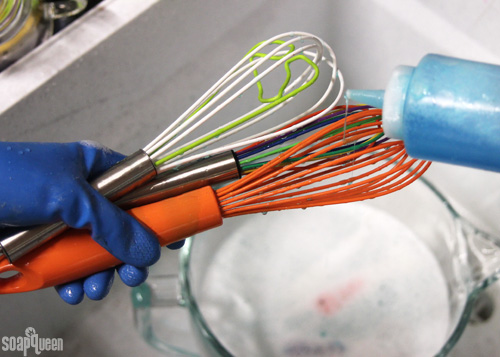
To prevent clogging, use extremely hot water and a grease-cutting dish soap. The great thing about homemade soap is it is gentle on the skin. In this case, the opposite is desired! A grease cutting, surfactant dish soap helps cut through the oils, and prevents greasy residue on your bowls and utensils. In the soap lab, we use Dawn.
Once excess soap has been removed, gather all containers, bowls and utensils and transfer them to an empty sink. Turn the water to high heat, and fill the bowls and containers with water and dish soap. While the bowls are soaking, begin washing the utensils using grease-cutting dish soap and a sponge specifically for soaping utensils.
 To clean the stick blender, submerge the head of the stick blender into the bowl filled with hot soapy water, and turn the stick blender on. Doing so helps remove the soap inside the blender head. Rinse thoroughly with clean, hot water.
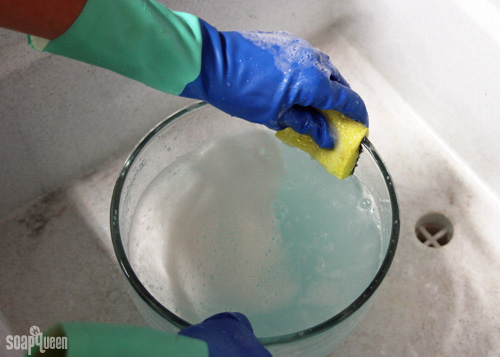
Once the blender is clean, use a sponge specifically for washing soapy tools to scrub the bowls and containers. Rinse thoroughly to ensure all soap is removed. Once finished, scrub the sink completely using dish soap.

Note: Some soapers like to soak their tools in a bleach or vinegar solution after soaping. I’ve found hot water and dish soap has always done the trick!
The Garbage Bag Method
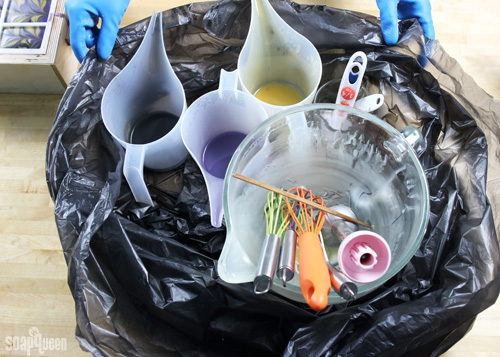
For soapers who want to avoid washing any oils down the sink, the garbage bag method of cleanup is a great option. Once done soaping, place all the soaping bowls and utensils into a large, heavy duty garbage bag.
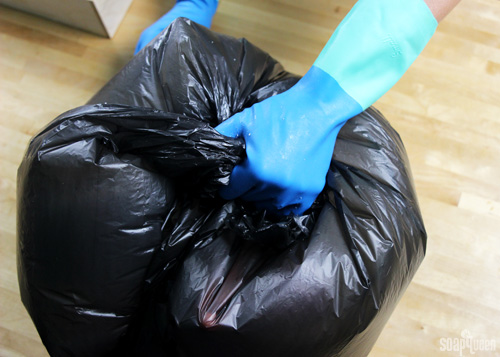
 Tie the garbage bag closed, and place the bag in an area where it will not be disturbed by family or pets. The garage, laundry room or outside may be great places to leave the garbage bag. Allow the bag to sit for 48-72 hours. During this time, the leftover soap will begin to saponify and harden. Basically, it becomes soap in the containers!
 Once the soap has hardened, scoop the soap out of the containers using a spatula. Some soapers throw the leftover soap away, or find a project to incorporate it into. One option, is to use the leftover soap to create laundry soap.

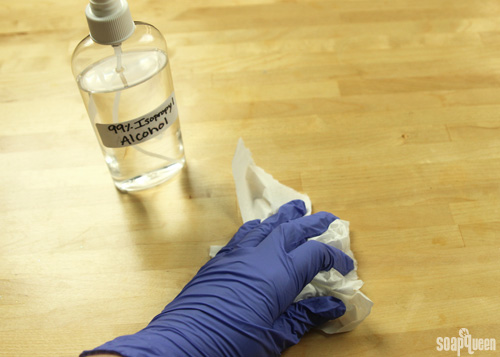
 No matter what cleaning method you prefer, thoroughly wipe down your soaping surface with your favorite cleaning solution, or rubbing alcohol.
 Now that your soap making area is clean…it’s time to soap again! 😉 Do you have any soapy clean up tips? I would love to hear any clean-up hacks that make the process easier and more efficient.
