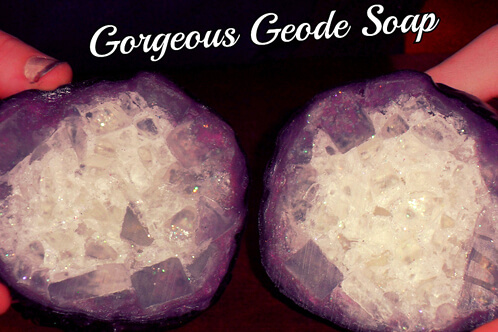
We learned this neat technique from one of our fabulous customers, Marlona of The Little Things Store! These geodes will be so realistic, you’ll fool all your friends. People won’t believe they’re not real geodes!
(P.S. If you like the gemstone look, this technique is similar to these Freeform Purple Gemstones that I did a few years ago! I first came across gemstones 15 years (!!!) ago when Annaliese Moran (one of the pioneers of melt and pour soapmaking) started sharing them with a ‘thunderegg’ design. I’ve been enamoured with it ever since.- A-M)
Ingredients:
1 lb Clear Melt & Pour Base
Iridescent Glitter
Lime Essential Oil
Amethyst Purple Mica
Activated Charcoal
Wire soap dish or cookie rack
Extra large microwaveable bowl
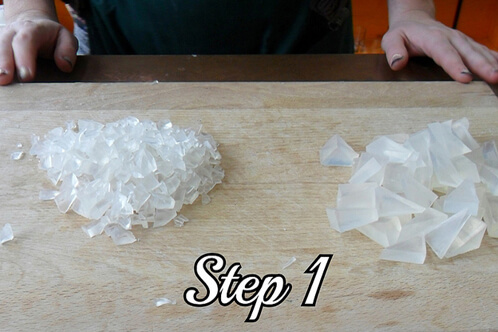
ONE: You’ll need 4oz of clear soap cut into small “shards” and another 4oz cut into large “shards.” You want odd-shaped triangles. Melt down 2oz of clear soap and cool until it’s comfortable to touch for the next step.
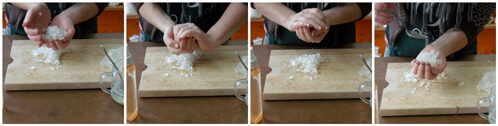
TWO: Take all those small shards, and sprinkle two pinches of iridescent glitter on them and start smooshing them into a rough ball shape. Drizzle some of the cool soap over your shmooshed soap shards to help keep them together if they’re falling apart.
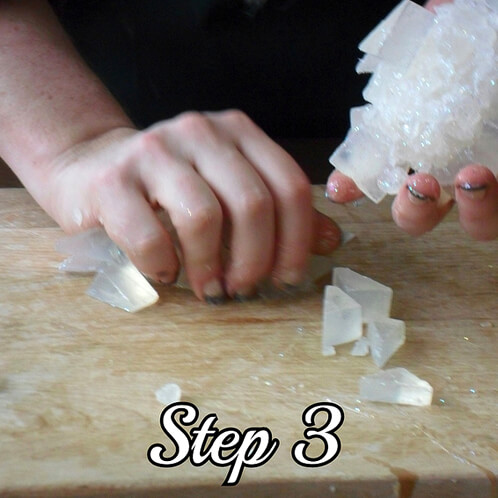
THREE: Now, start shmooshing those larger shards onto your smaller ball. You may have to melt some more soap to drizzle on top to keep everything together, so take your time and don’t stop shmooshing! When you’ve gotten all the shards packed on there, give it a good all-over drizzle with clear soap and let it cool on your wire dish or cookie cooling rack.
So you thought that was messy? This will take messy to a whole new level, so don’t do this in your cutest white blouse
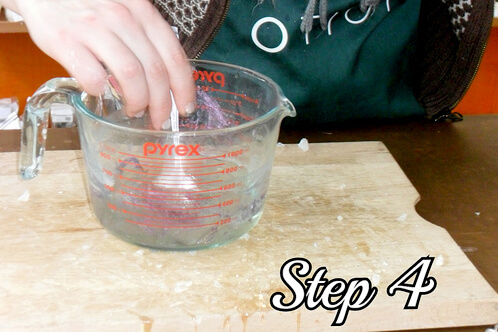
FOUR: Melt down 8 oz. of clear soap in a large Pyrex or glass bowl. It needs to be big enough to dip your geode and get your hands in there. Add 1/2 tablespoon of amethyst purple mica. We’re over-coloring the soap so that we can get away with fewer layers for a saturated color.
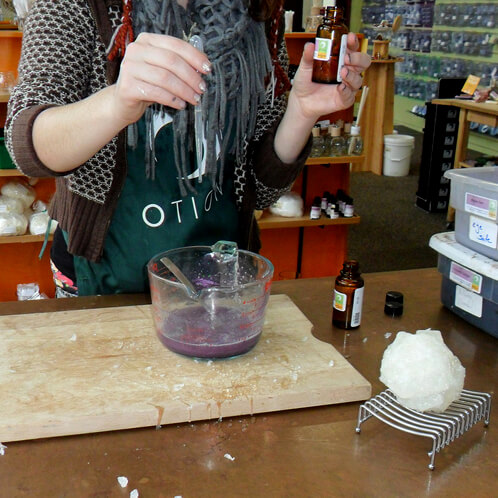
FIVE: Now add 20 drops of lime essential oil and start dipping! After you coat the entire surface, set the geode on a rack to cool before doing another dip. We did 3 dips to get a good, purple color as shown below.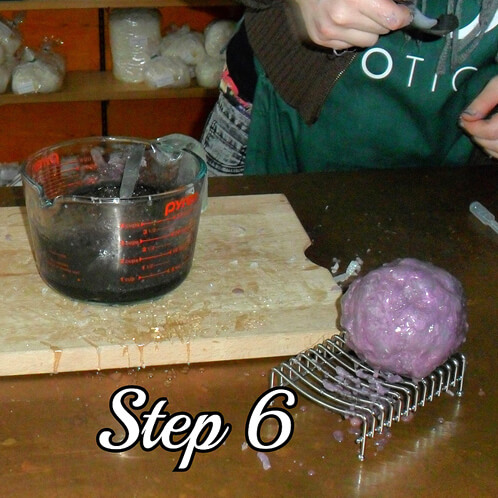
SIX: To the remaining melted amethyst soap, add a full tablespoon of activated charcoal. We’ll dip the geode into this just once to get a shimmery black coat that’s a little bit sheer.
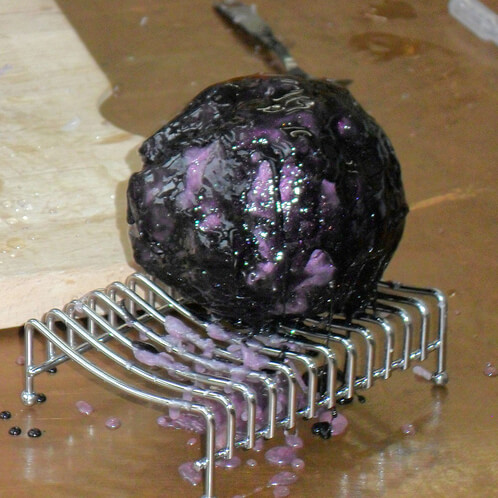
Let the geode harden and cool before cutting into it. This won’t really take long, so go make a cup of tea and come back.
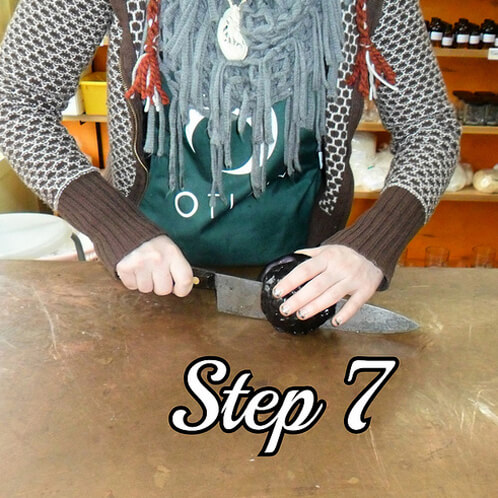
SEVEN: It’s the moment of truth! Before you cut into your geode, you want to make sure of two things:
1. Your knife is fairly sharp
2. You’ve warmed your knife under hot, hot tap water.
This will ensure that the knife slices through the soap like, well, a hot knife through soap and you get a clean, drag-free slice. Otherwise, some of the packed shards in the middle may be knocked loose.
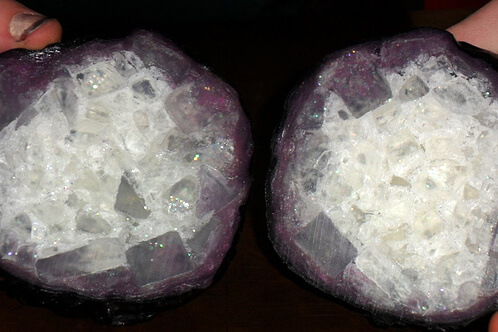
And you’re done! Enjoy and display your lovely geode soap. Experiment with different colors and glitters! And, as always, share your results with our soapmaking community on our Facebook Page.