Making your own wedding favors can seem a little daunting, especially if you’re having a large wedding. My biggest piece of advice is to give yourself plenty of time. Crafting at the last second can be stressful. I also recommend choosing a project that suits your skill level. Wedding favors may not be the best time to try an advanced project if you’re a beginner. =)
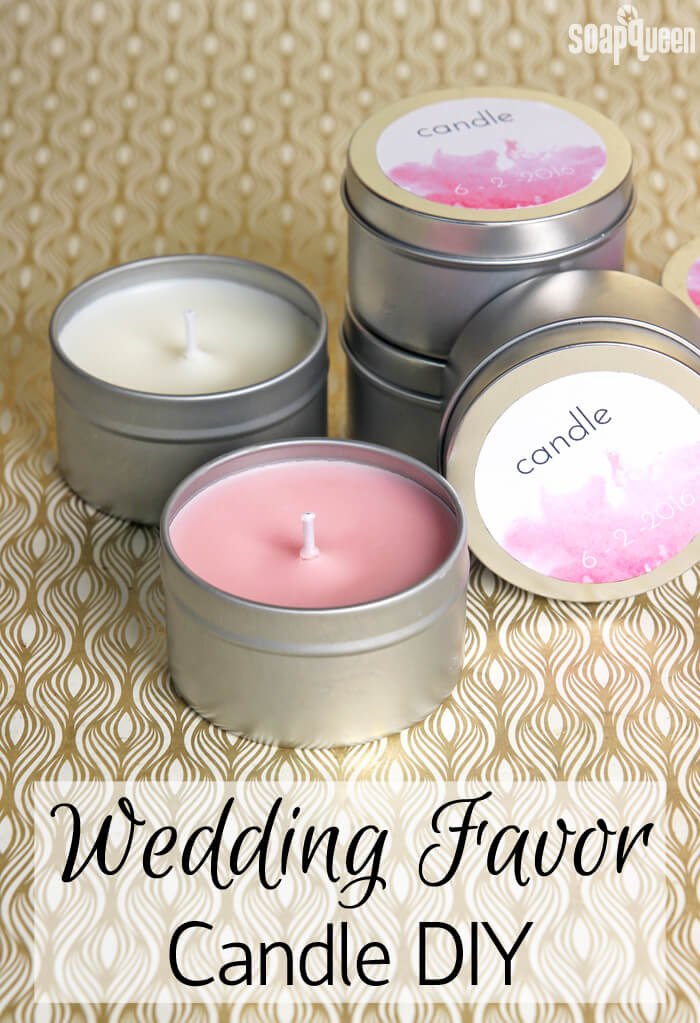
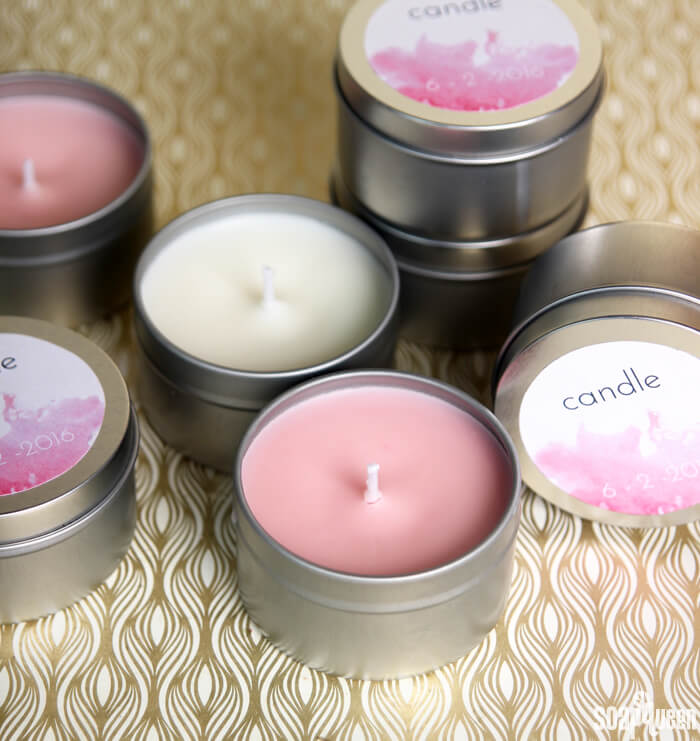
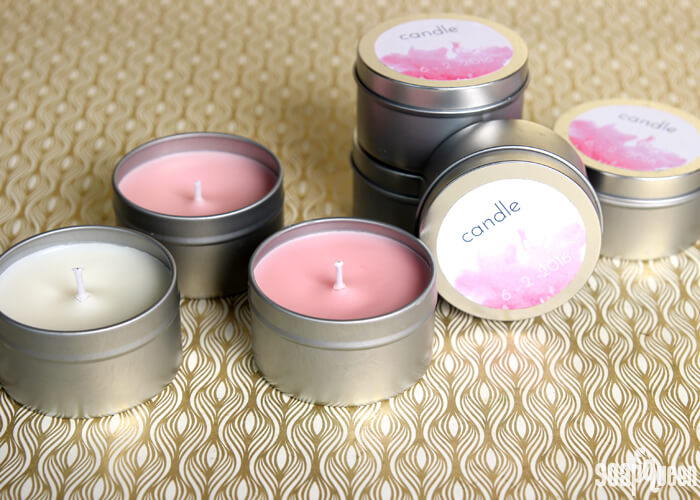
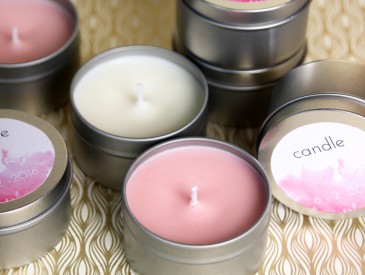
Candles are a great favor option. They are relatively quick and easy to make, and who doesn’t love a candle? For this tutorial, I made five candles featuring two different color and scent combinations. One candle is scented with Sweet Pea Fragrance Oil and colored a light pink for a feminine option. The other is uncolored and scented with Tobacco and Bay Leaf Fragrance Oil.
The recipe and tutorial below makes ten candles total. If you need to make a lot more, you may consider melting your wax in a large sauce pot over medium-low heat. This way, you can use a larger container than what may fit in your microwave. Then, use a ladle or smaller container to pour the hot wax into each candle container to cool and harden. I recommend pouring the wax on a counter space where the candles can cool and harden without moving them. Once the hot wax is in the container, moving the candles can be tricky!
What You’ll Need:
10 Candle Tins
40 oz. EcoSoya Advanced Soy Wax
10 WU-250 Brown Cotton Candle Wicks
1.6 oz. Tobacco and Bay Leaf Fragrance Oil
1.6 oz. Sweet Pea Fragrance Oil
Red Wax Dye Block
Optional: Wedding Favor Label PDF

Click here to add everything you need for this project to your Bramble Berry shopping cart!
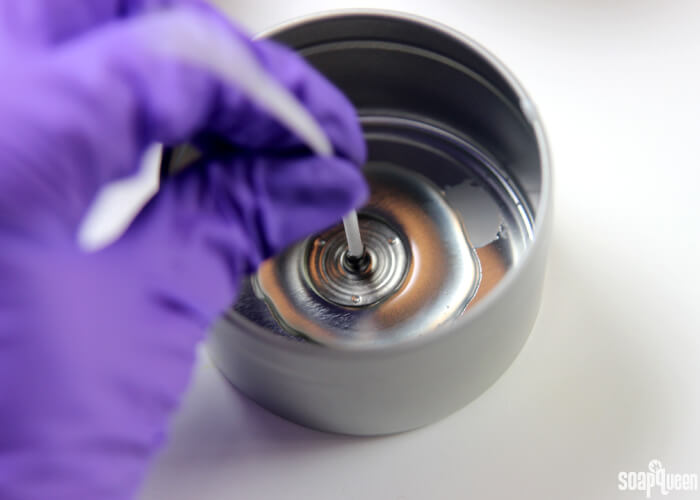
ONE: Melt down 40 oz. of EcoSoya Advanced Soy Wax in the microwave using a heat safe container. You can also melt the wax in a saucepan on the stove over medium-low heat. Once melted, add a few drops of wax into the bottom of each candle tin, and place the wick into the center of the candle. Cover the top of the wick with more wax to steady the wick to the bottom of the container.
 TWO: Split the wax into two containers, each will weigh about 20 ounces. To one batch, add 1.6 ounces of the Tobacco and Bay Leaf Fragrance Oil. Stir thoroughly.
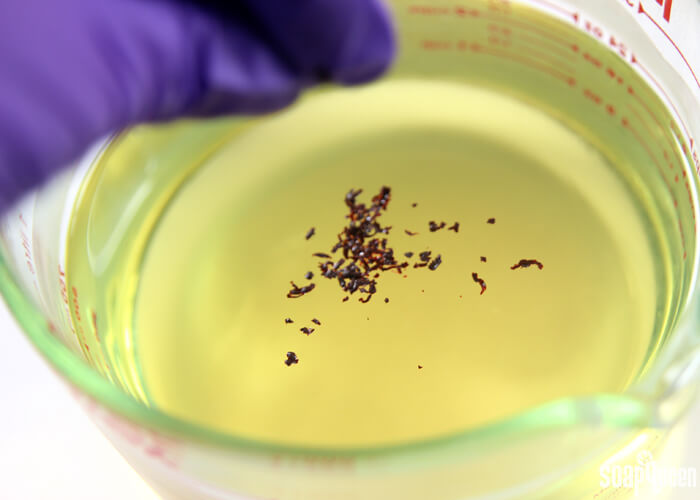
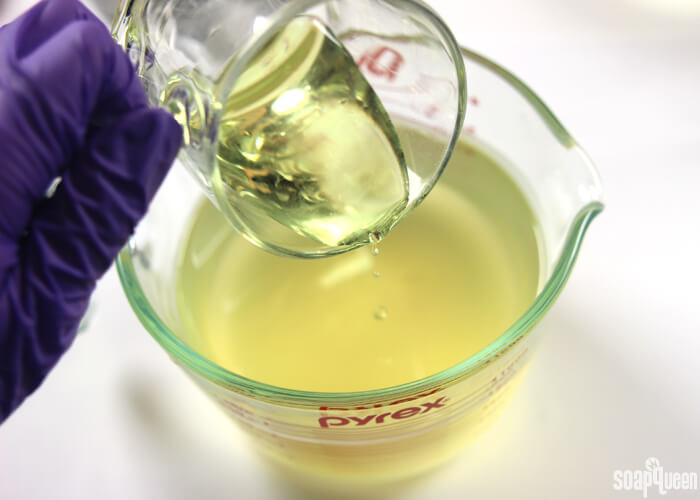 THREE: To the other container, add 1.6 ounces of Sweet Pea Fragrance Oil and use a spoon to thoroughly mix in. Then, shave a very small amount of the Red Wax Dye Block using a cheese grater. Add the shavings to the melted wax and stir. The heat from the melted wax will melt and Red Wax Dye Block and give the wax a light red color. As the wax cools and hardens, it will lighten to pink. You can test the color by dropping the wax on a white piece of paper and allowing it to cool. Add more dye block shavings if you’d like a richer color.
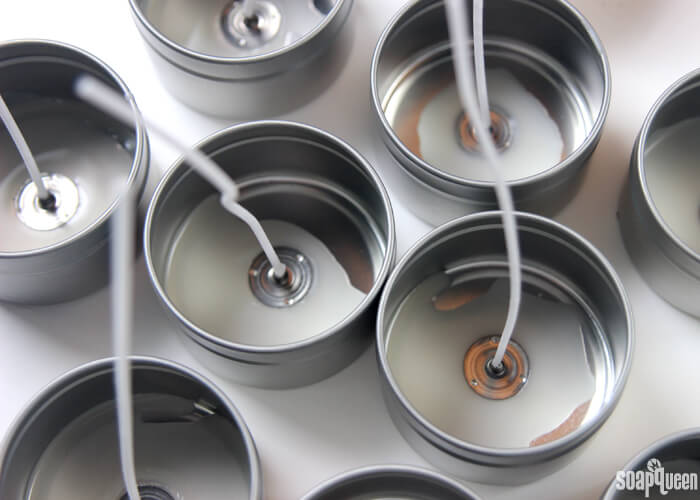
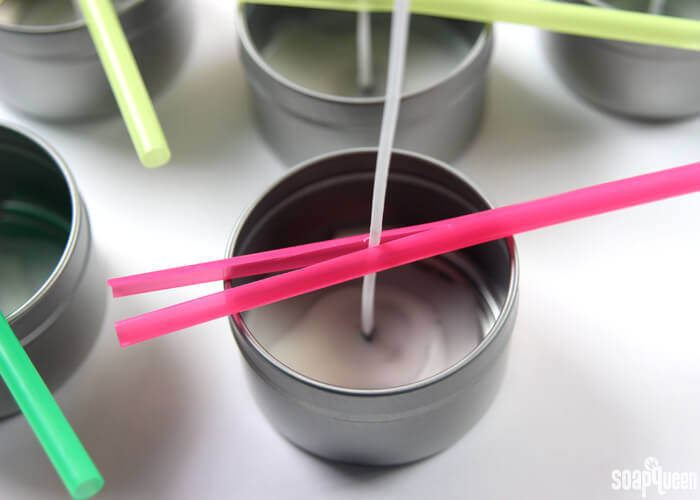
 FOUR: Allow the wax containers to cool slightly. Cut 10 straws in half and slide the wicks into the straws. This will help steady the wicks in the center of the jar after the wax is poured.
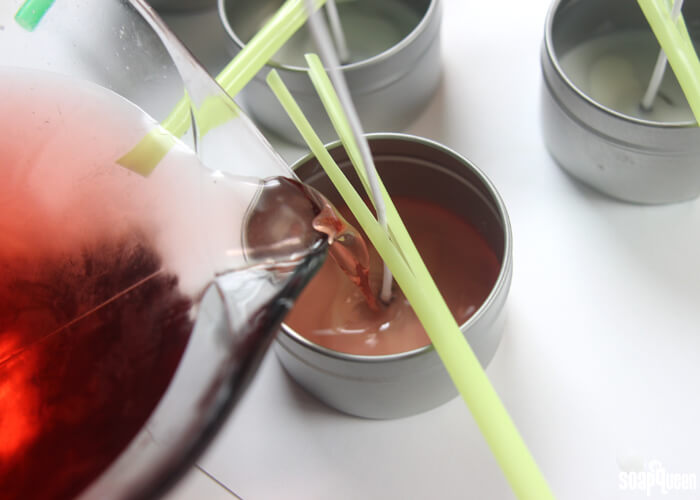
 FIVE: Allow the melted wax to cool to about 110 ° F or cooler. The cooler the wax is, the less likely it will be to melt the wax holding the wick in place. Then, pour the red wax into half of the candle tins, and the uncolored wax into the other half. Allow to thoroughly cool and harden.
When the candle is cool, trim the wicks and allow the candle to cure for 48 hours. This allows the fragrance to set up properly. Enjoy!
Do you have any tips for making projects in large batches?
DIY Wedding Favor Candles
Ingredients
- 10 Candle Tins
- 40 oz. EcoSoya Advanced Soy Wax
- 10 WU-250 Brown Cotton Candle Wicks
- 1.6 oz. Tobacco and Bay Leaf Fragrance Oil
- 1.6 oz. Sweet Pea Fragrance Oil
- Red Wax Dye Block
- Optional: Wedding Favor Label PDF
Instructions
- Melt down 40 oz. of EcoSoya Advanced Soy Wax in the microwave using a heat safe container. You can also melt and wax in a saucepan on the stove over medium-low heat. Once melted, add a few drops of wax into the bottom of each candle tin, and place the wick into the center of the candle. Cover the bottom of the wick with more wax to steady the wick to the bottom of the container.
- Split the wax into two containers, each will weigh about 20 ounces. To one batch, add 1.6 ounces of the Tobacco and Bay Leaf Fragrance Oil. Stir thoroughly.
- To the other container, add 1.6 ounces of Sweet Pea Fragrance Oil and use a spoon to thoroughly mix in. Then, shave a very small amount of the Red Wax Dye Block using a cheese grater. Add the shavings to the melted wax and stir. The heat from the melted wax will melt and Red Wax Dye Block and give the wax a light red color. As the wax cools and hardens, it will lighten in color. You can test the color by dropping the wax on a white piece of paper and allowing it to cool. Add more dye block shavings if you’d like a richer color.
- Allow the wax containers to cool slightly. While they cool down, cut 10 straws in half and slide the wicks into the straws. This will help steady the wicks in the center of the jar after the wax is poured.
- Allow the melted wax to cool to about 110 ° F or cooler. The cooler the wax is, the less likely it will be to melt the wax holding the wick in place. Then, pour the red wax into half of the candle tins, and the uncolored wax into the other half. Allow to thoroughly cool and harden.
- When the candle is cool, trim the wicks and allow the candle to cure for 48 hours. This allows the fragrance to set up properly. Enjoy!