In the world of beauty and cosmetics, highlighting and contouring has become amazingly popular (seriously, it is alllll over Pinterest & YouTube). This beauty technique involves applying darker and lighter shades of makeup to certain areas of the face to create definition. Applying darker shades is referred to as contouring, while applying lighter shades is highlighting. Contouring and highlighting can create the look of a stronger jawline and more pronounced cheekbones. It’s amazing how a little well-placed makeup can change the look of one’s face.

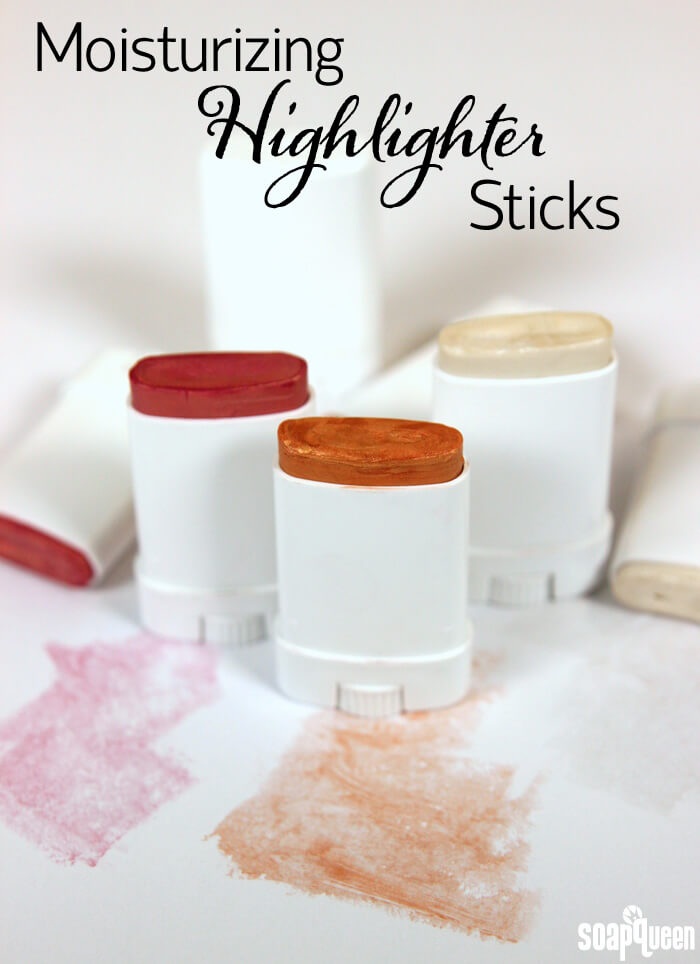
These Moisturizing Highlighter Sticks focus on the highlighting areas of the face that you’d like to “pull toward you.” Primarily, highlighters are used on the cheekbones and under the eye area. These highlighters are made with moisturizing ingredients such as green tea seed oil and jojoba oil to keep skin hydrated.
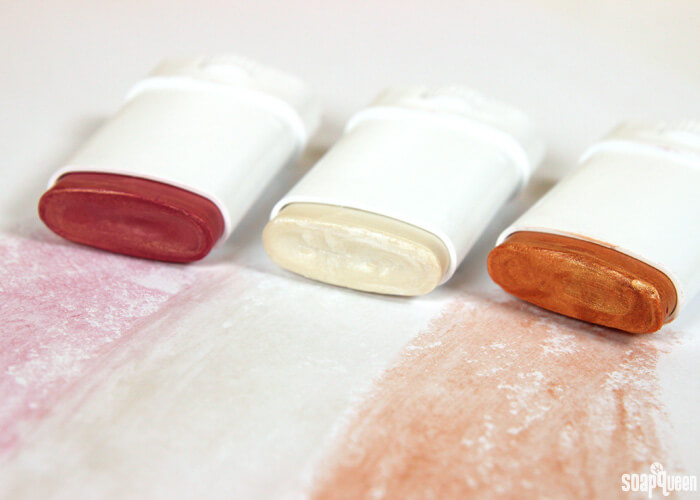
Various colors of mica can be added depending on your skin tone. Below, we have formulated a basic highlighter shade with no color, as well as highlighters with a pink and peach tone. You can also add more or less mica, depending on how much highlight and sparkle you like. The amounts below could be considered an “average” amount. The spoon trick is perfect for testing them on your skin prior to pouring them into the containers. To see swatches on the skin, scroll to the very bottom of the post.
 What You’ll Need:
Base:
.5 oz. Green Tea Seed Oil
.4 oz. Jojoba Oil
.5 oz. Cera Bellina Wax
9 mL Cyclomethicone
4 Mini Deodorant Tubes
2 Easy Pour Mixing and Measuring Containers
Basic Highlighter:
2 tsp. Super Pearly White Mica
Peach Shade:
2 tsp. Peach Shimmer Mica
Pink Shade:
2 tsp. Rose Gold Mica

Click here to add everything you need for this project to your Bramble Berry shopping cart!
ONE: In a heat safe container, add the green tea seed oil, jojoba oil and cera bellina wax. Microwave on 30 second bursts until the wax is fully melted. Be careful when removing from the microwave, as the container will be very hot.
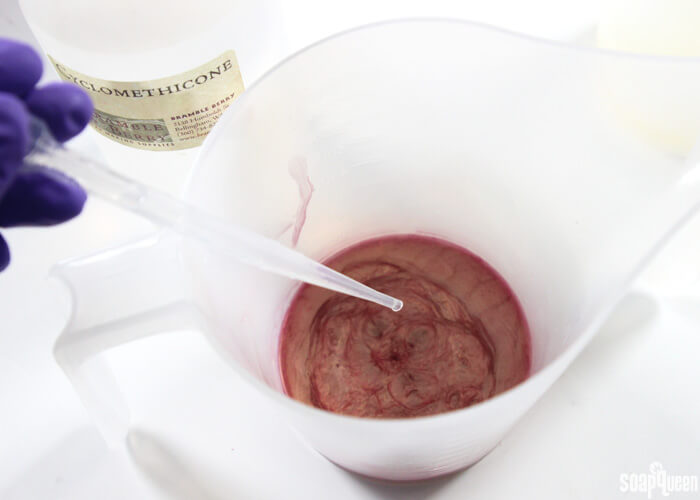
TWO: Add the mica corresponding with whatever color highlighter you’d like to create. Use a spoon to fully mix the mica into the oils and wax, making sure there are no clumps. Once the mica is fully blended, add 9 mL of Cyclomethicone and stir well. If you notice the micas settling to the bottom, stir the mixture until it begins to cool. As the mixture cools and becomes thicker, the colors will be able to suspend evenly.
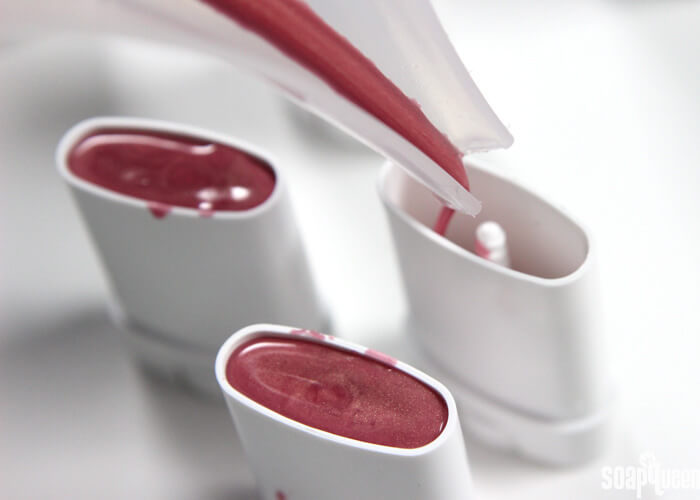
 THREE: Once the mixture has cooled slightly, carefully pour the mixture into the deodorant tubes. Let them cool fully and they’re ready to use! Apply the highlighter to cheekbones to give definition to the face. To learn more about how to highlight and contour, check out this blog post from The Beauty Department.
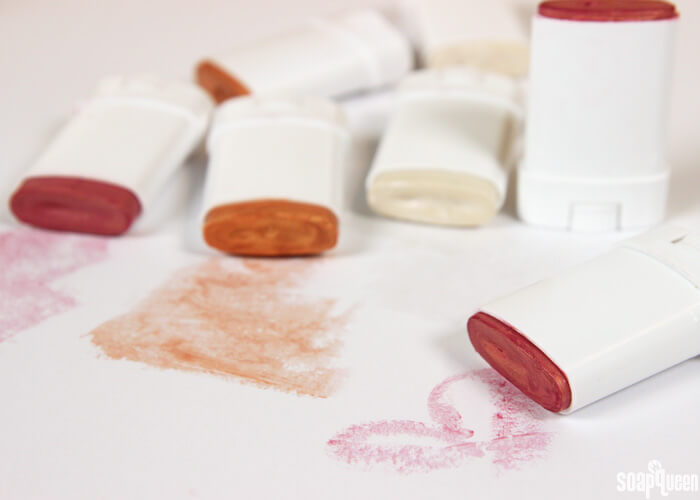
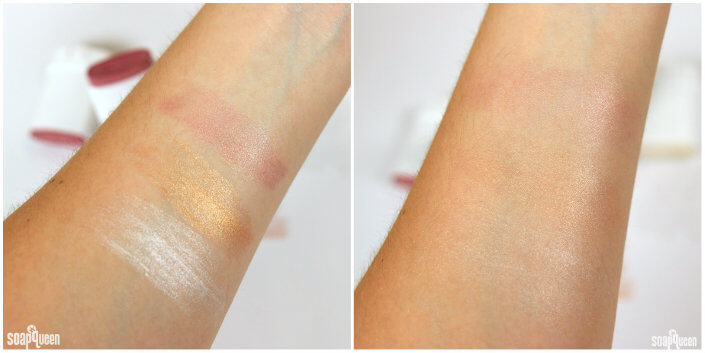
Below, you can see what the colors look like on the skin. On the left, the colors have been applied quite heavily. On the right, the colors have been blended to give a nice subtle shine.
If you haven’t tried this new make-up enhancement trend and want to learn how to highlight and contour, here are some resources: YouTube video, article on Allure about contouring, Make-Up Forever fantastic tutorial (photo and video), and Rookie’s photographic tutorial.
Have you tried the highlighting and contouring craze that’s going on? I’d love to see your photos. Tweet me @brambleberry or tag me @brambleberry on Instagram to show them to me.

Moisturizing Highlighter Sticks
Ingredients
- .5 oz. Green Tea Seed Oil
- .4 oz. Jojoba Oil
- .4 oz. Cera Bellina Wax
- 9 mL Cyclomethicone
- 4 Mini Deodorant Tubes
- 2 Easy Pour Mixing and Measuring Containers
- Rose Gold Mica
- Super Pearly White
- Peach Shimmer Mica
Instructions
- In a heat safe container, add the green tea seed oil, jojoba oil and cera bellina wax. Microwave on 30 second bursts until the wax is fully melted. Be careful when removing from the microwave, as the container will be very hot.
- Add the mica corresponding with whatever color highlighter you’d like to create. Use a spoon to fully mix the mica into the oils and wax, making sure there are no clumps. Once the mica is fully blended, add 9 mL of Cyclomethicone and stir well. If you notice the micas settling to the bottom, stir the mixture until it begins to cool. As the mixture cools and becomes thicker, the colors will be able to suspend evenly.
- Once the mixture has cooled slightly, carefully pour the mixture into the deodorant tubes. Let them cool fully and they’re ready to use! Apply the highlighter to cheekbones to give definition to the face. To learn more about how to highlight and contour, check out this blog post from The Beauty Department.