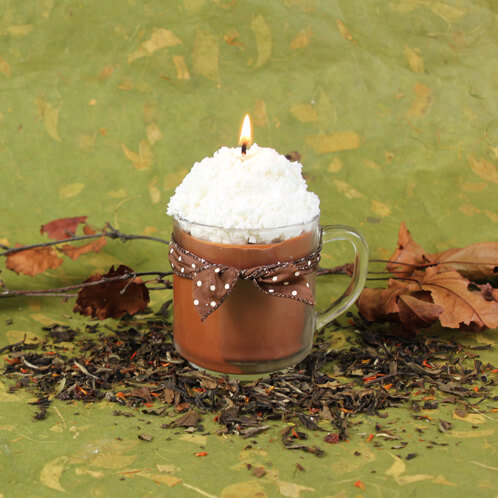
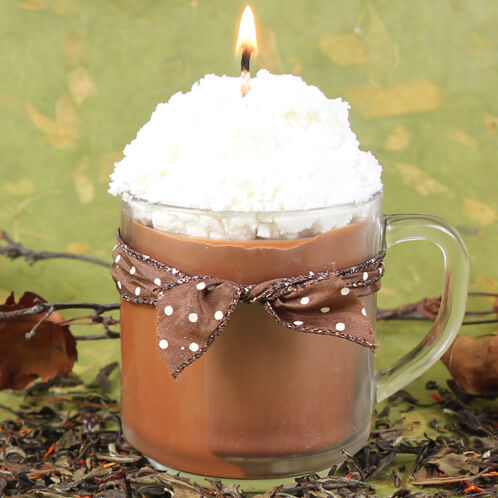
For a quick and easy fall project that will fill a room with the scent of warm spicey Chai Tea, nothing beats this whipped candle tutorial using our Chai Tea Cybilla Fragrance Oil. As a bonus, all this month you’ll receive a free half ounce sample of Chai Tea with every Bramble Berry order. For this candle, we added straight Chai Tea fragrance oil, but we’ve got a number of fantastic blends to try here. Chai Tea Cybilla Fragrance Oil is a wonderfully warm and comforting scent that is sure to be a hit this season.
If you take photos of your project, be sure to share them with us on Bramble Berry’s Facebook Page with the hashtag “#BrambleChai” before October 30 for our Make It Month contest — check out the blog post for more details. You can also check out the Facebook album of submitted projects to get some inspiration. Happy candle-making!
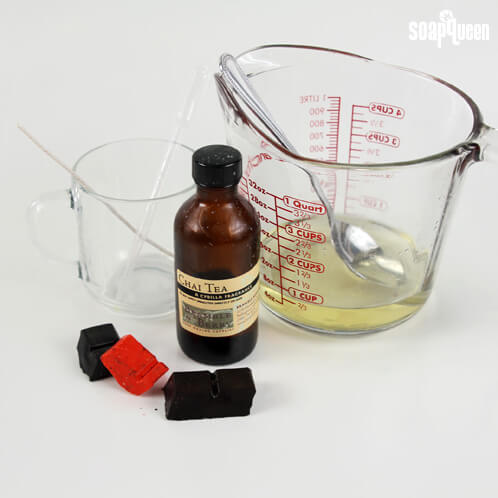
What You’ll Need:
10.5 oz EcoSoya Advanced Wax
1 CK-16 Candle Wicks (or whatever size is appropriate for your cup)
1 Clear Glass Mug
1 Red Wax Dye Block
1 Orange Wax Dye Block
1 Black Wax Dye Block
7 mL Chai Tea Cybilla Fragrance Oil
2 mL Vanilla, Non-discoloring Fragrance Oil
Droppers

Click here to add everything you need for this project to your Bramble Berry shopping cart!
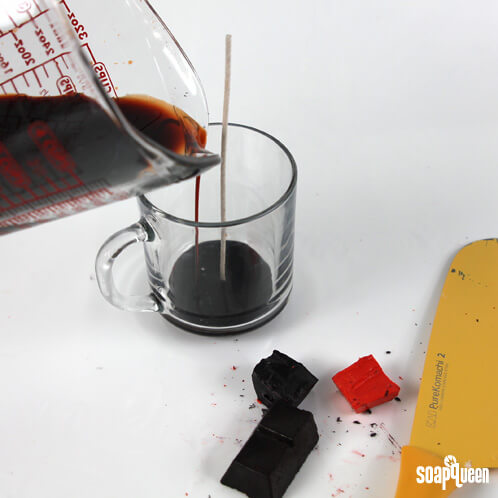
ONE: Melt 8 oz. of EcoSoya Advanced Wax on 30 second bursts in the microwave. Color the wax with equal portions of Red, Orange, and Black Wax Dye Block (a cleanup tool works well for shaving bits off the block) and stir until the dye pieces are completely melted.
TWO: Add 7 mL Chai Tea fragrance oil.
THREE: Dribble a little bit of the wax into the bottom of the candle jar. Stick the metal disk of the wick into the wax and allow the wax to cool enough to hold the wick in place.
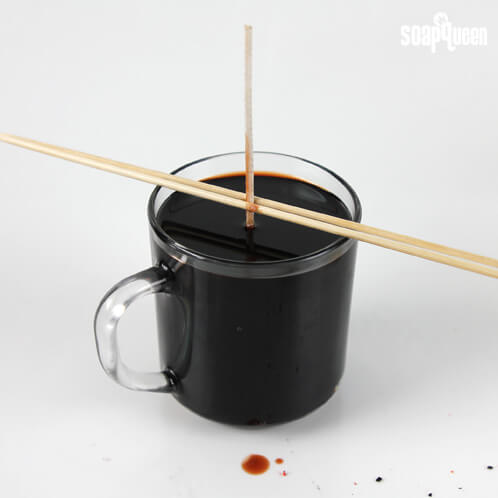
FOUR: Once the colored wax has cooled to 120 -130°F, pour the wax into the jars. Use pencils or chopsticks on the top of the candle jars to hold the wicks in place. Allow the wax to fully cool and harden overnight.
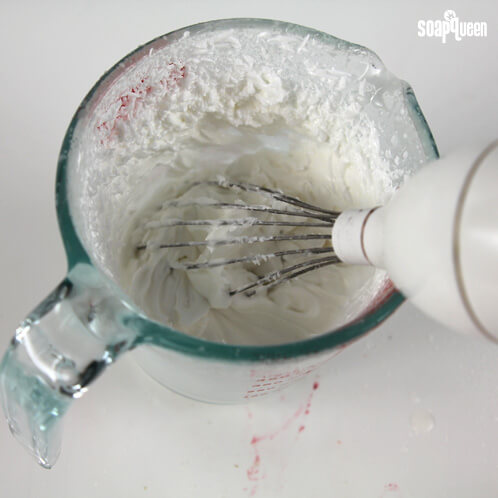
FIVE: Melt the rest of the EcoSoya Advanced Wax on 30 second bursts in the microwave. Add 2 mL non-discoloring Vanilla fragrance oil.
SIX: Using a hand-held mixer, whip the melted wax until it is thick enough to form slight peaks when manipulated with a spoon.
SEVEN: Moving quickly, spoon the whipped wax on top of the cooled candle. Allow the whipped wax to fully harden
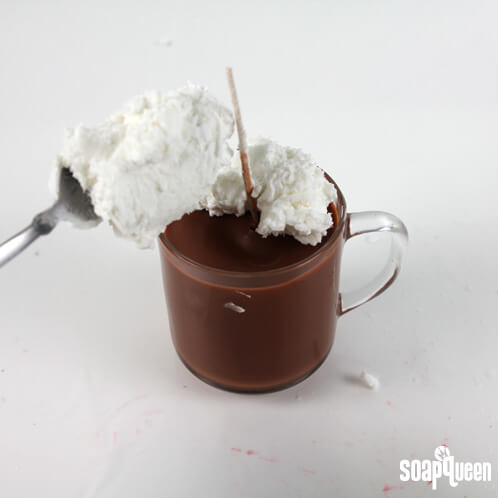
Wait 4 – 5 hours for the wax to fully harden and then your delicious Chai Candle is ready to burn!
Clean Up Tip: I always melt some old melt and pour down in the microwave and allow the hot soap to melt the wax in the containers and my utensils. That’s the easiest way I’ve found to clean up after making candles. Do you have any tips? I’d love to hear them!
I was wondering if you could use any type of mug (ceramic, glass, etc) for this type of candle. Thanks in advance! 🙂
Hi Veronica!
You can use any container as long as it’s heat safe! Also, what size wick you use will depend on the size of your container. We have a handy dandy chart that helps you choose a wick. 🙂
-Kelsey with Bramble Berry
Wicks: https://www.brambleberry.com/Wicks-C22.aspx
With the supplies listed here, how many of these candles will it make?
Hi Jenni!
This recipe makes one candle. 🙂
-Kelsey with Bramble Berry
When looking at candle supplies I noticed that the only fragrances listed are the skin safe ones. How do I know which ones that aren’t skin safe are able to be used in non massage candles? Are they the ones with a very high flash point? Do certain waxes allow certain flashpoints? Thanks 🙂
Hi Leanna!
All of our fragrances are skin-safe, but we emphasize that fact in our candle line because many candle-specific fragrances on the market are not skin-safe. We have decided that we wanted to be able to use our candle fragrances in soaps and lotions so that our customers could create gift sets and fun packages.
Skin Safe Candle Fragrances: https://www.brambleberry.com/Skin-Safe-Candle-Fragrances-C341.aspx
You can actually use any fragrance in your massage candles and the flashpoints only refer to shipping them.
I hope that this helps to clear up some confusion. Be sure to let us know how your candle-making experience goes!
-Becky with Bramble Berry
What about the flavor fragrance, like Buttercreme?
Hi Candice!
You can definitely use those in candles! I would recommend making a small test candle with those fragrances. While they are skin safe, they may smell differently when burned. 🙂
Sunday Night Spotlight: Flavoring Oils: https://soapqueen.com/bramble-berry-news/sunday-night-spotlight-flavoring-oils/
-Kelsey with Bramble Berry
I’ve never used the dye blocks before. If I was to buy the ones for this candle, how many other of the same candle could be colored with the dye blocks?
Thanks!
Good morning, Kristy!
Each single dye block will actually color at least 5 pounds of wax, so you can definitely use it for other candle projects and have it last quite a long time! I hope this helps. 🙂
Solid Candle Colorants: https://www.brambleberry.com/Solid-Candle-Colorants-C264.aspx
Let us know if you have any other questions. =)
-Becky with Bramble Berry
I’ve recently found that using Tide when cleaning up after making candles cuts down on the amount of elbow grease I need to use!
Hi Gail!
Thanks for the tip! We love hearing from our customers and what works the best for them. If you happen to get any pictures of your candles, we’d love for you to share them with us on Bramble Berry’s Facebook page. =)
-Becky with Bramble Berry
https://www.facebook.com/BrambleBerry
I always pop everything in the freezer for a few minutes, all of the wax just comes right off very cleanly and then if there is any residue (there usually isn’t) then I soak in hot soapy water for a bit and wash and dry 🙂 I’m gonna try the m&p after the freezer though next time 🙂
Good morning, Dawn!
Thanks for great tip, that is such a smart idea when working with wax. We have found that with melt & pour and cold process that as soon as you are done using the tools, popping them in warm soapy water with a grease-cutting soap like Dawn really helps. =)
-Becky with Bramble Berry